Bridging the year and a half between highschool and the art prep course was no easy feat. Luckily, there was one thing that helped me avoid a full-on depression.
Description
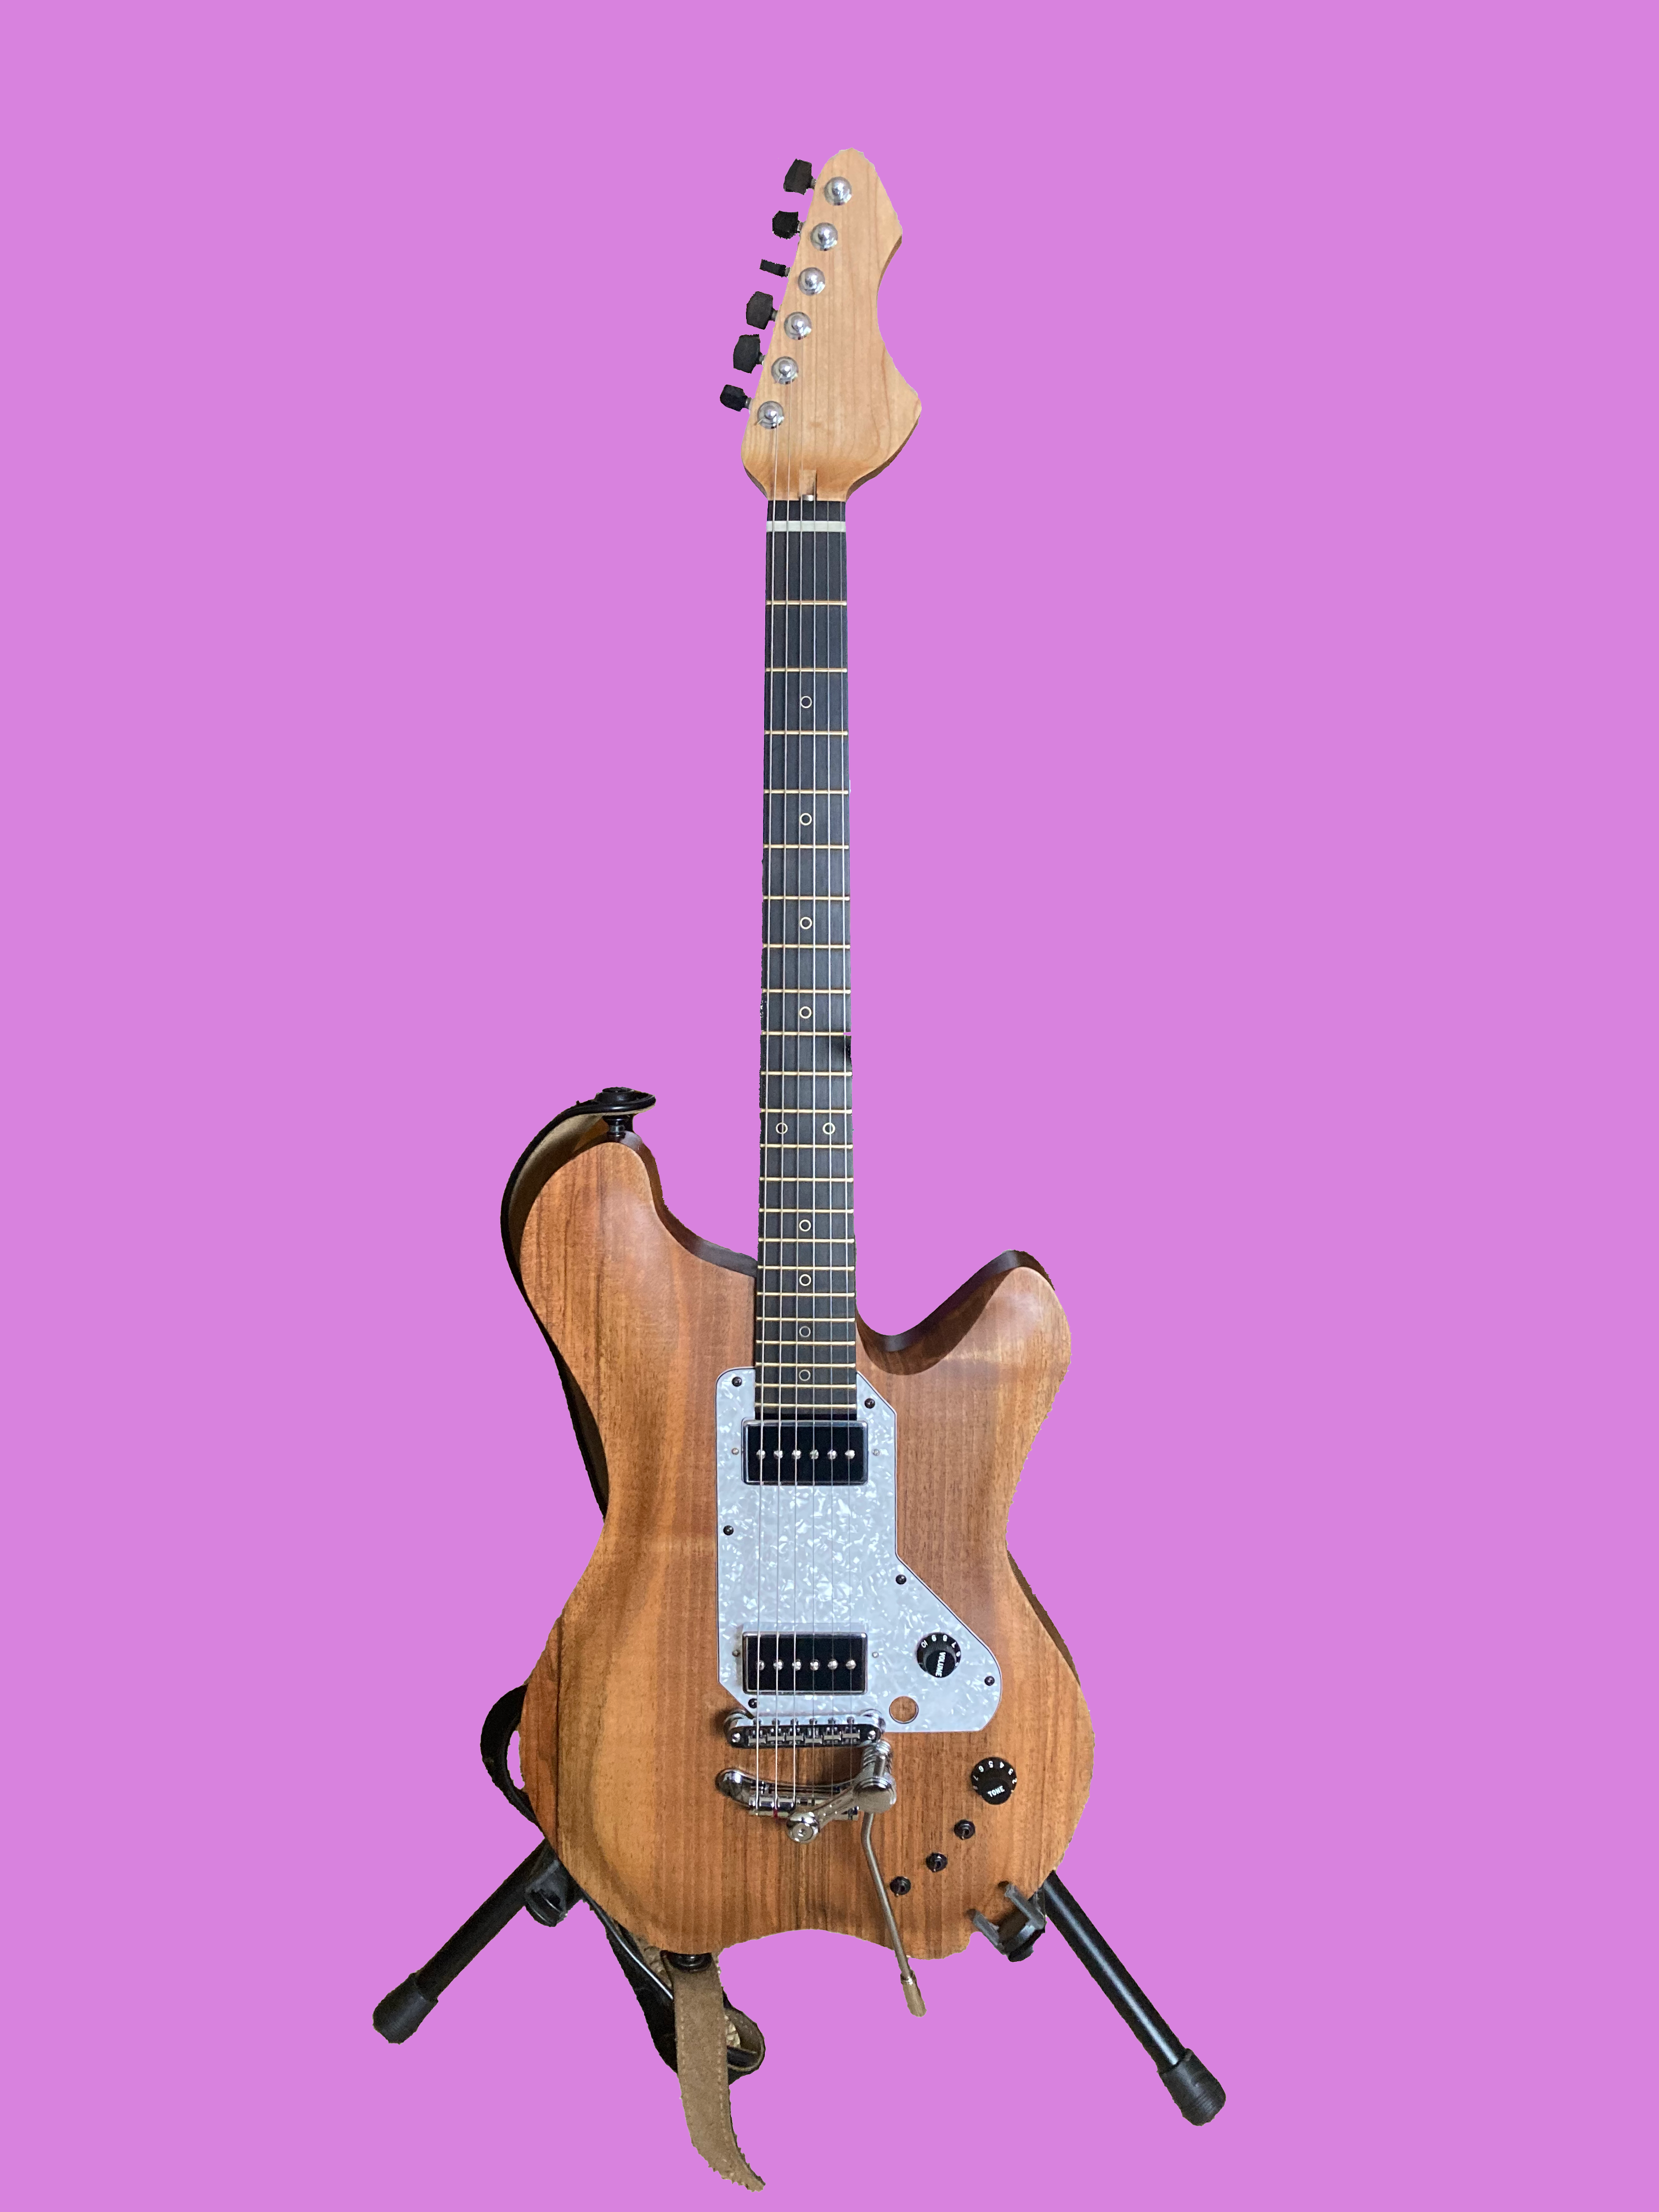
Over the course of about a year and a half, I worked on a passion project of mine: Having been playing guitar for many years already, I decided to build my own electric guitar since I wasn’t at all happy with the one I had at the time.
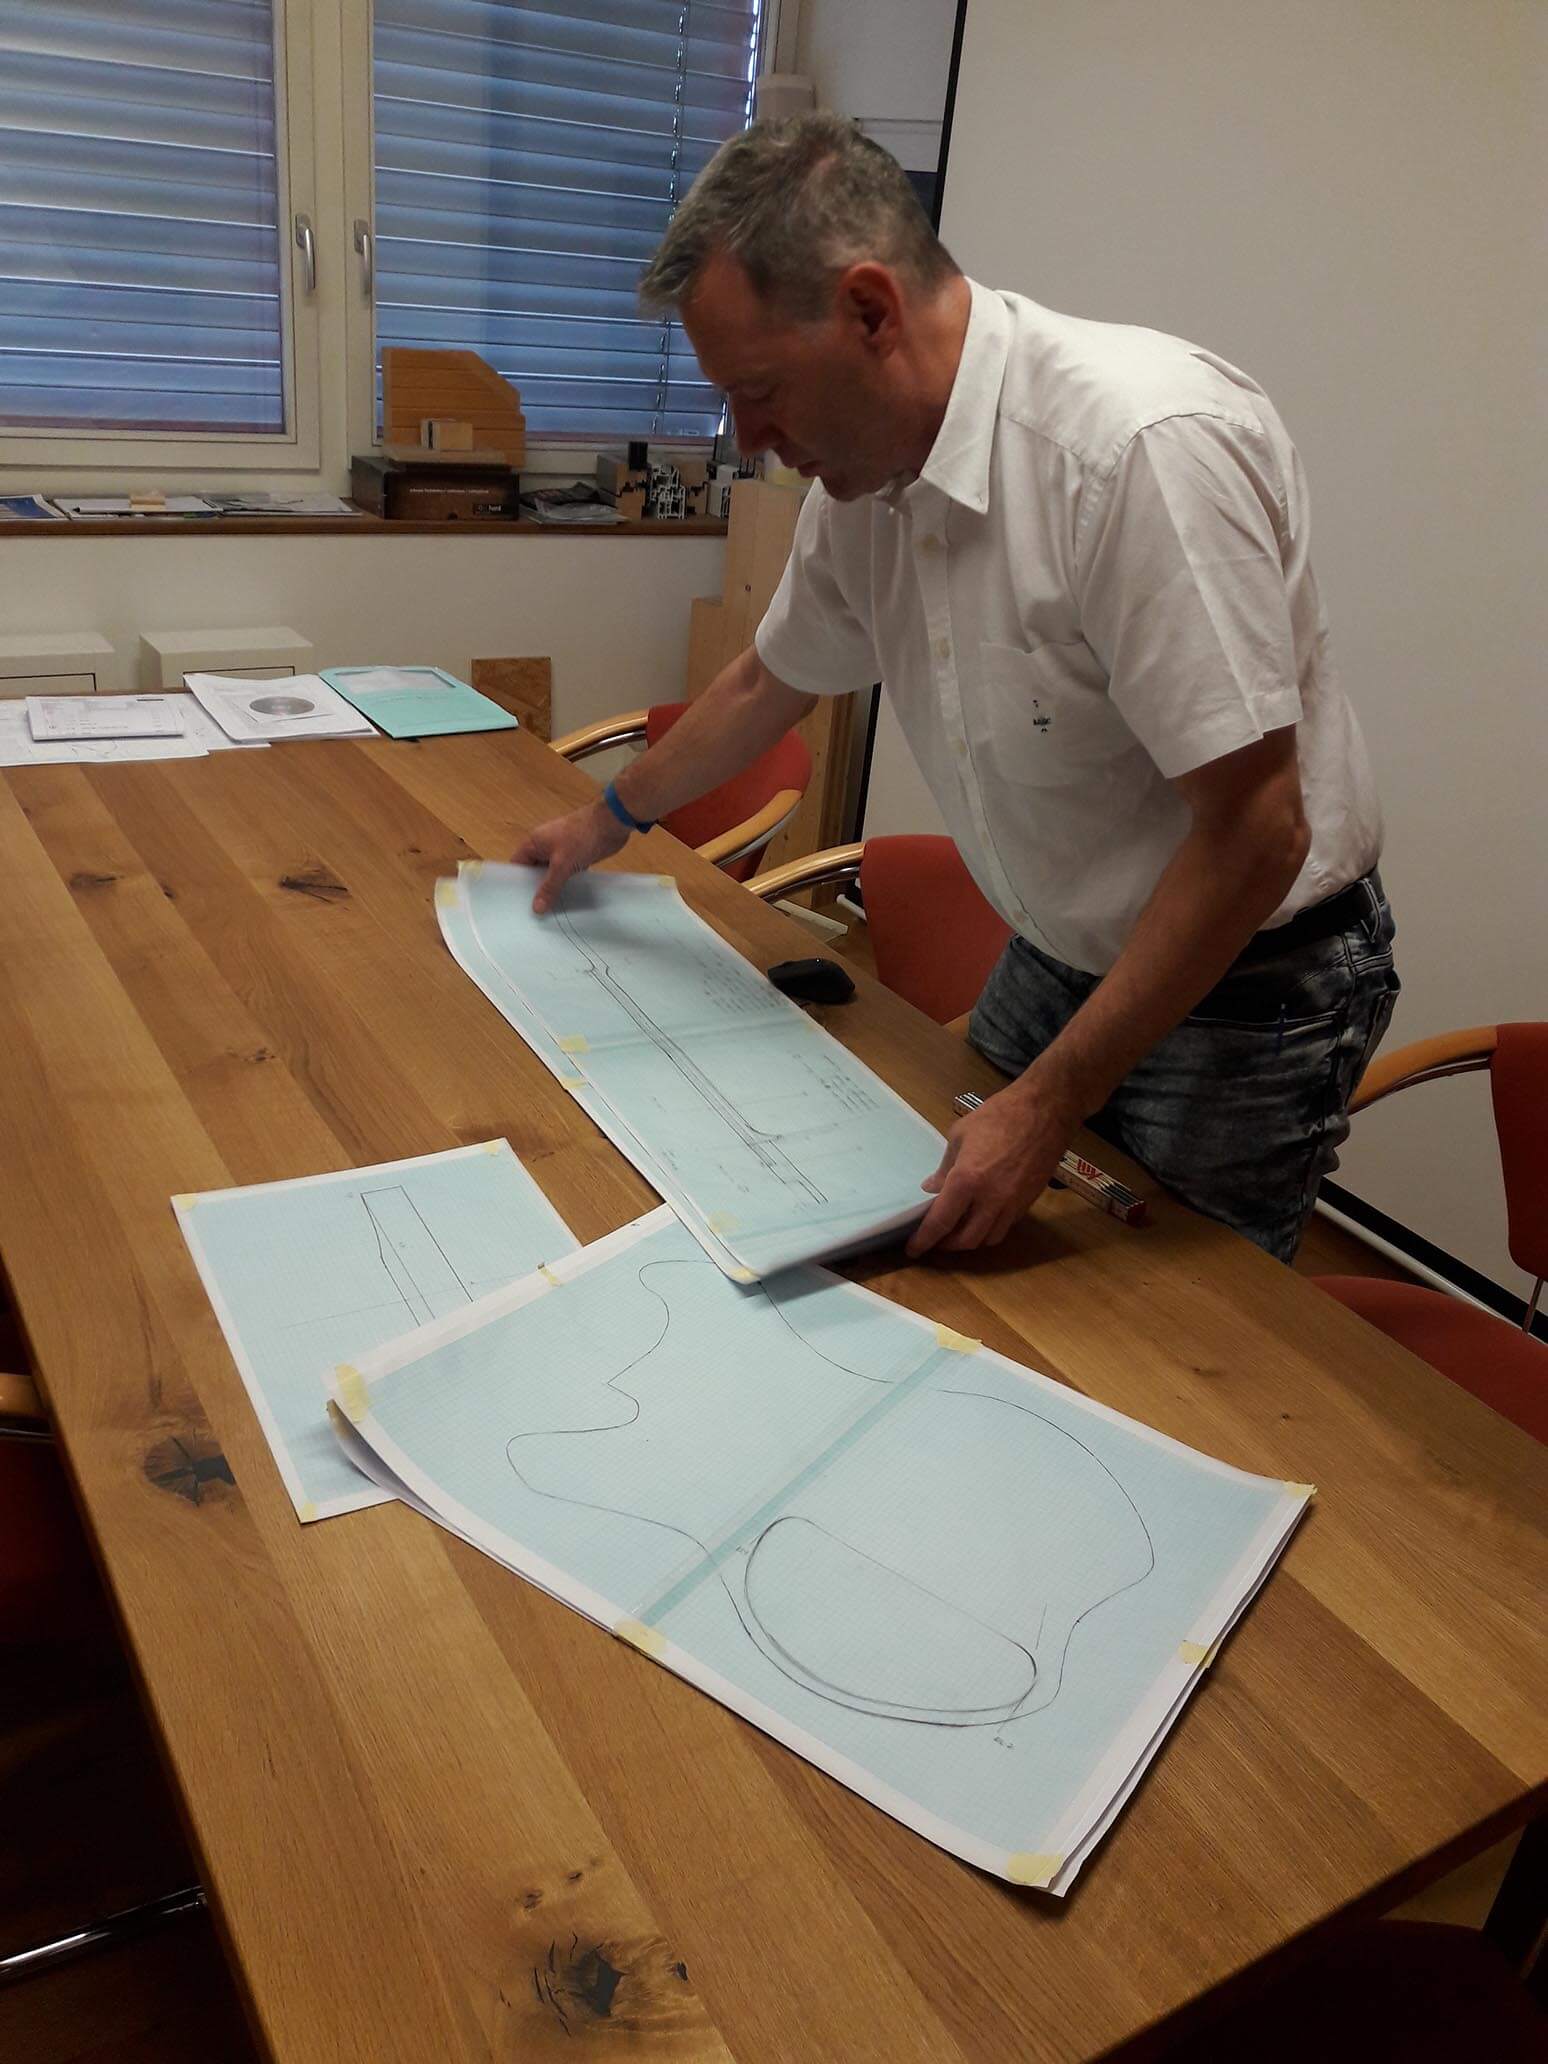
A very sincere thank you goes to the guitar builder Peter Leuzinger for assisting me in the whole process and Walter Kälin for generously giving me access to his wood workshop.
Making of
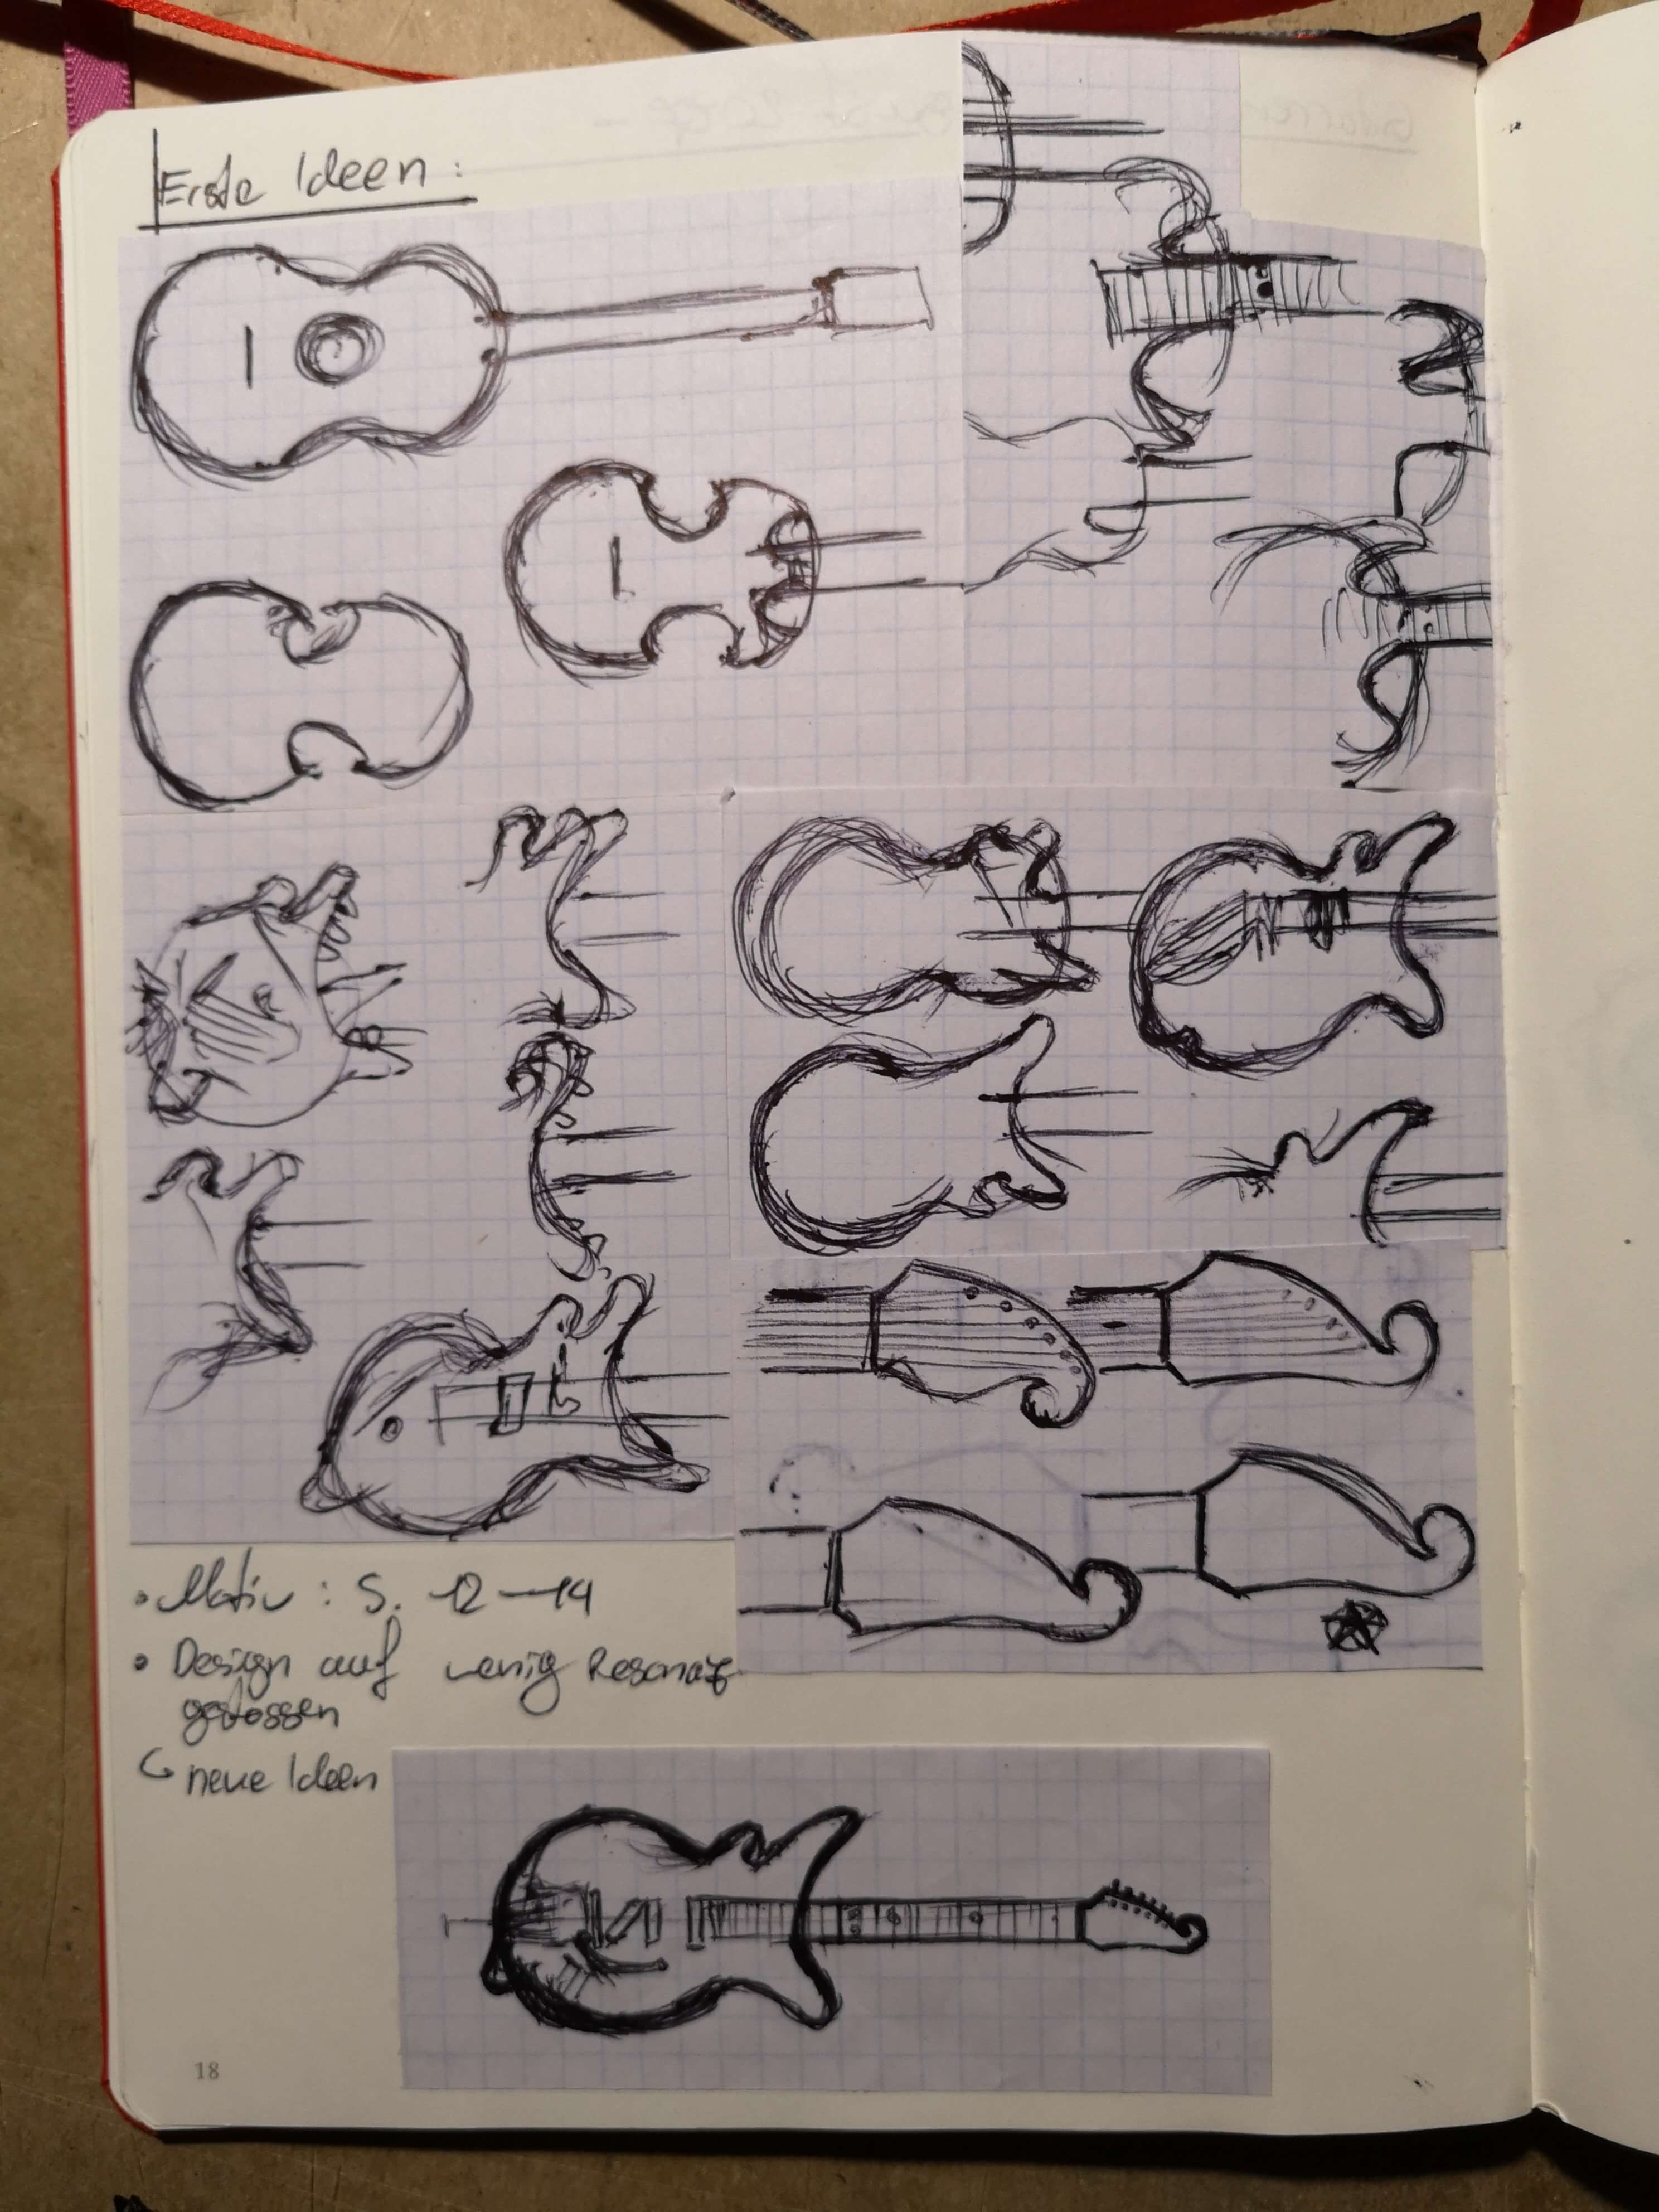
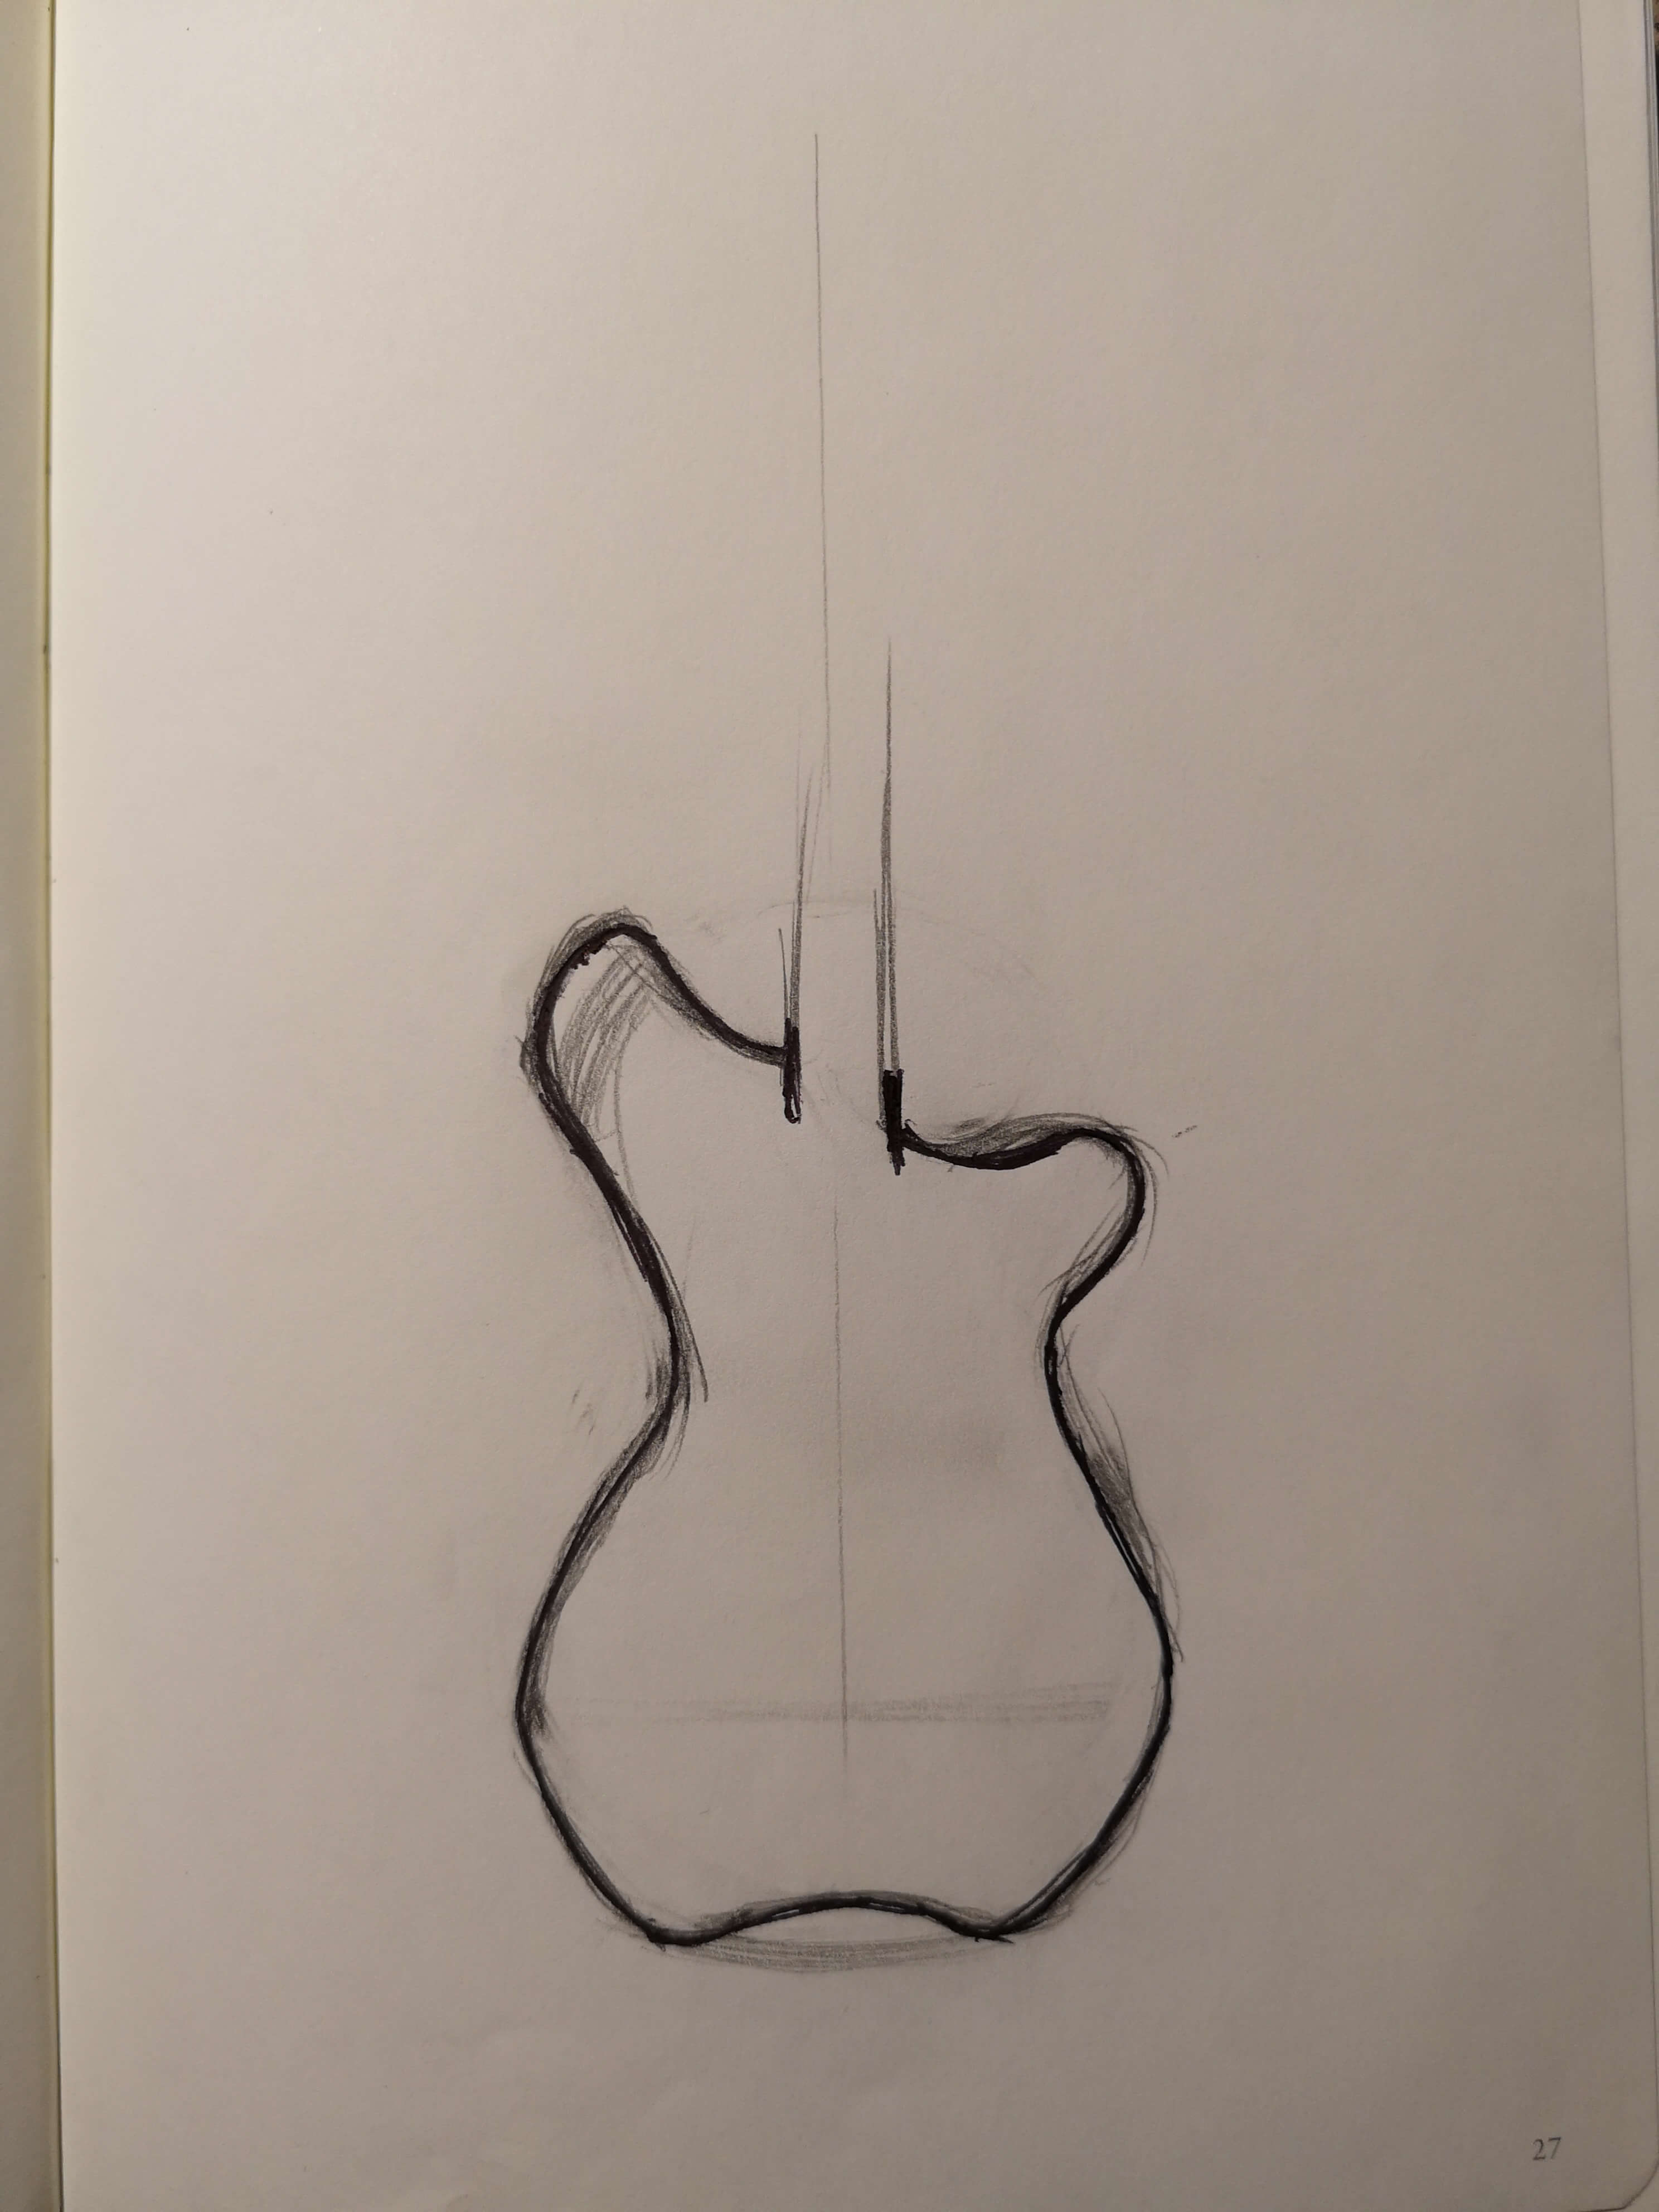
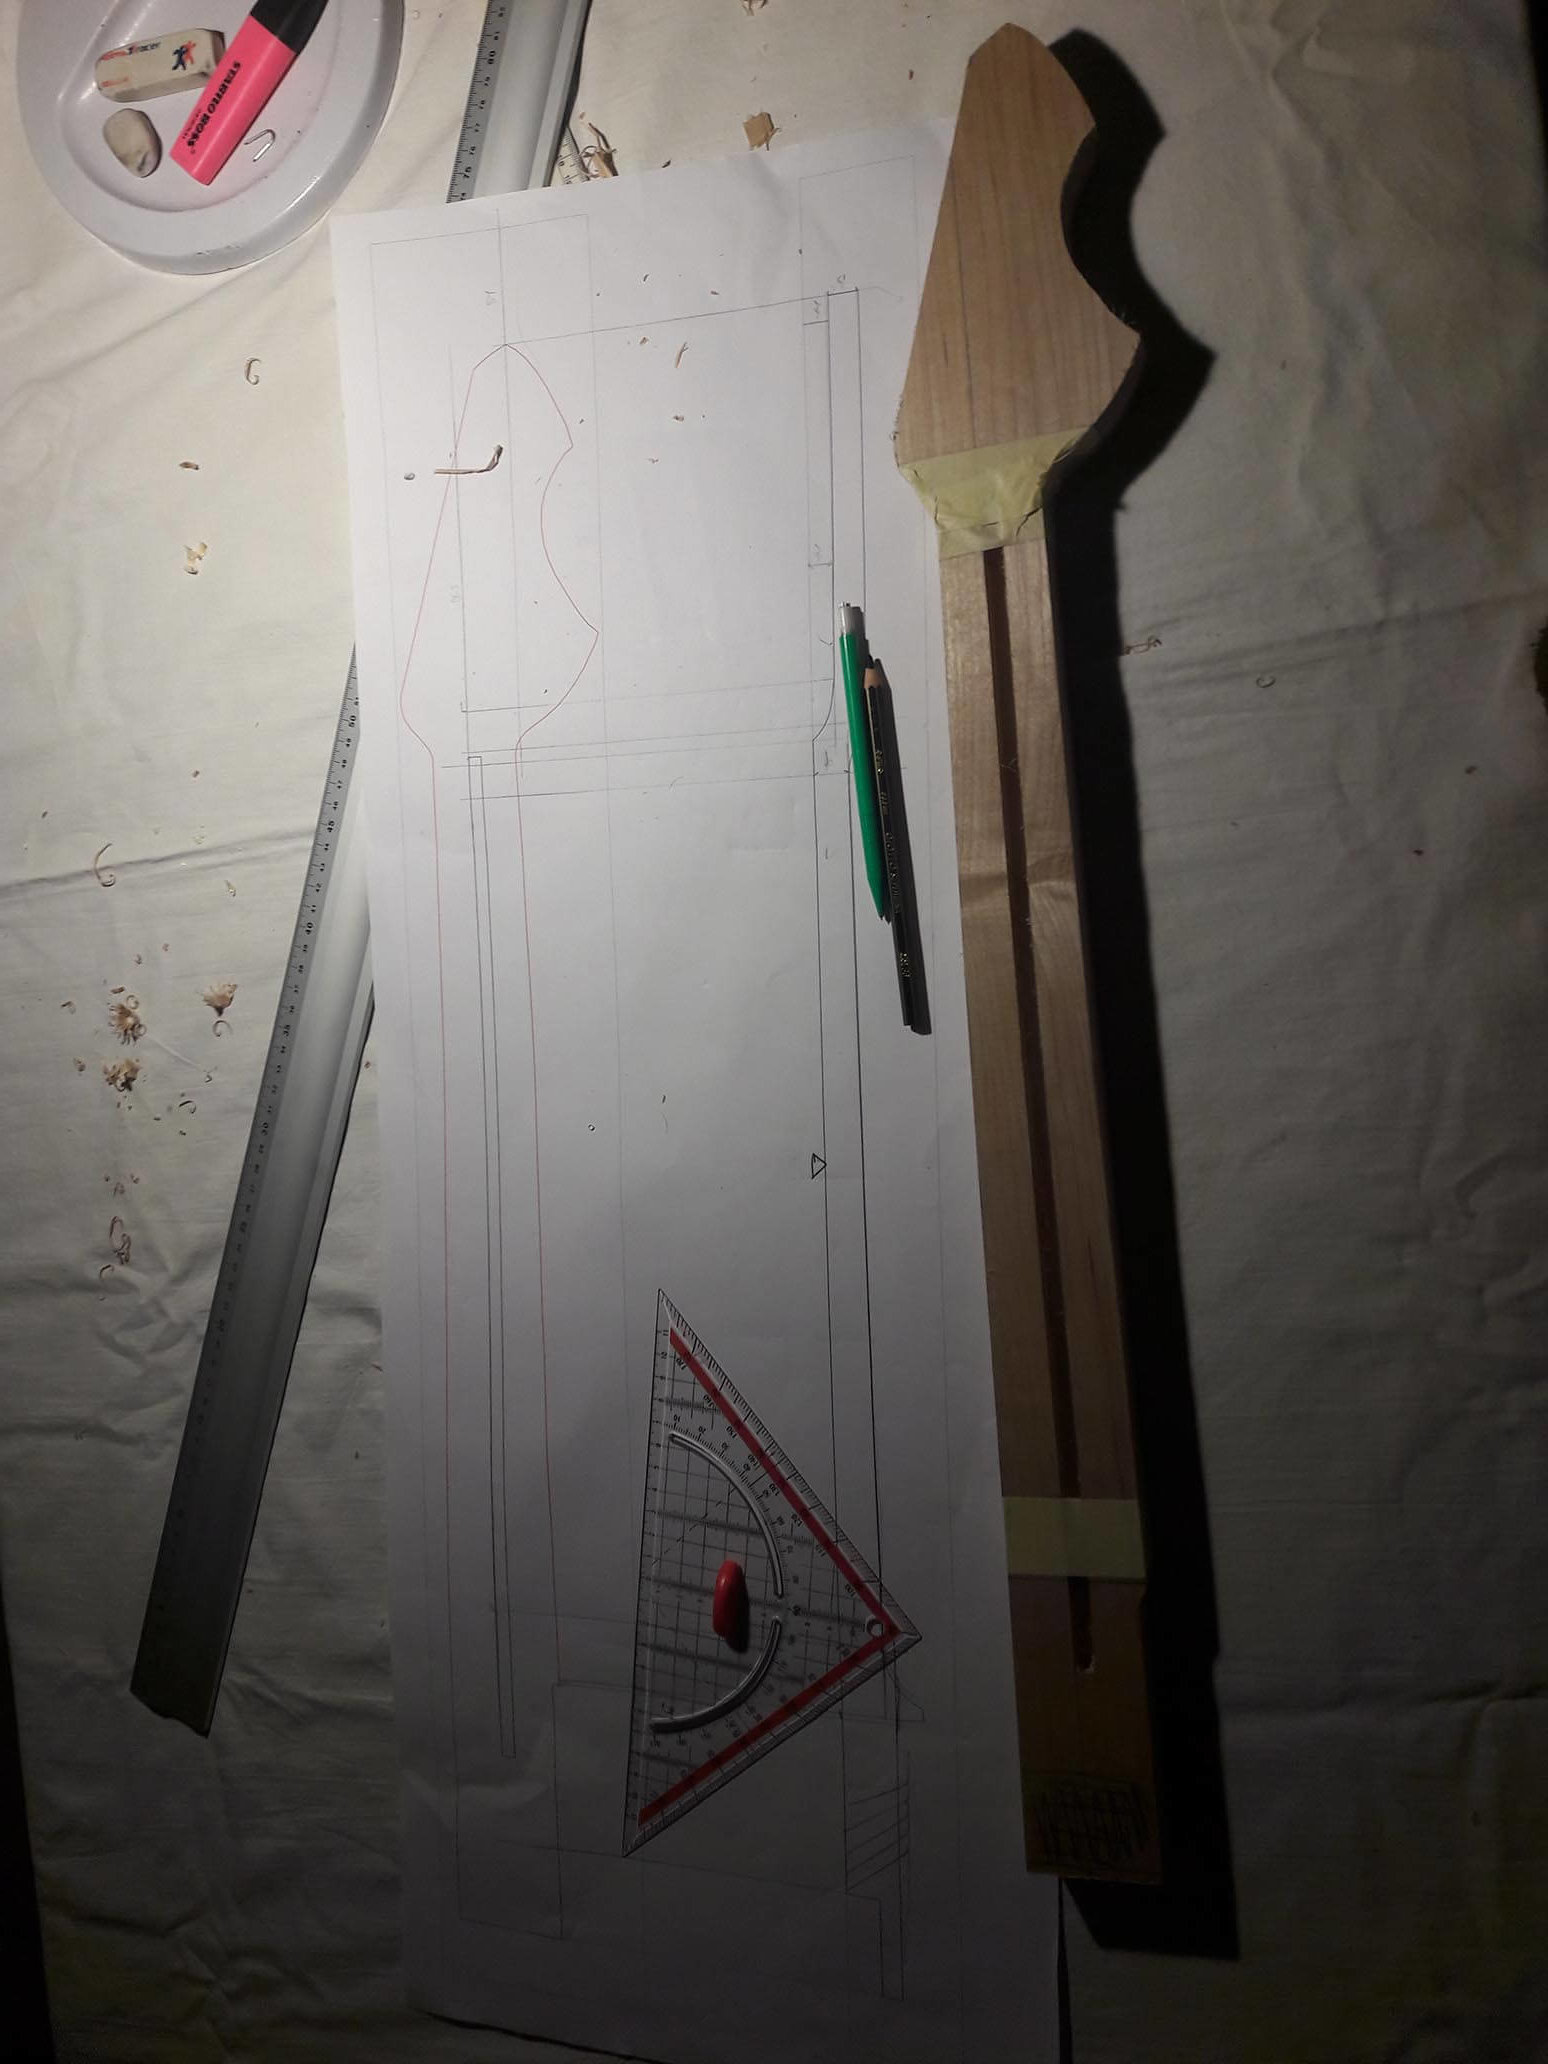
First Drafts
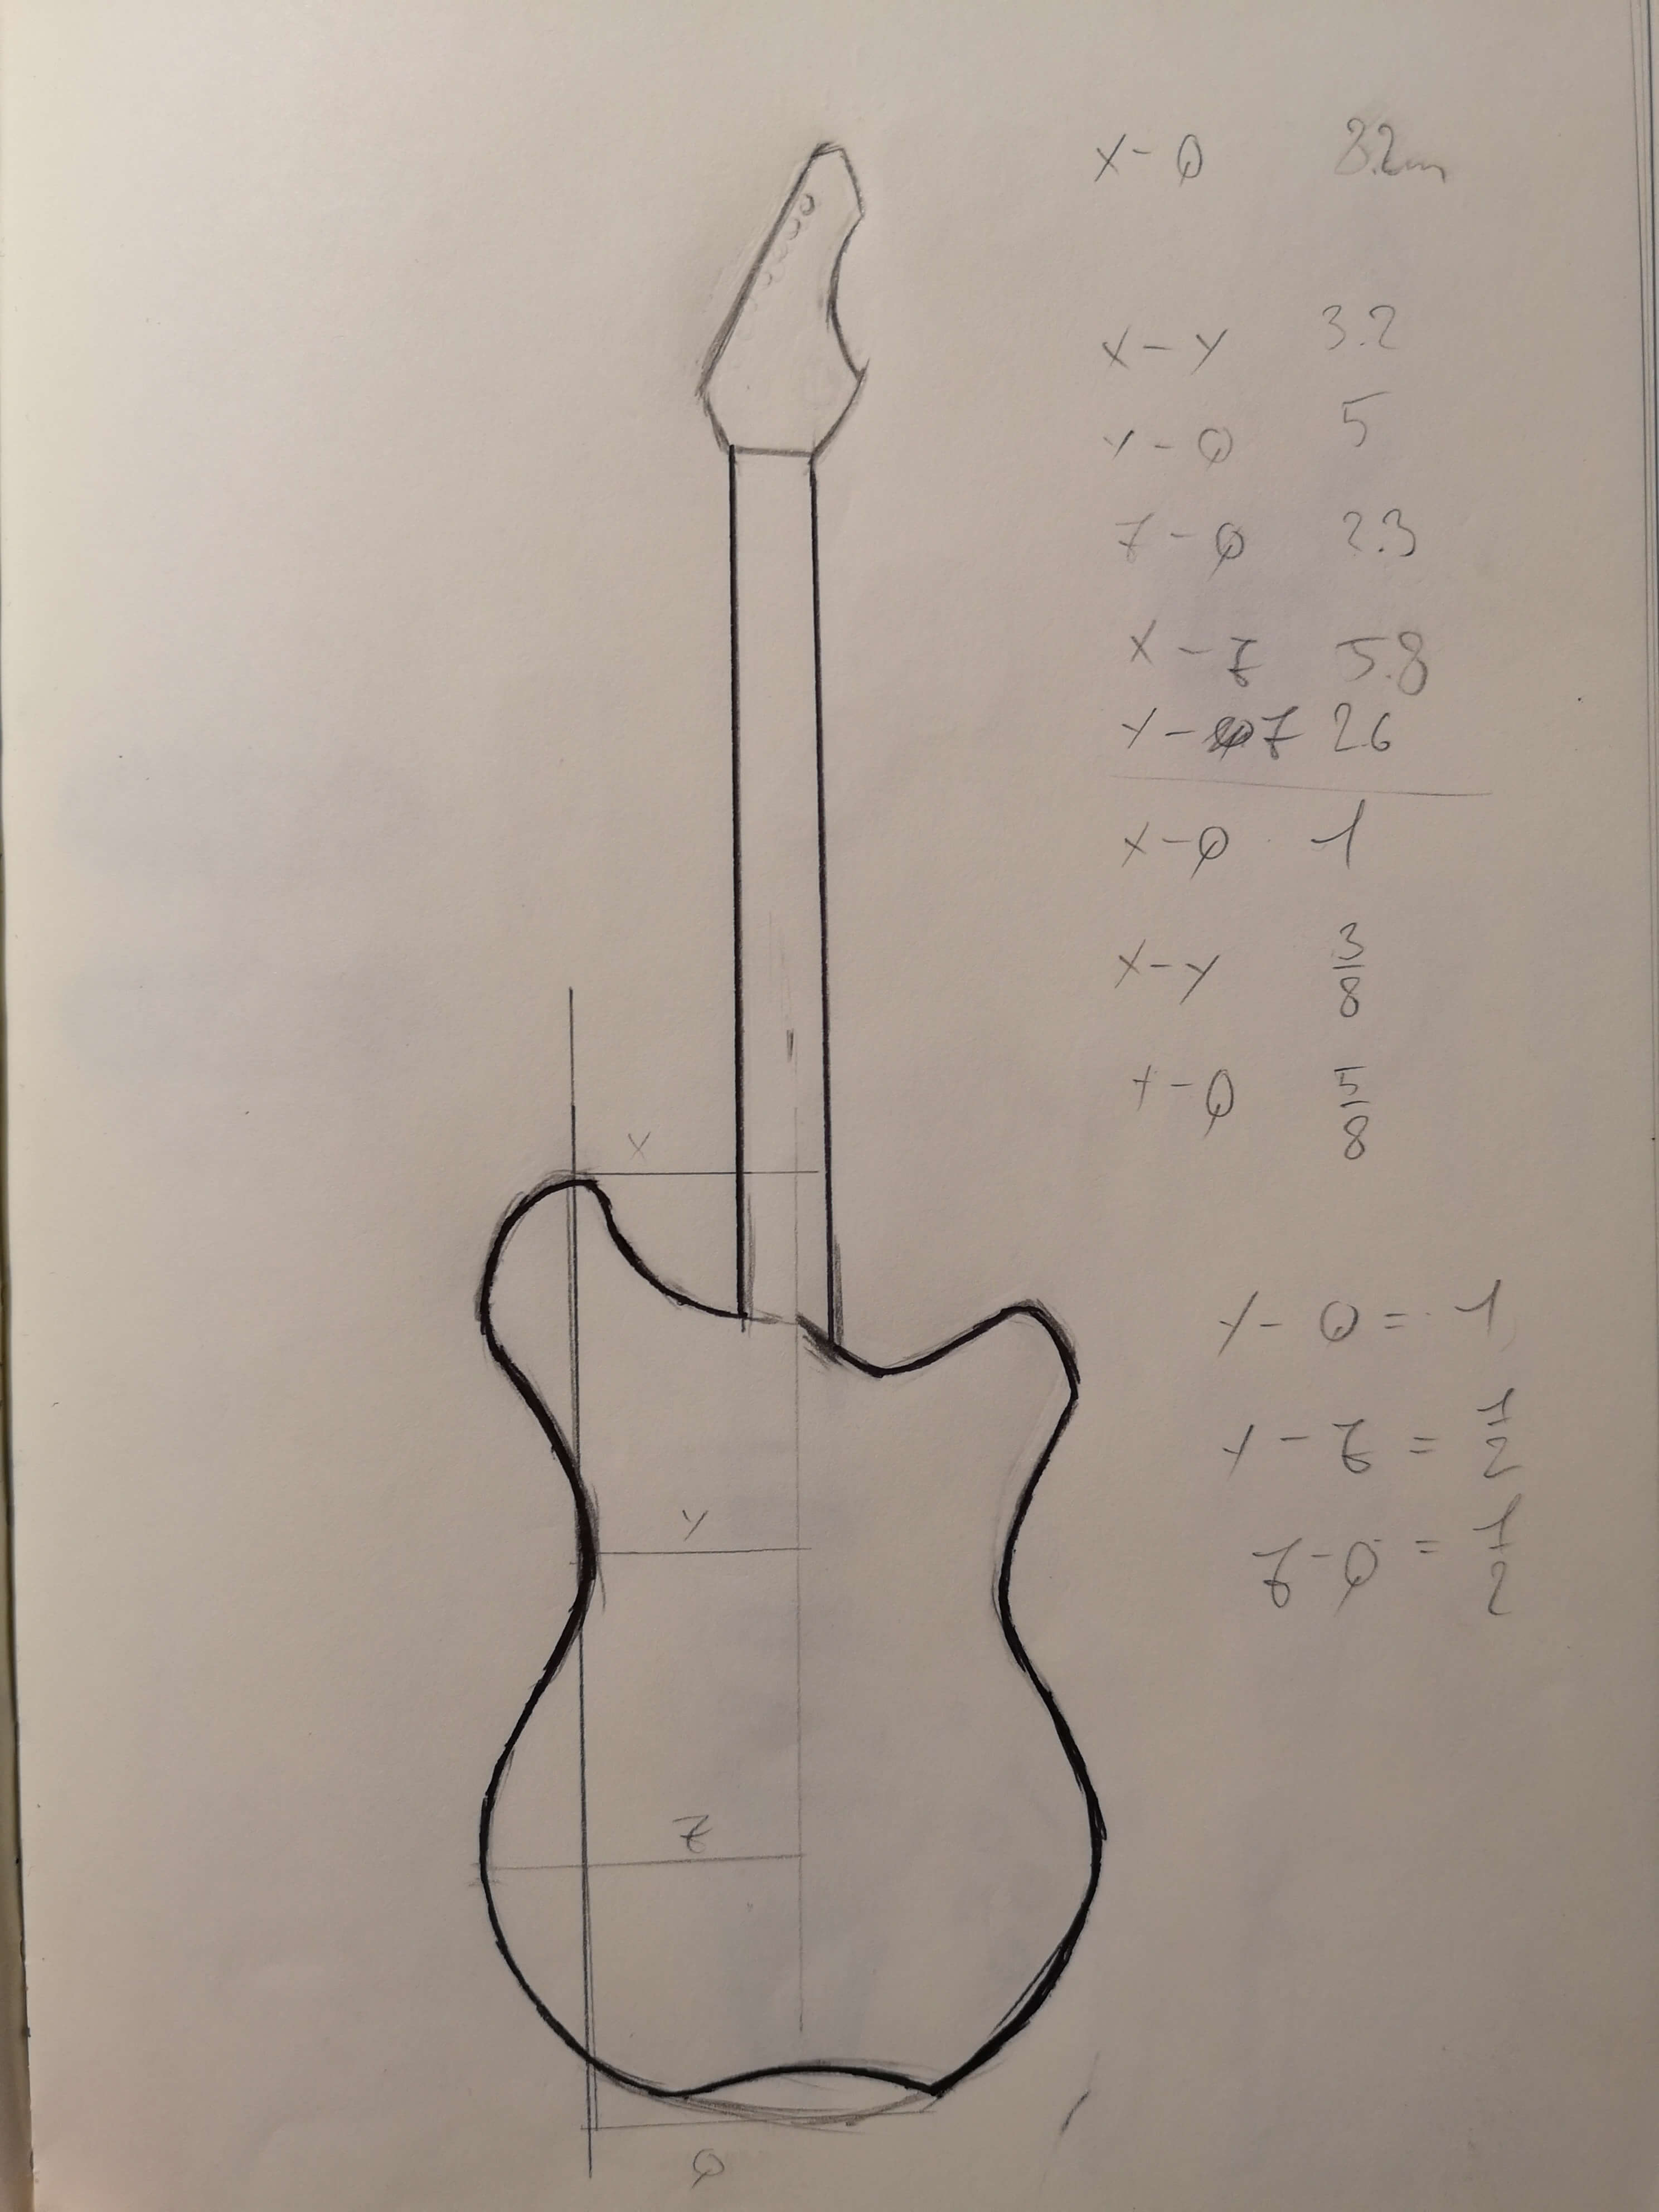
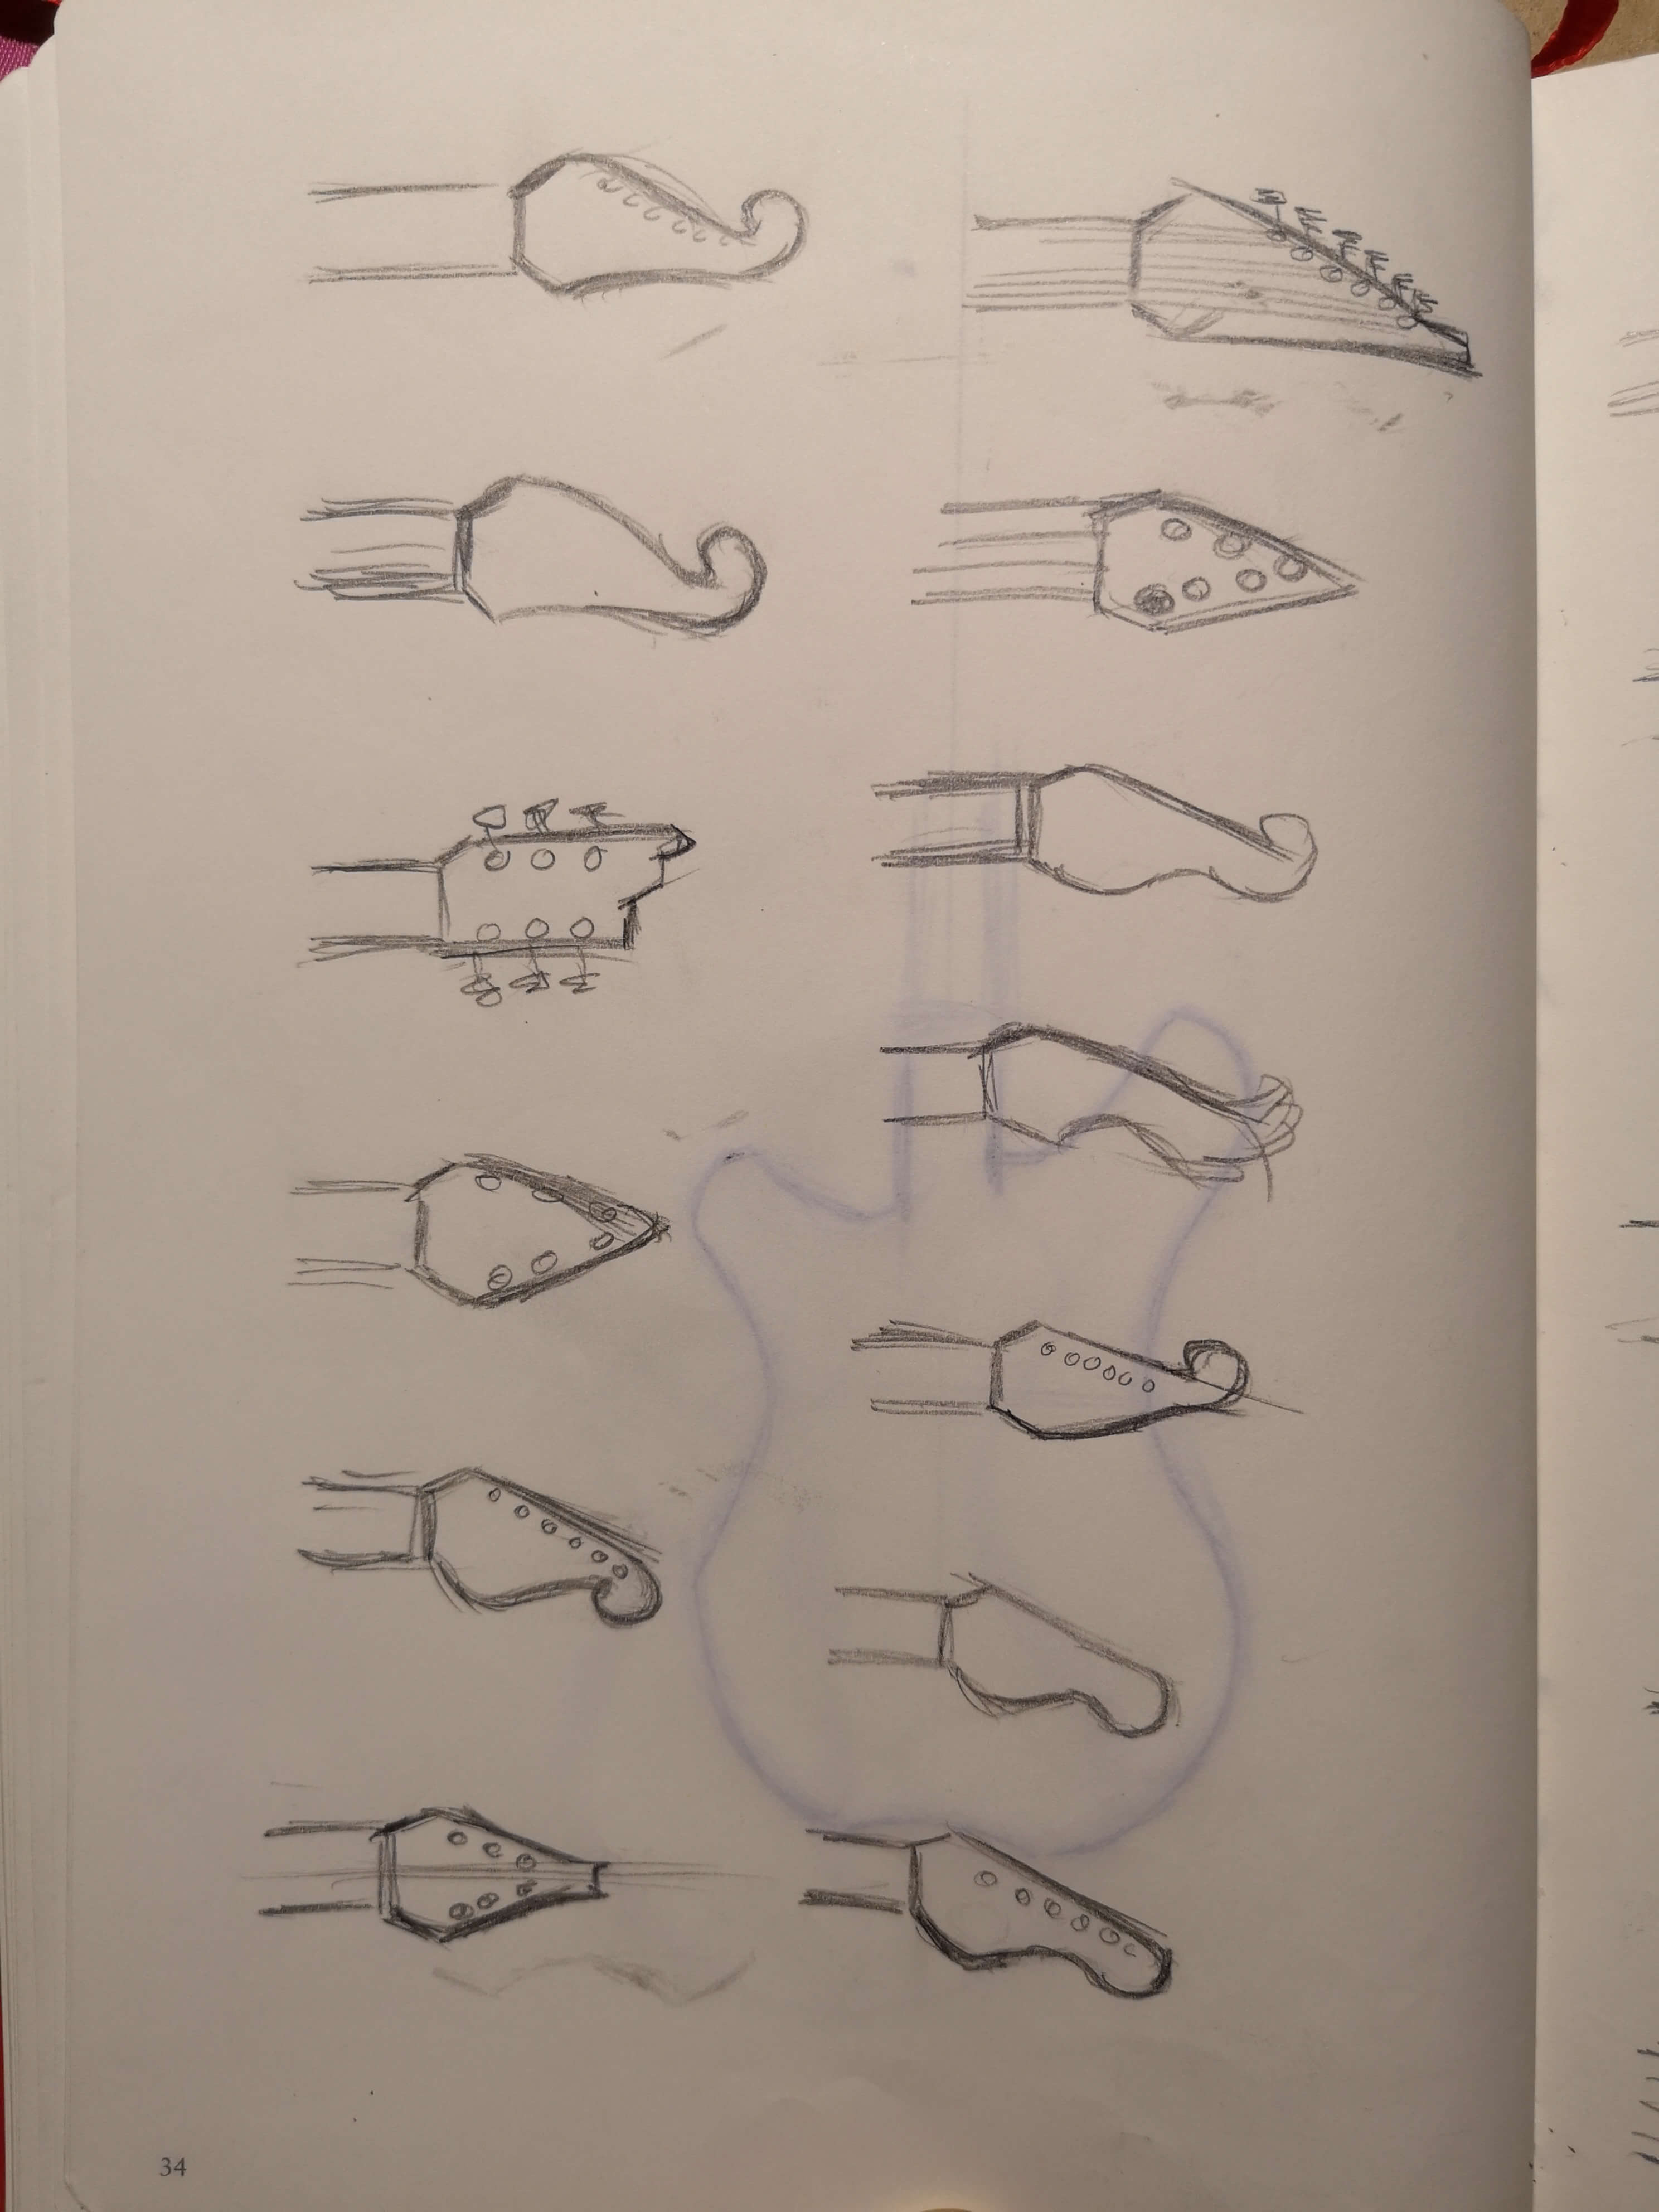
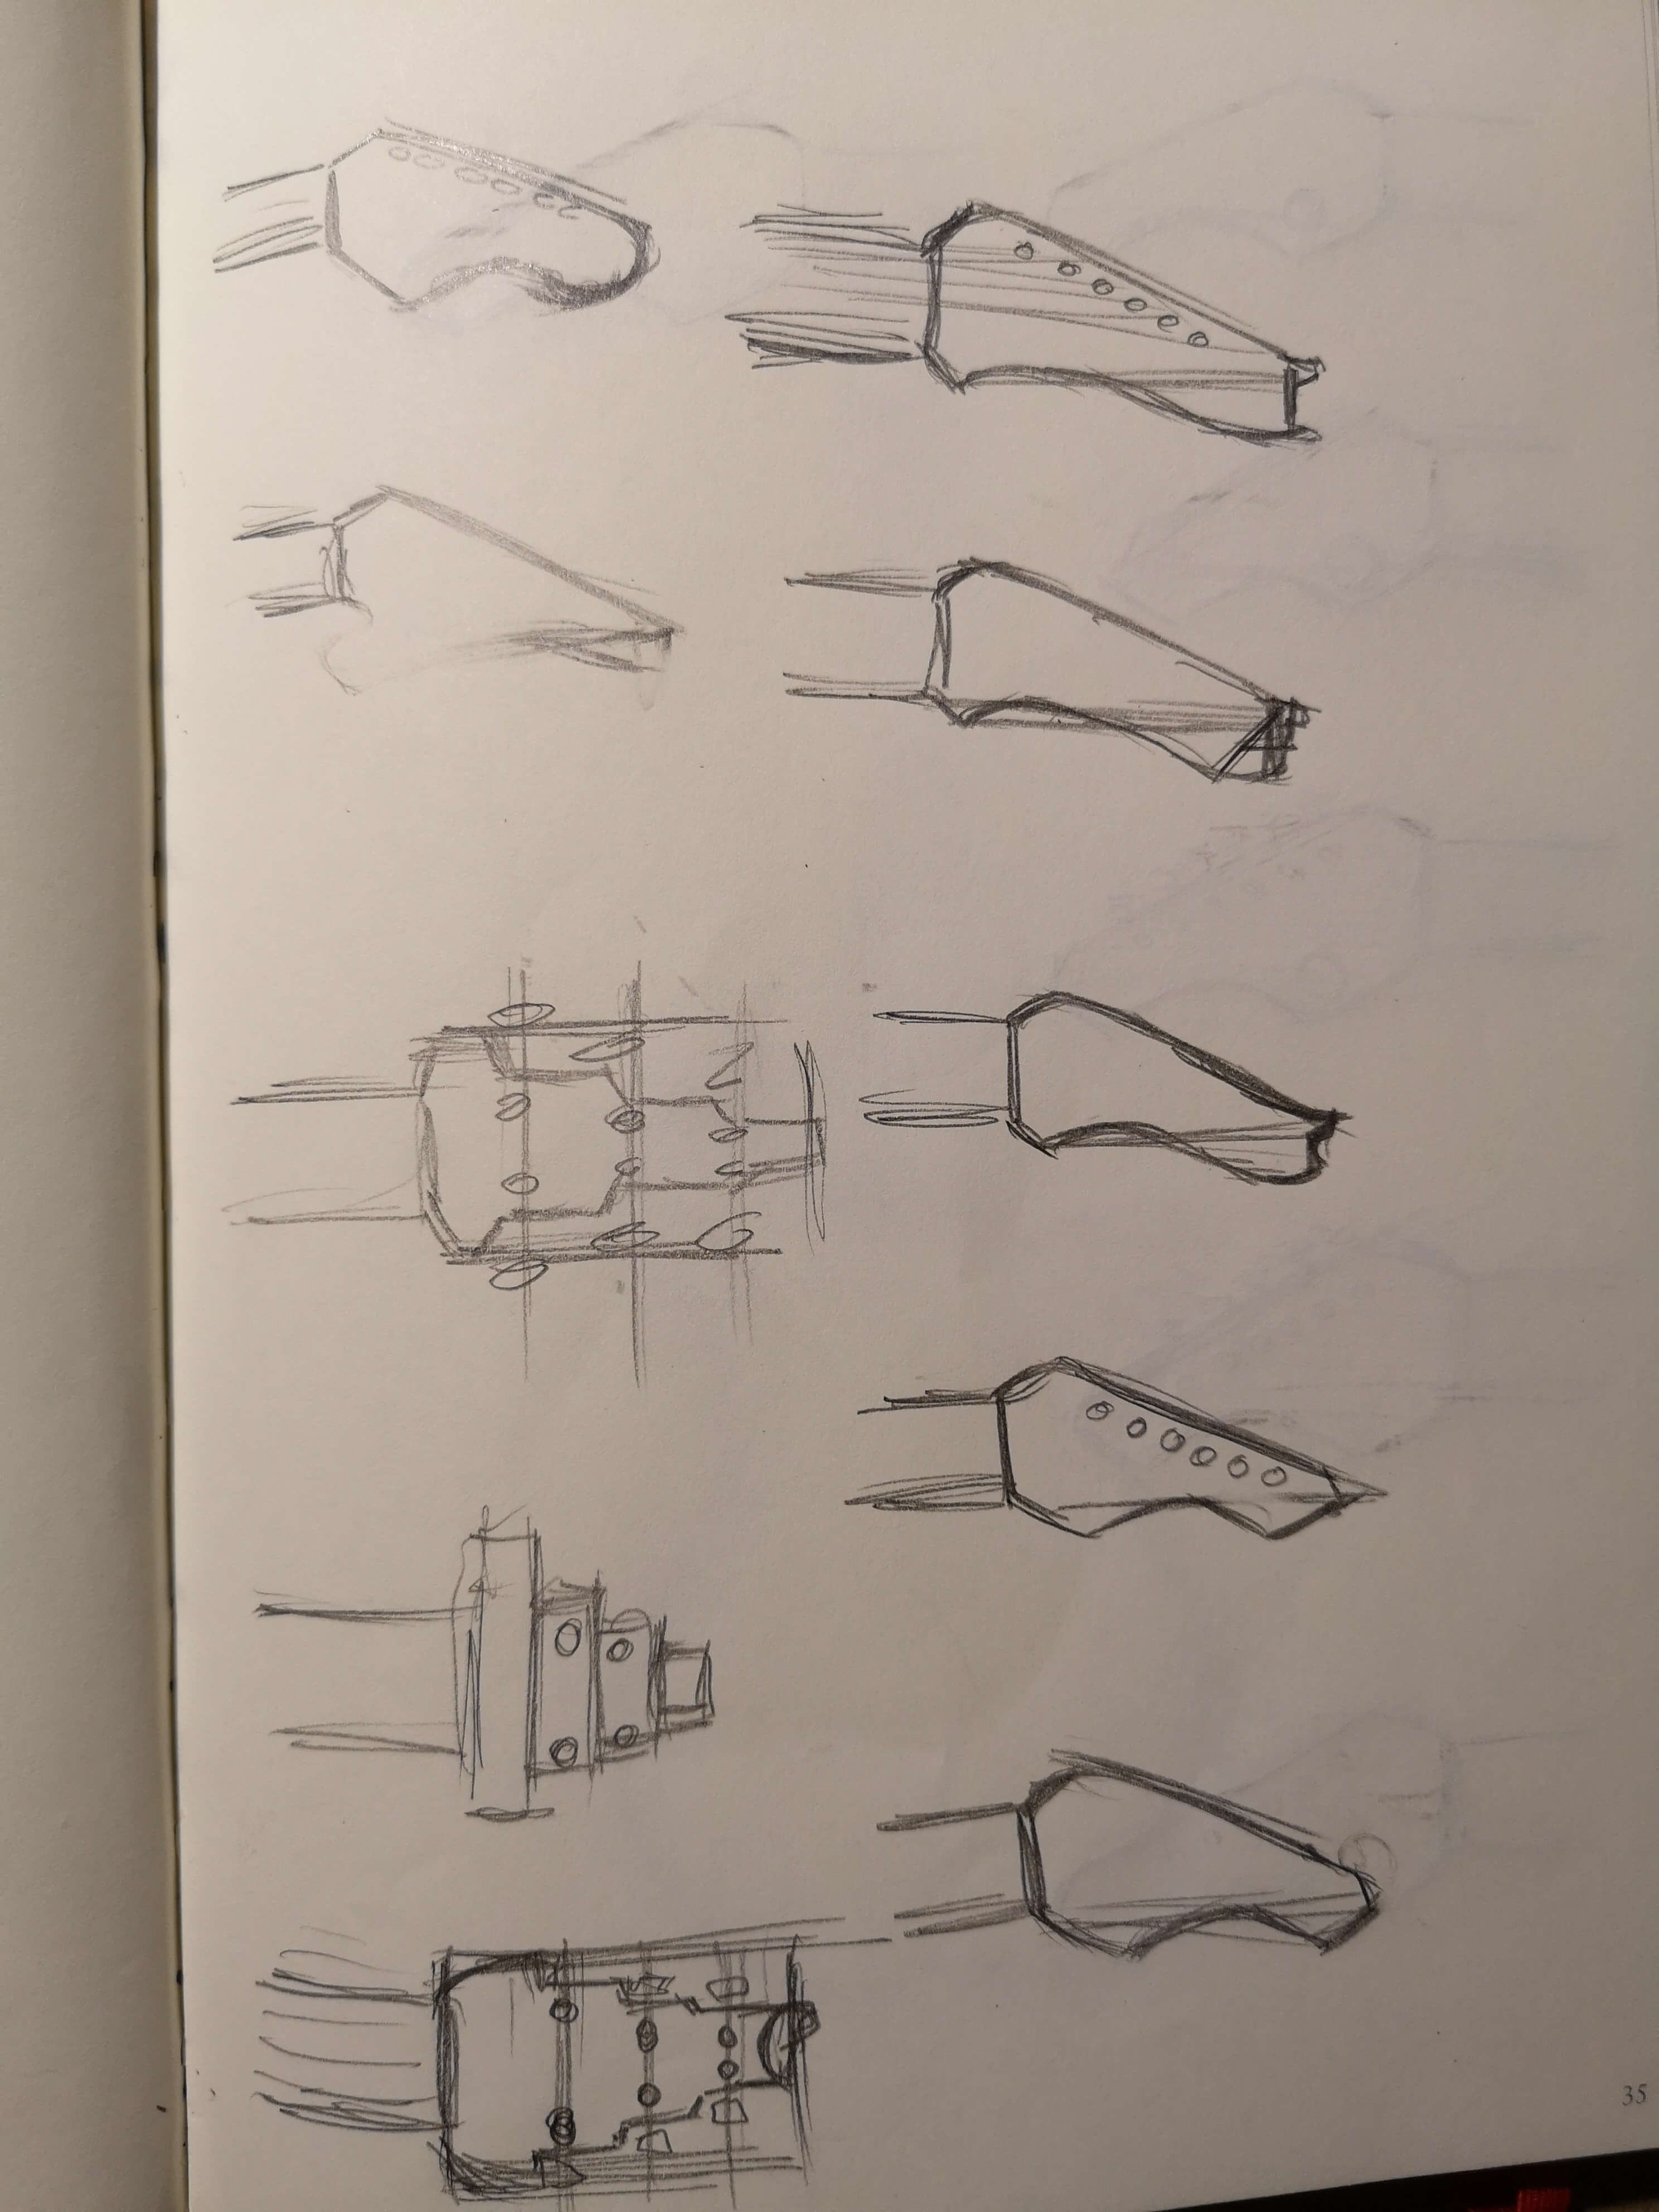
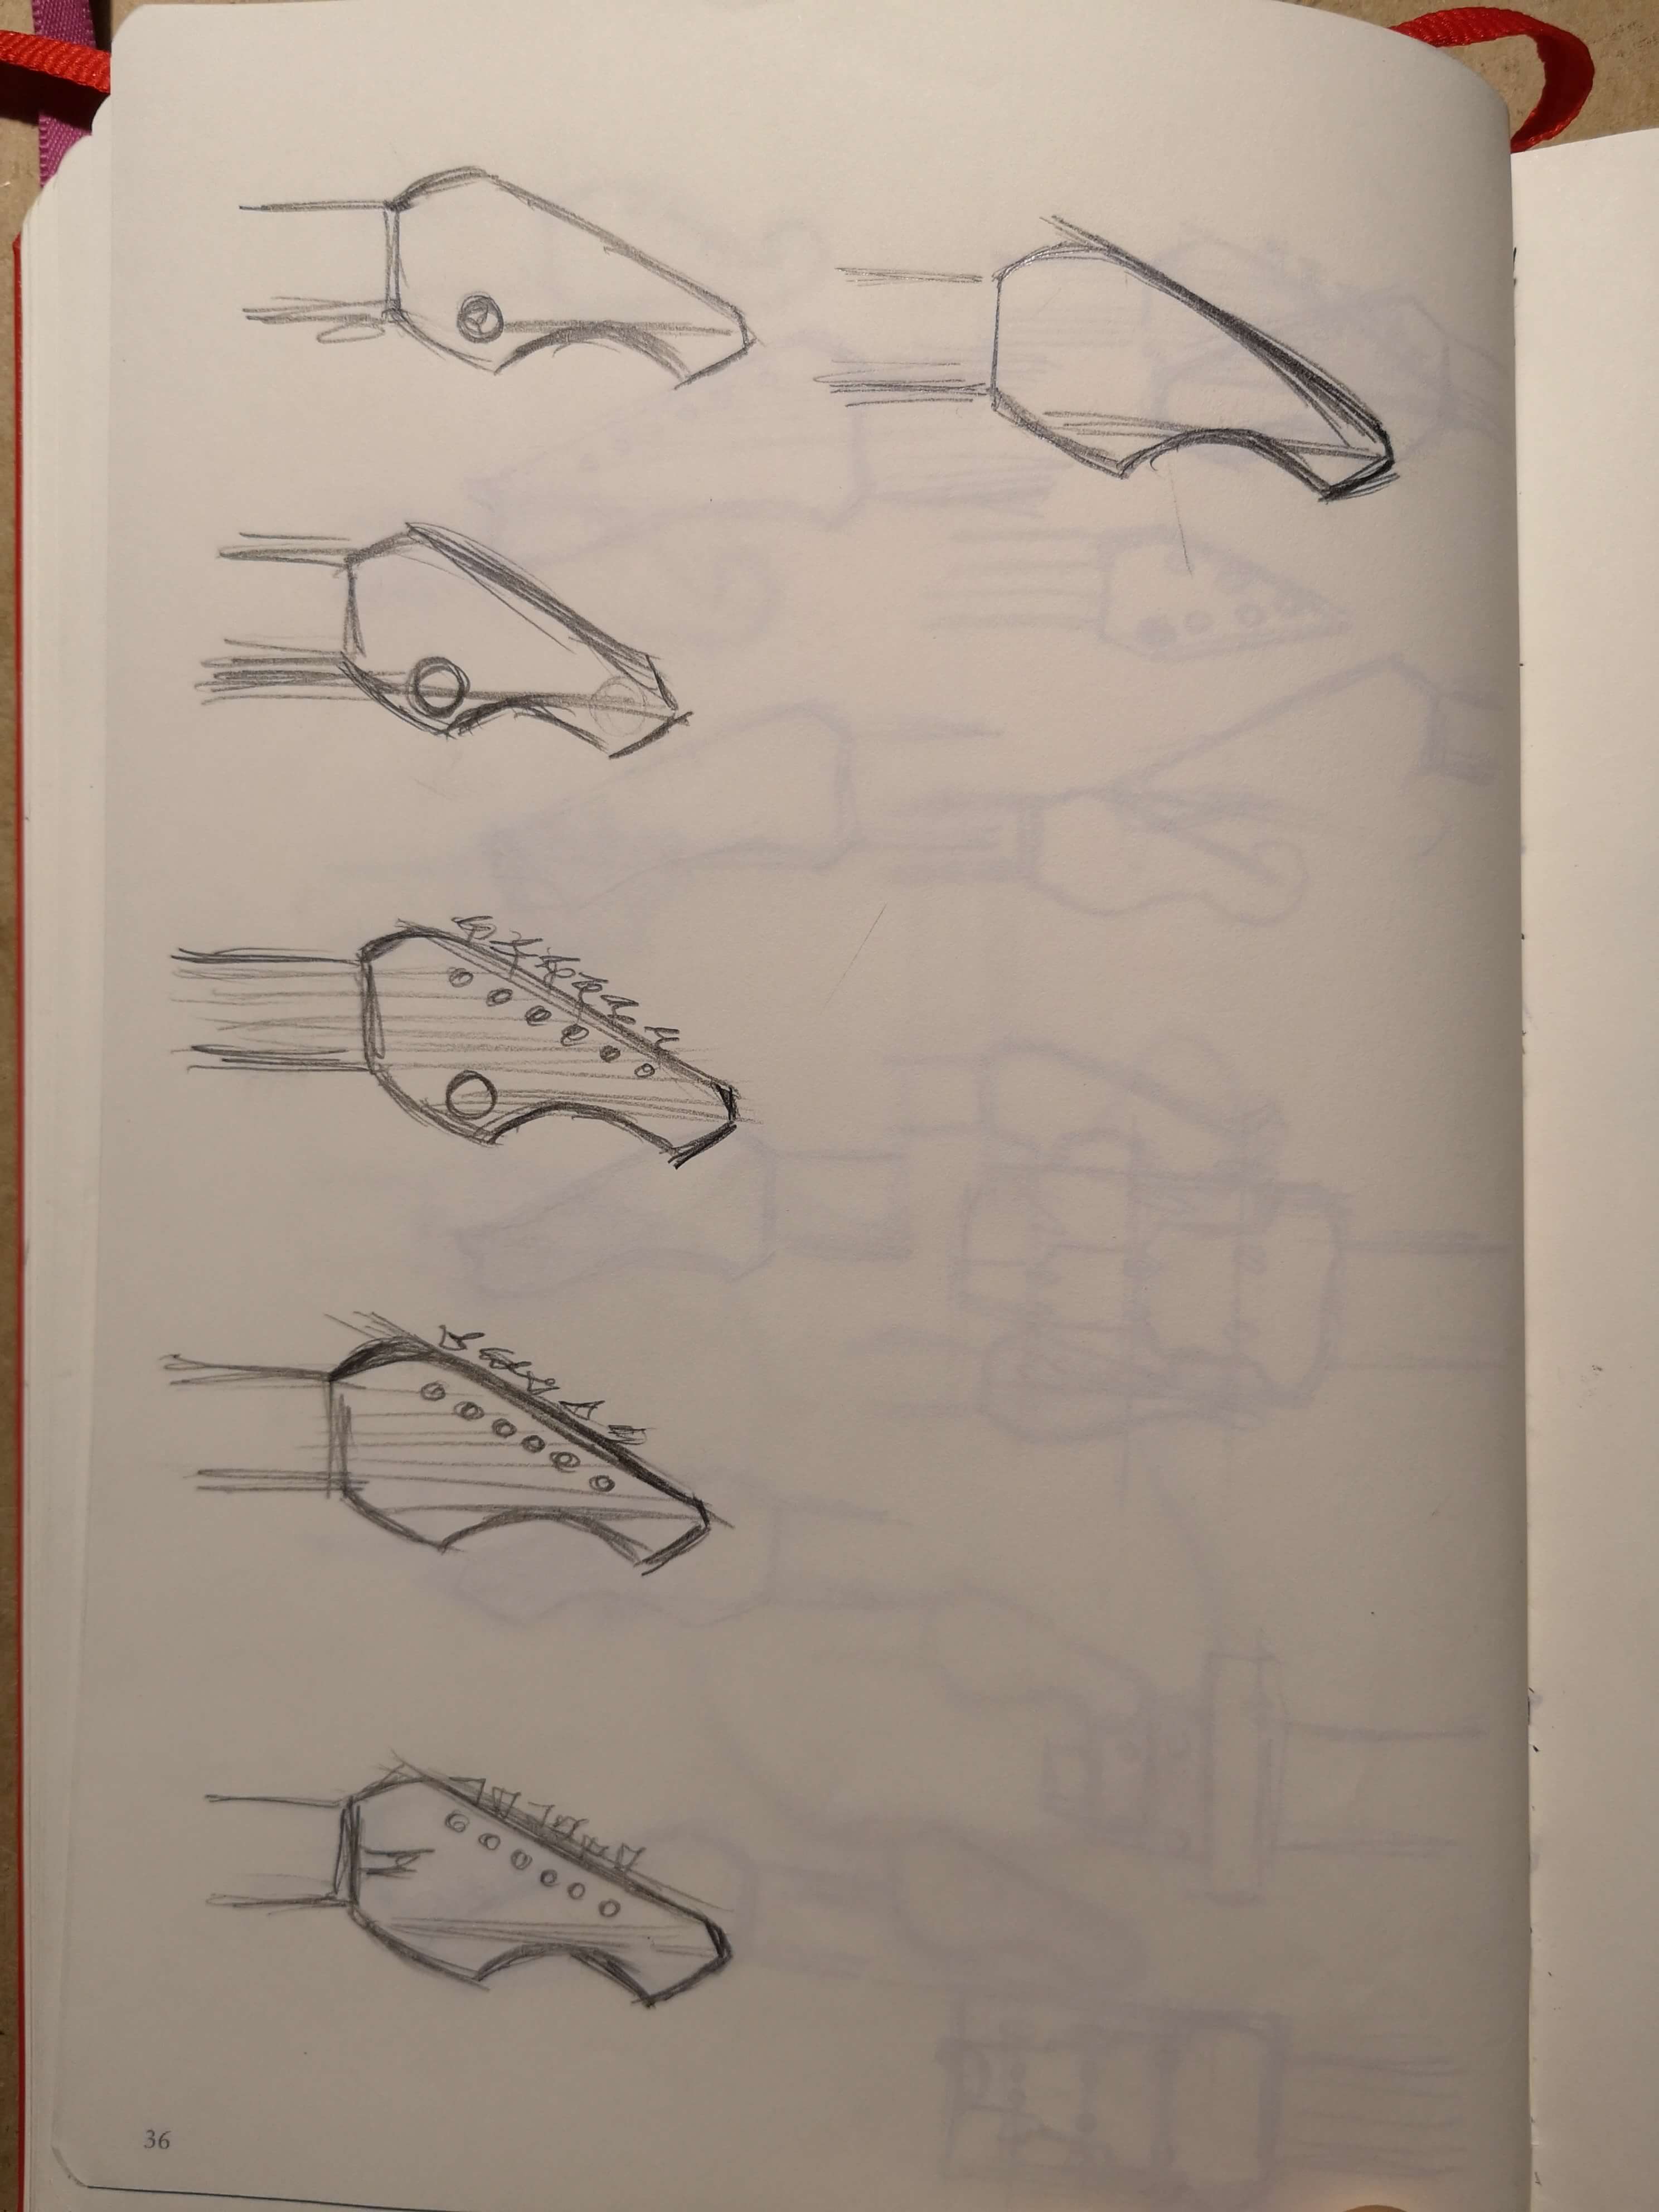
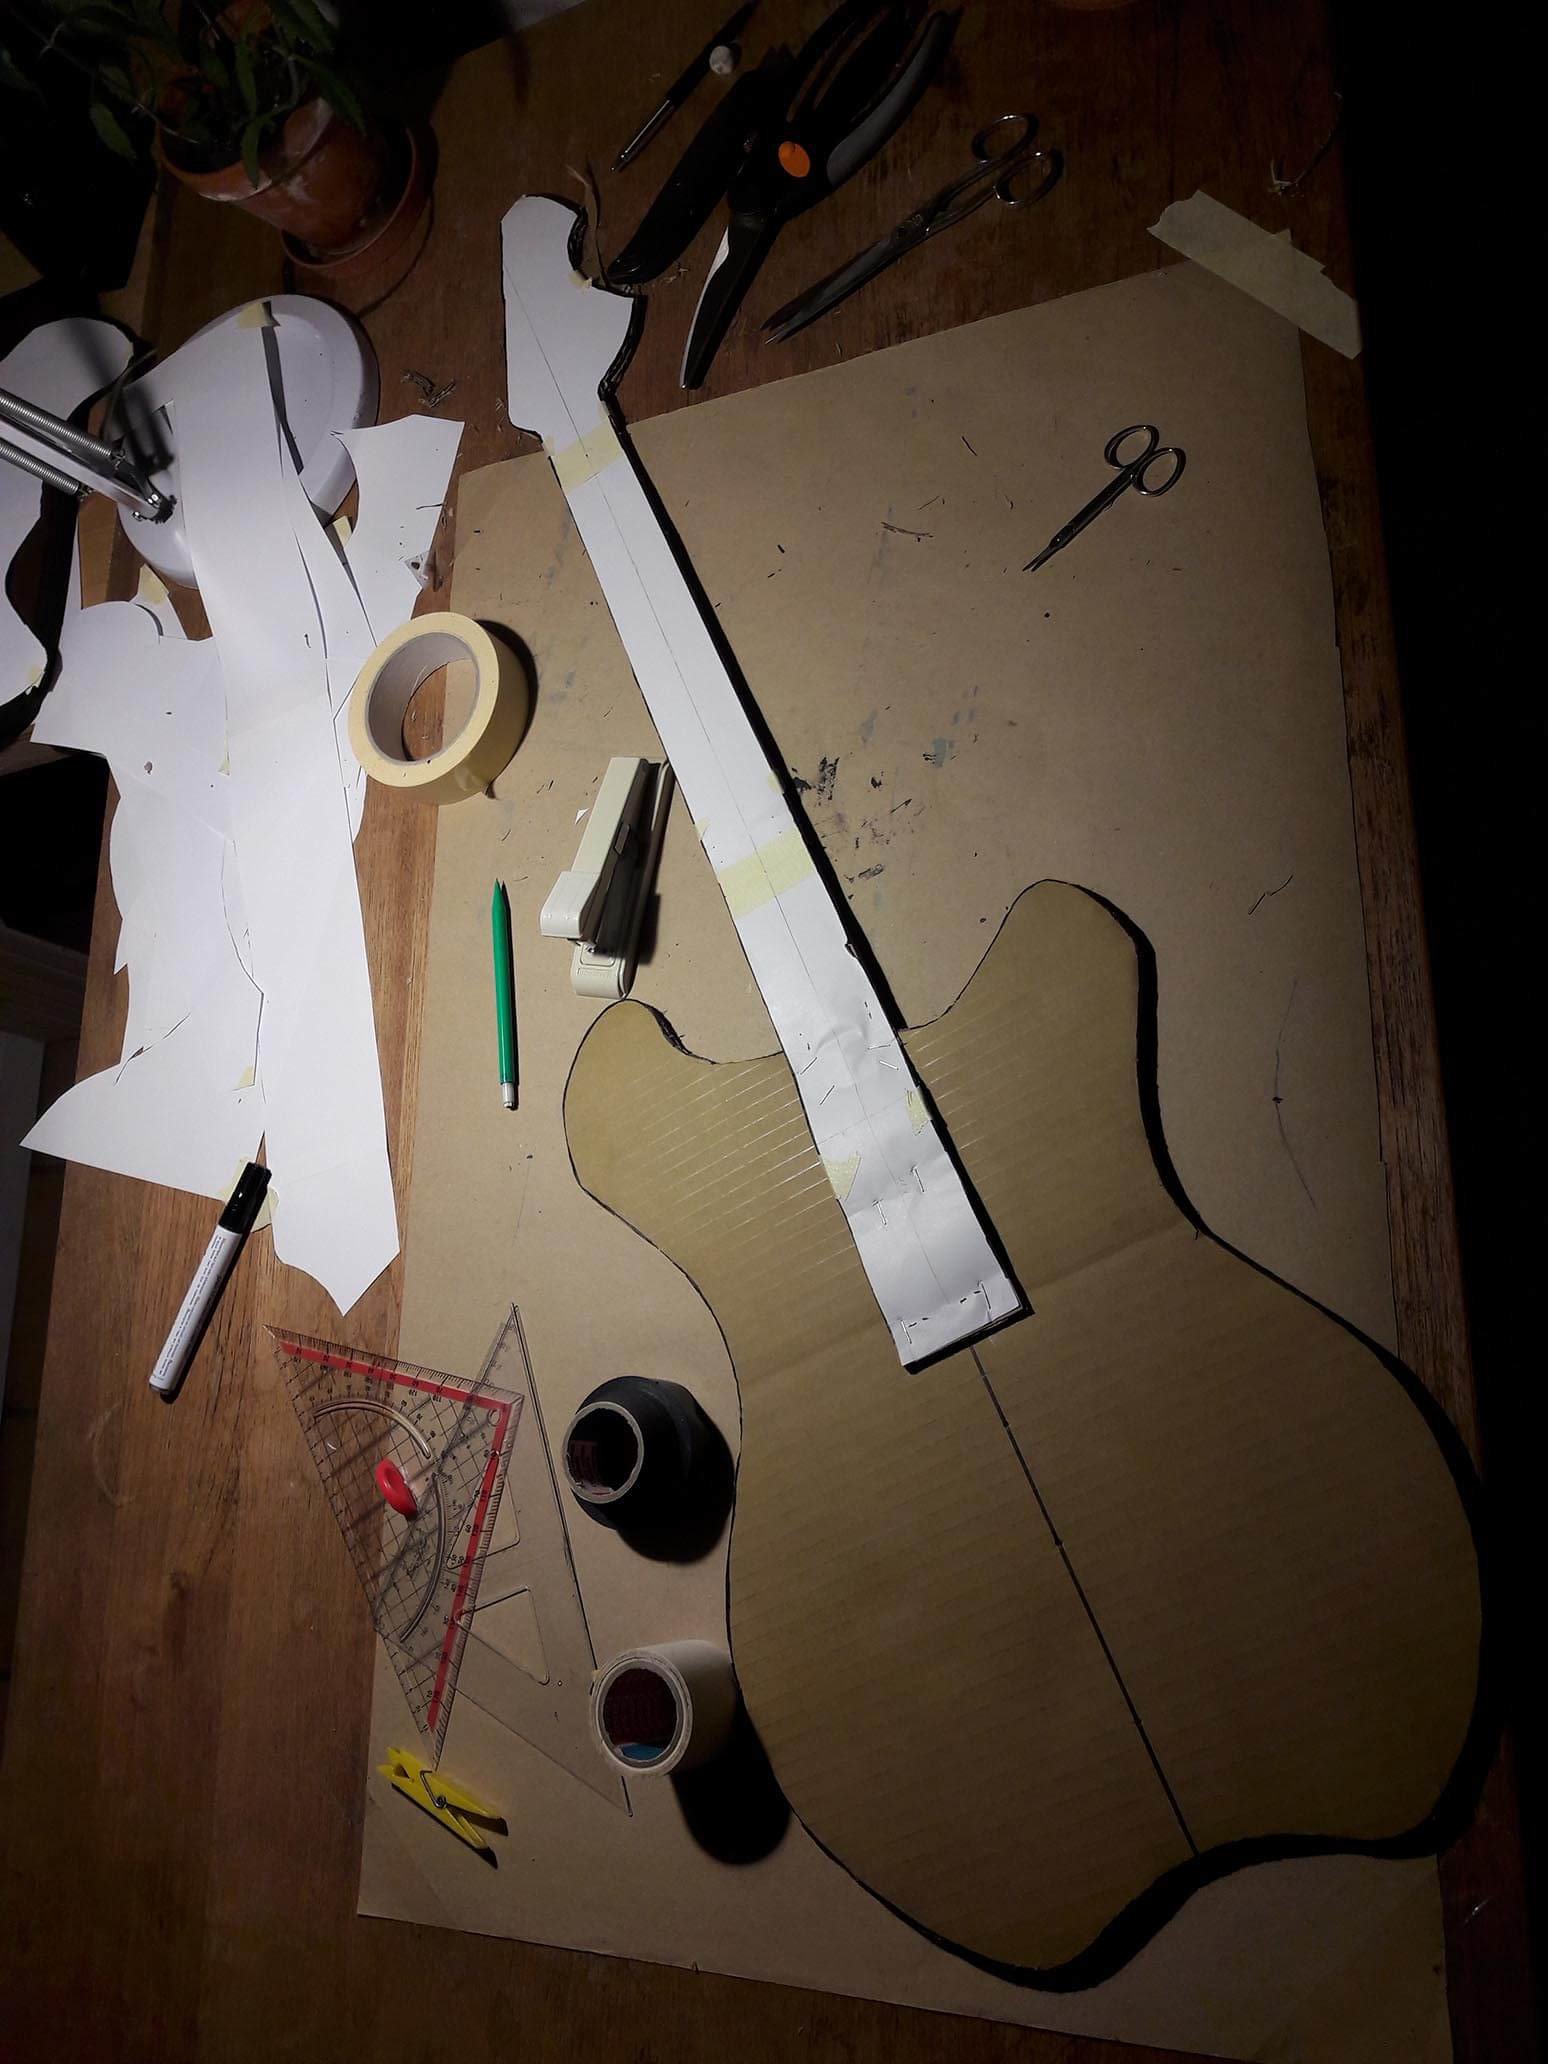
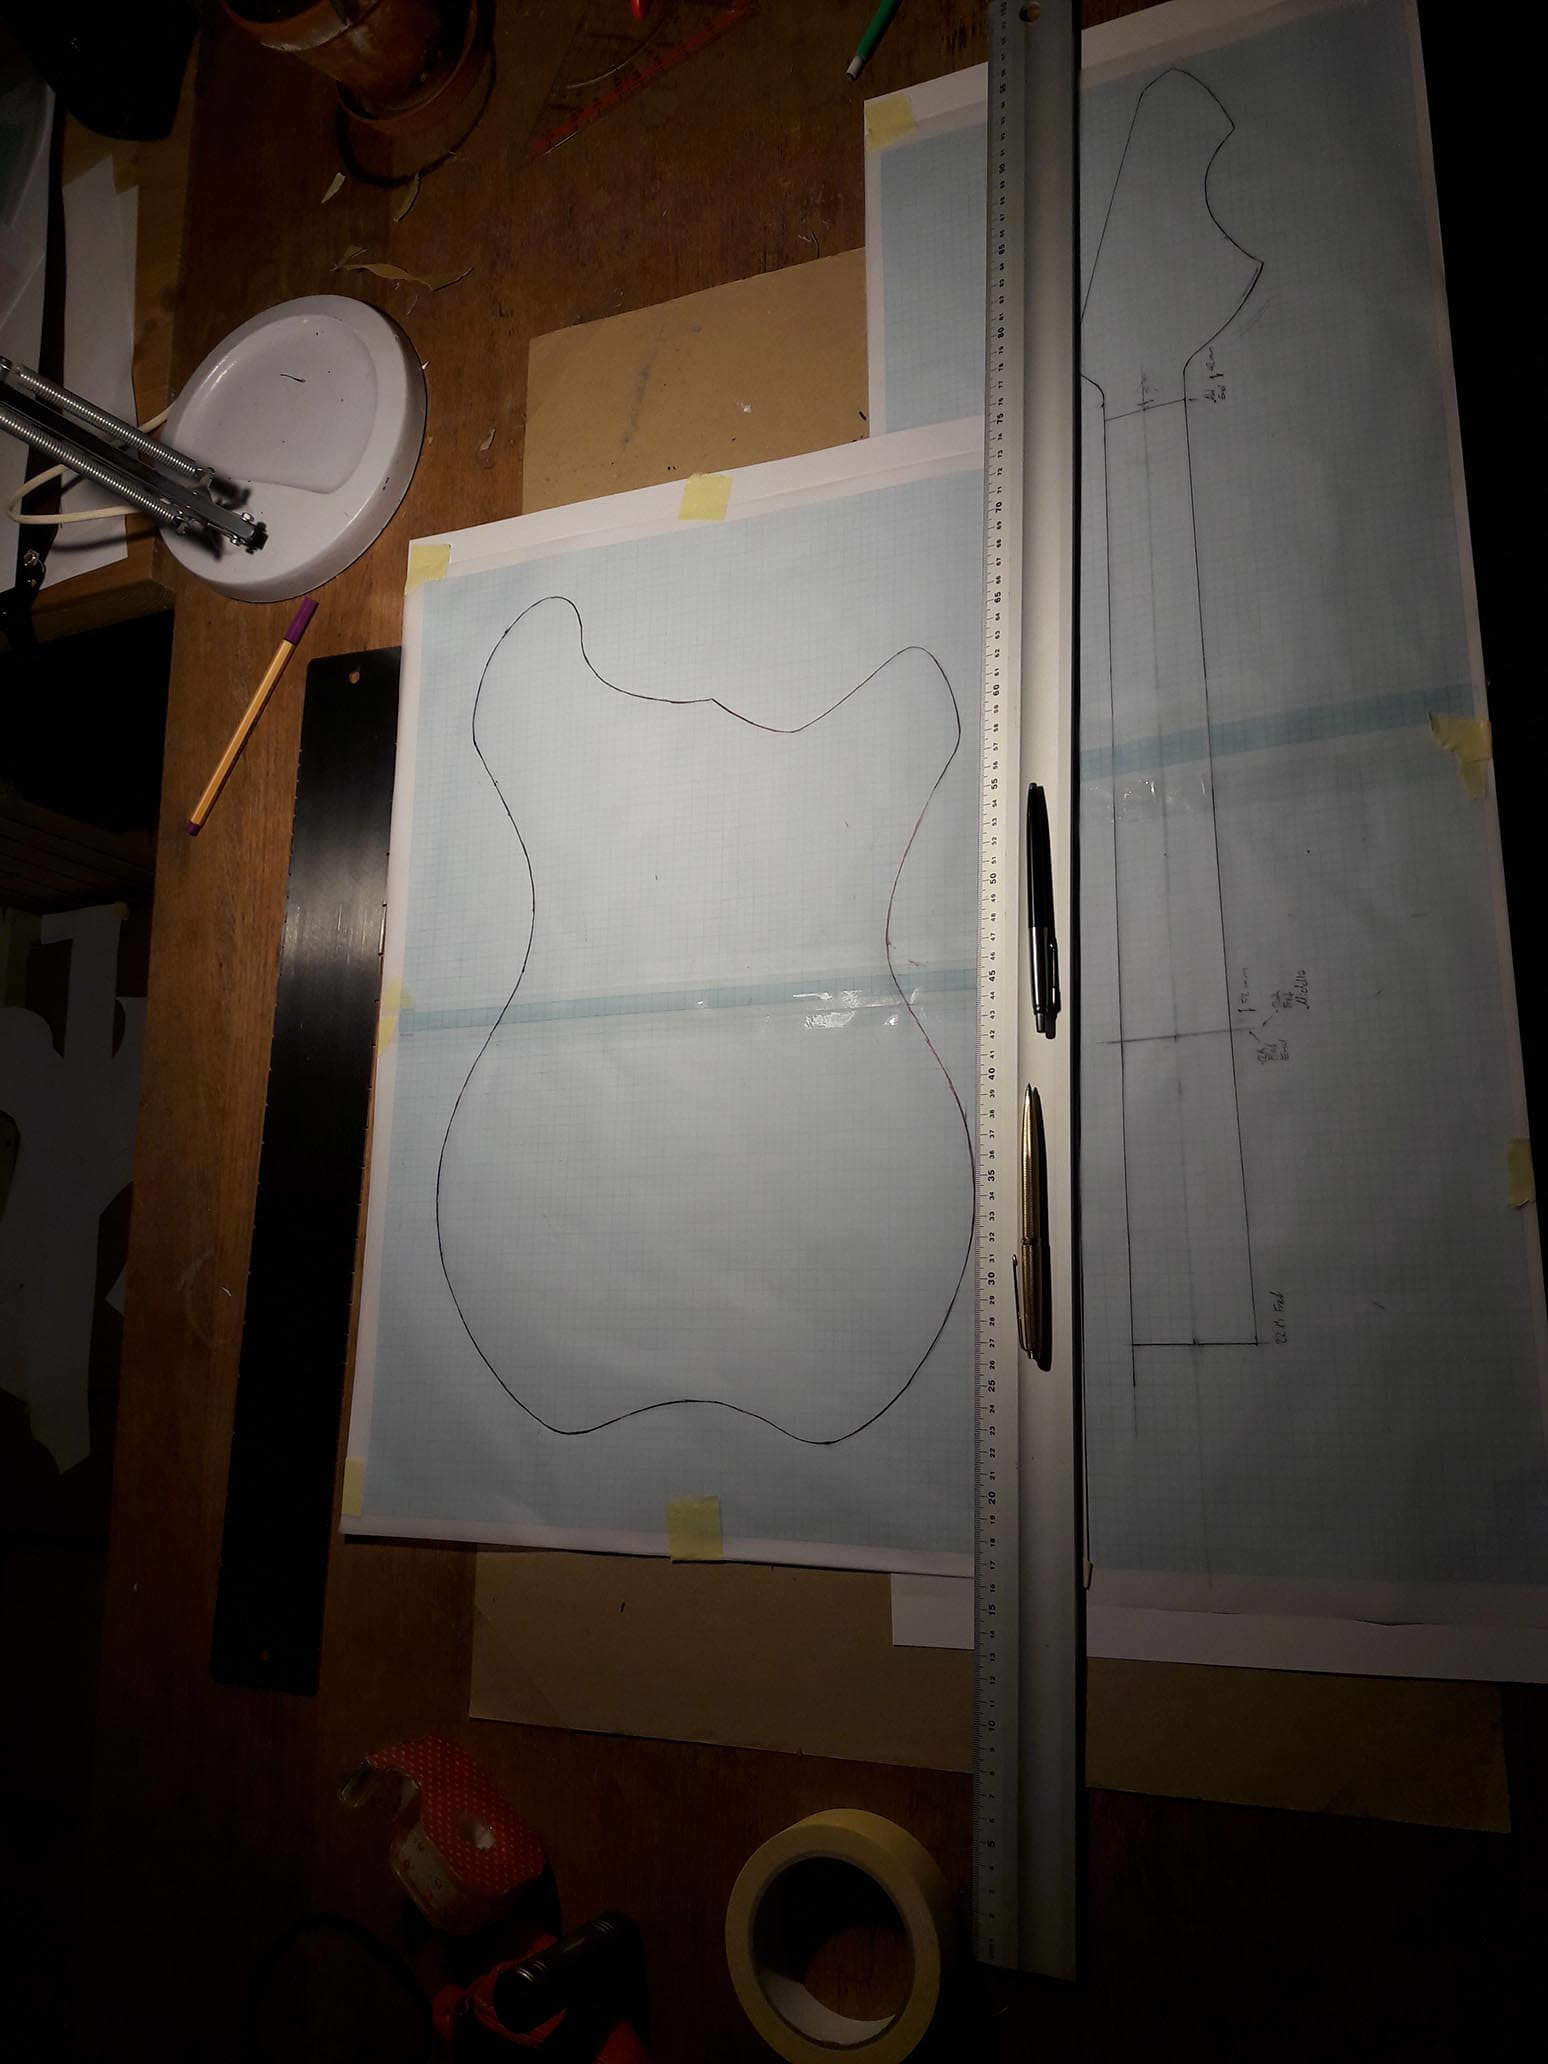
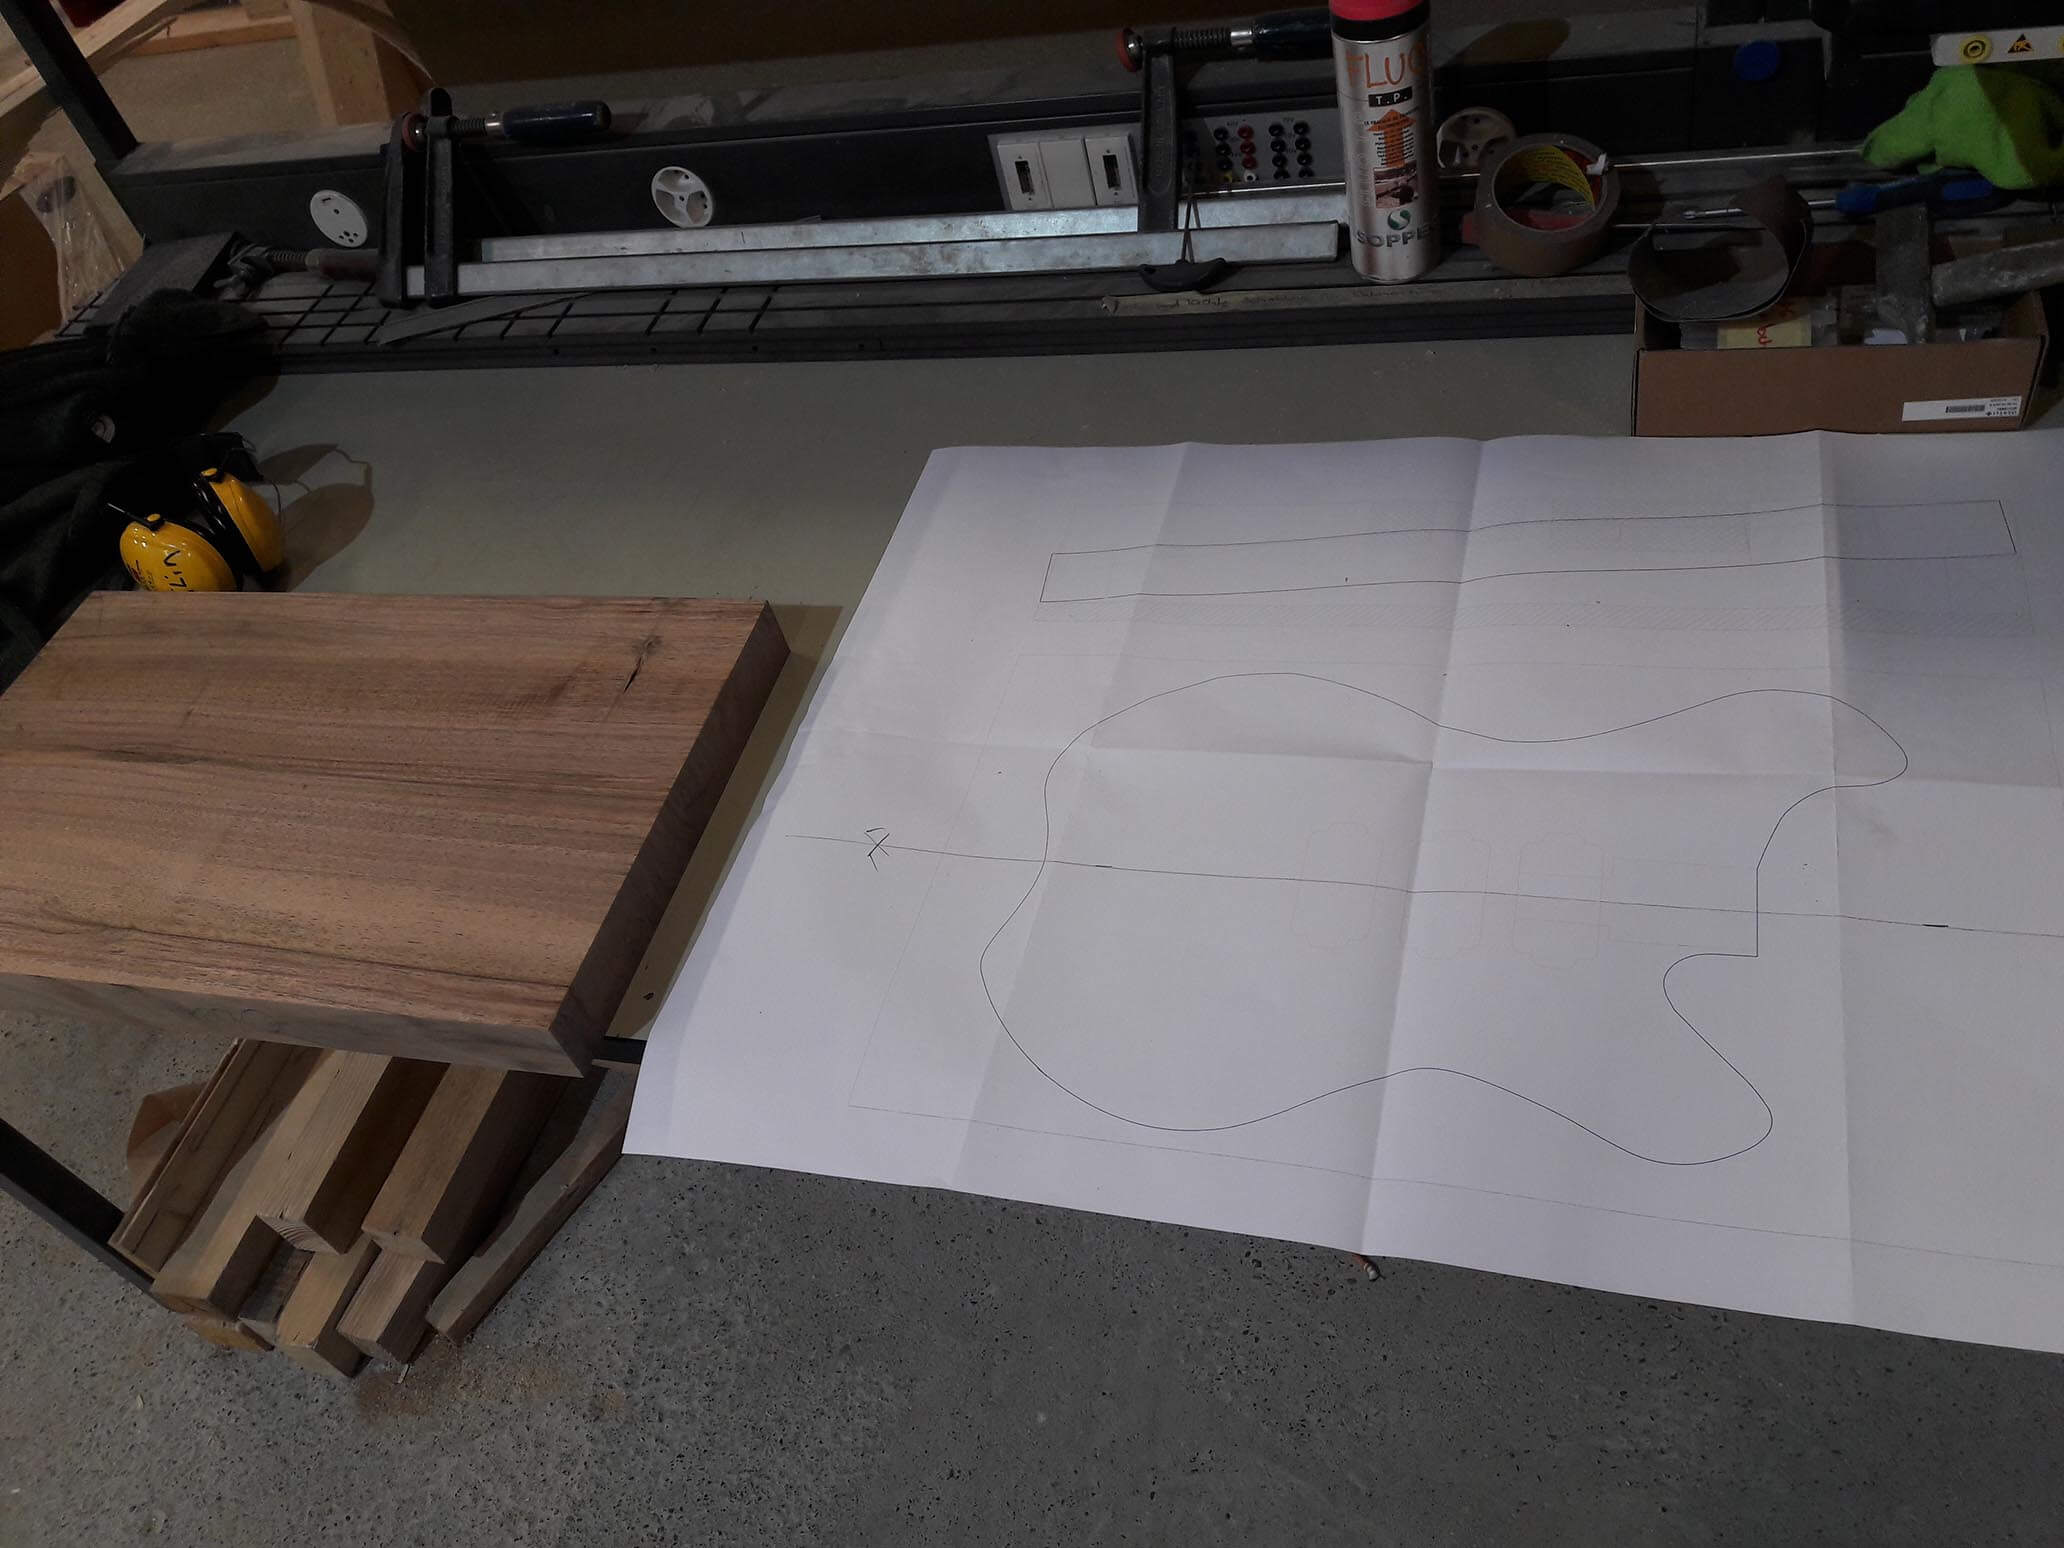
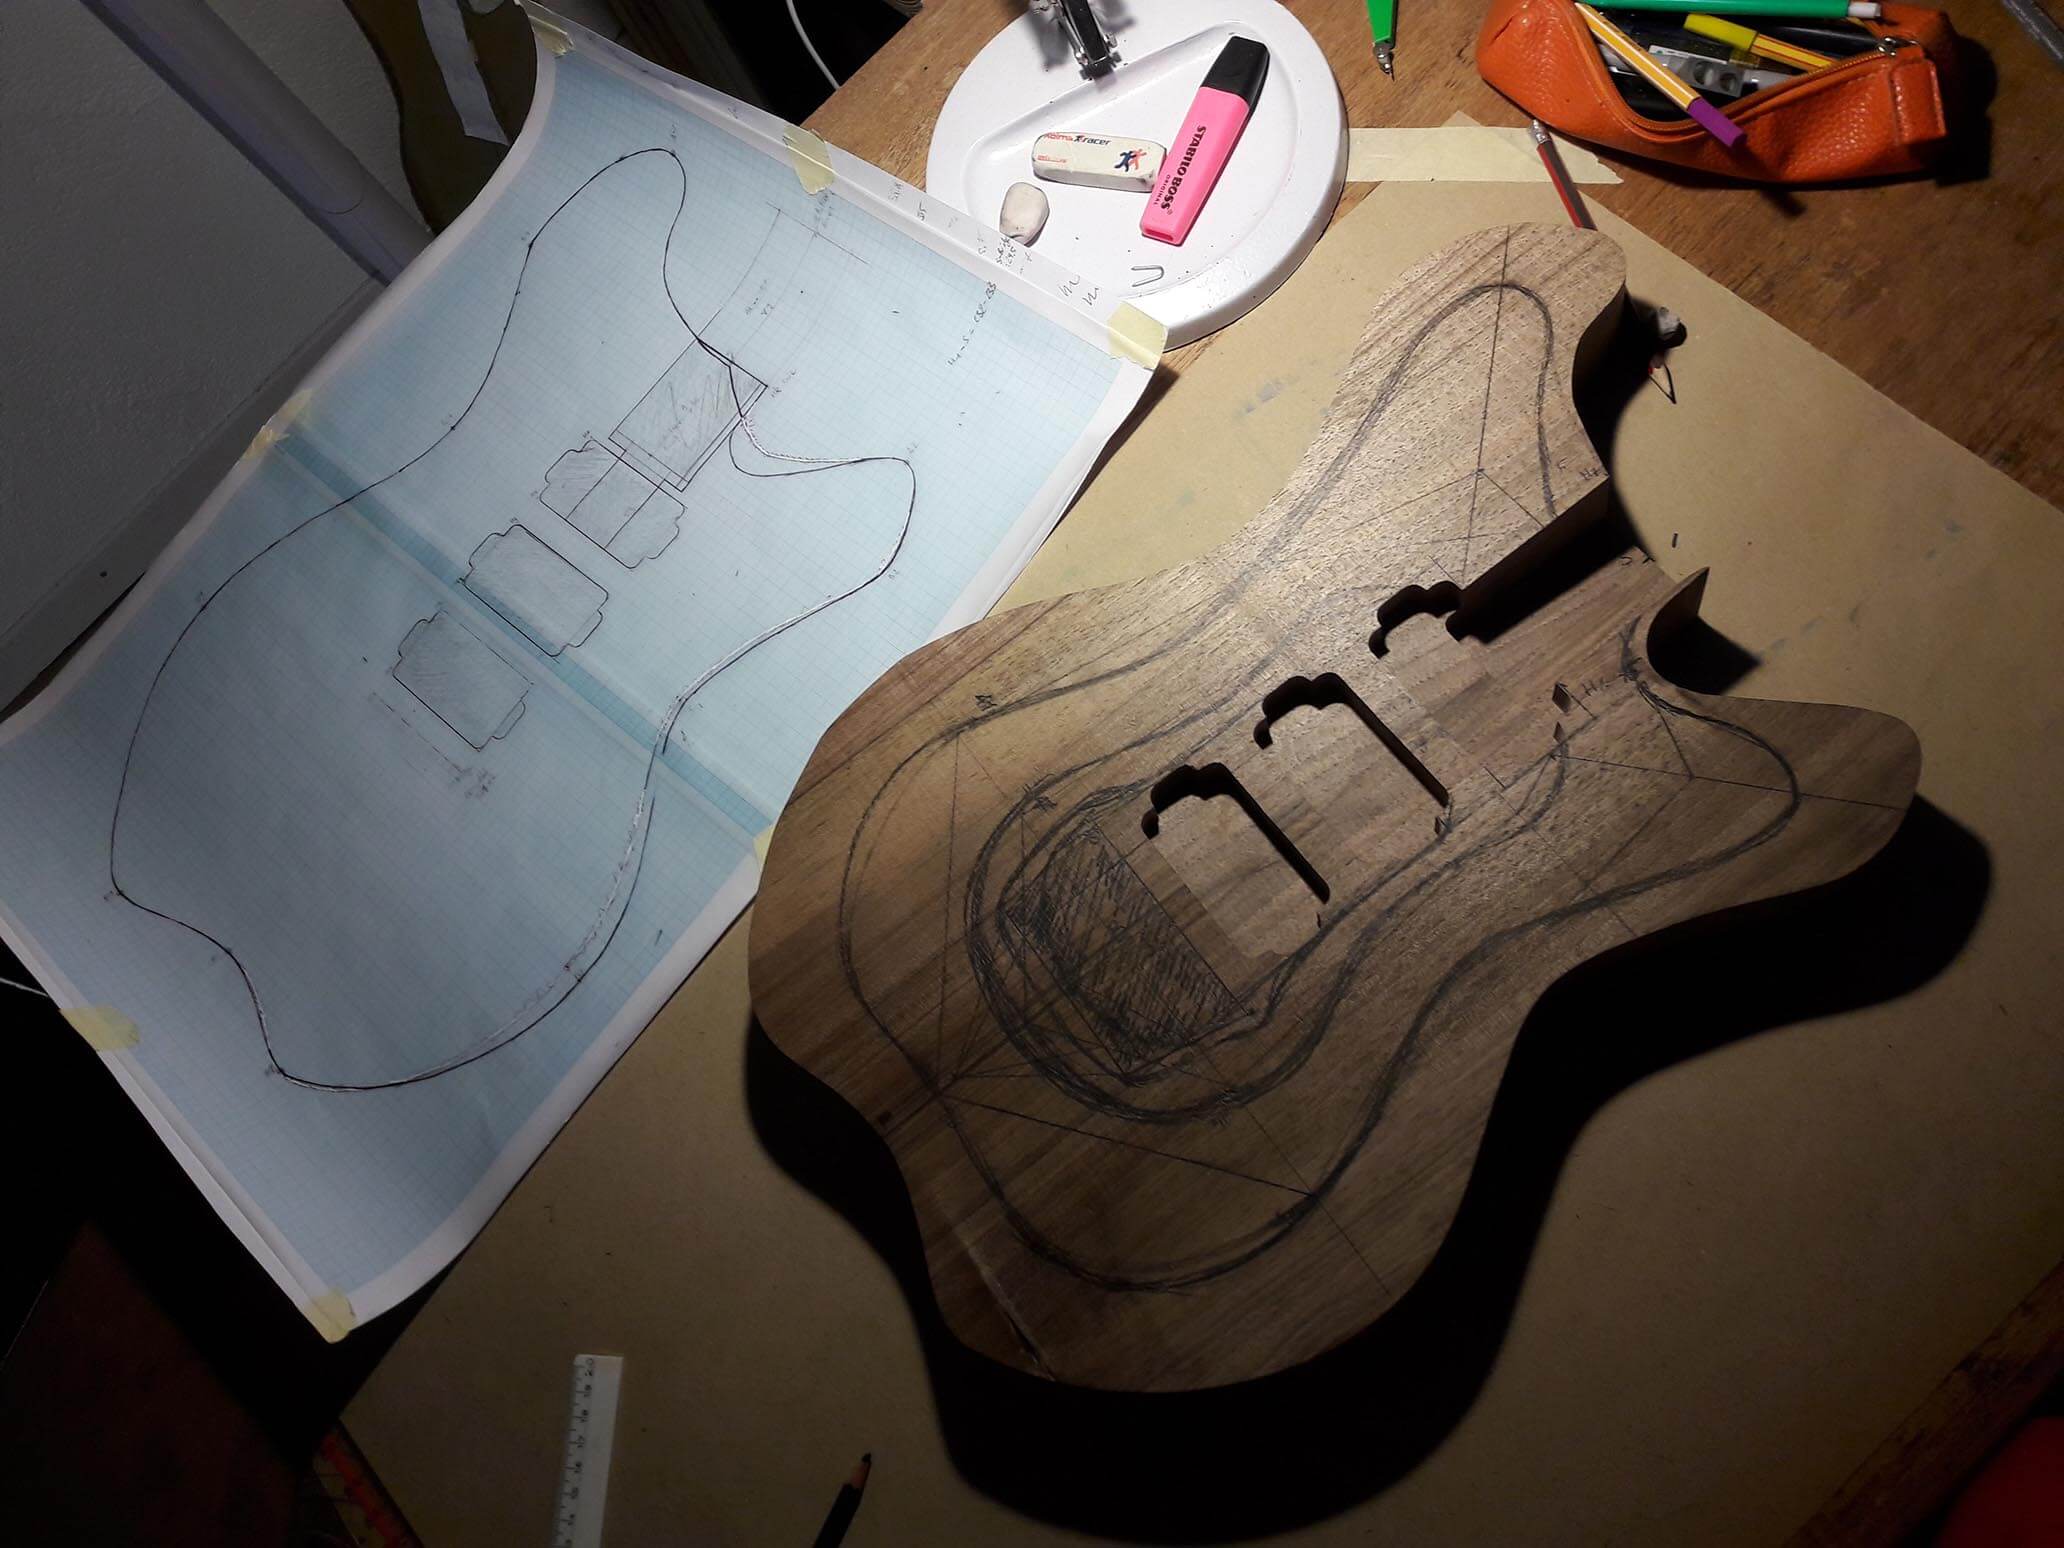
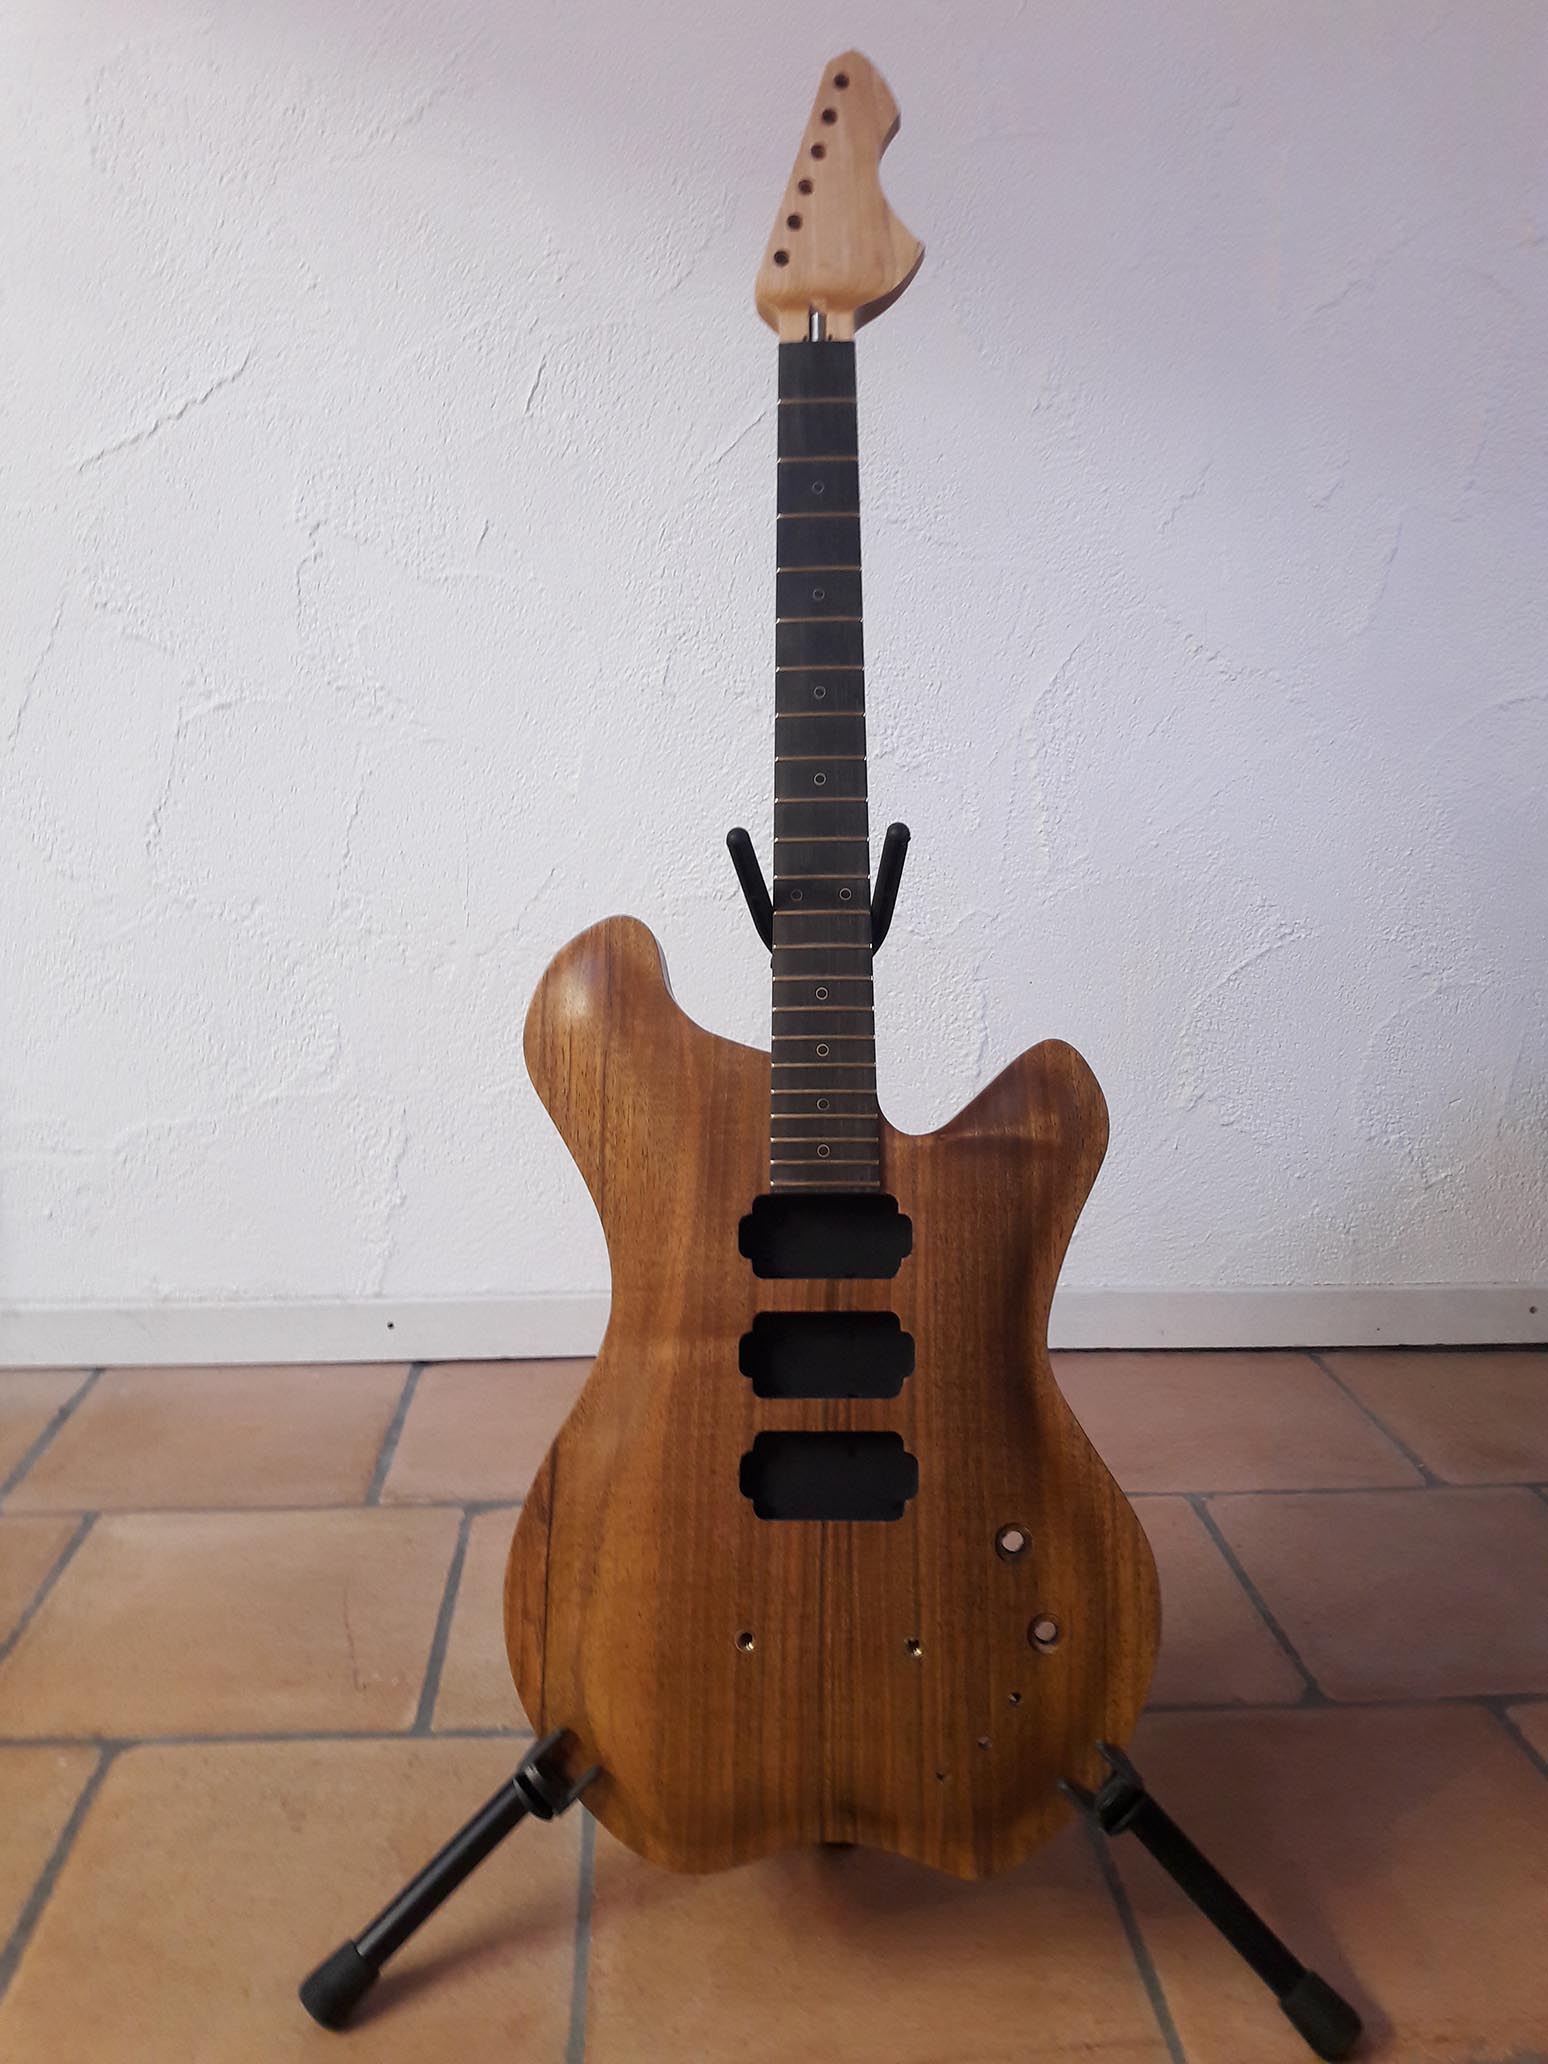
The very first thing to do was to come up with an original and appealing shape of the body and headstock. After many attempts I settled for a natural and curvy design.
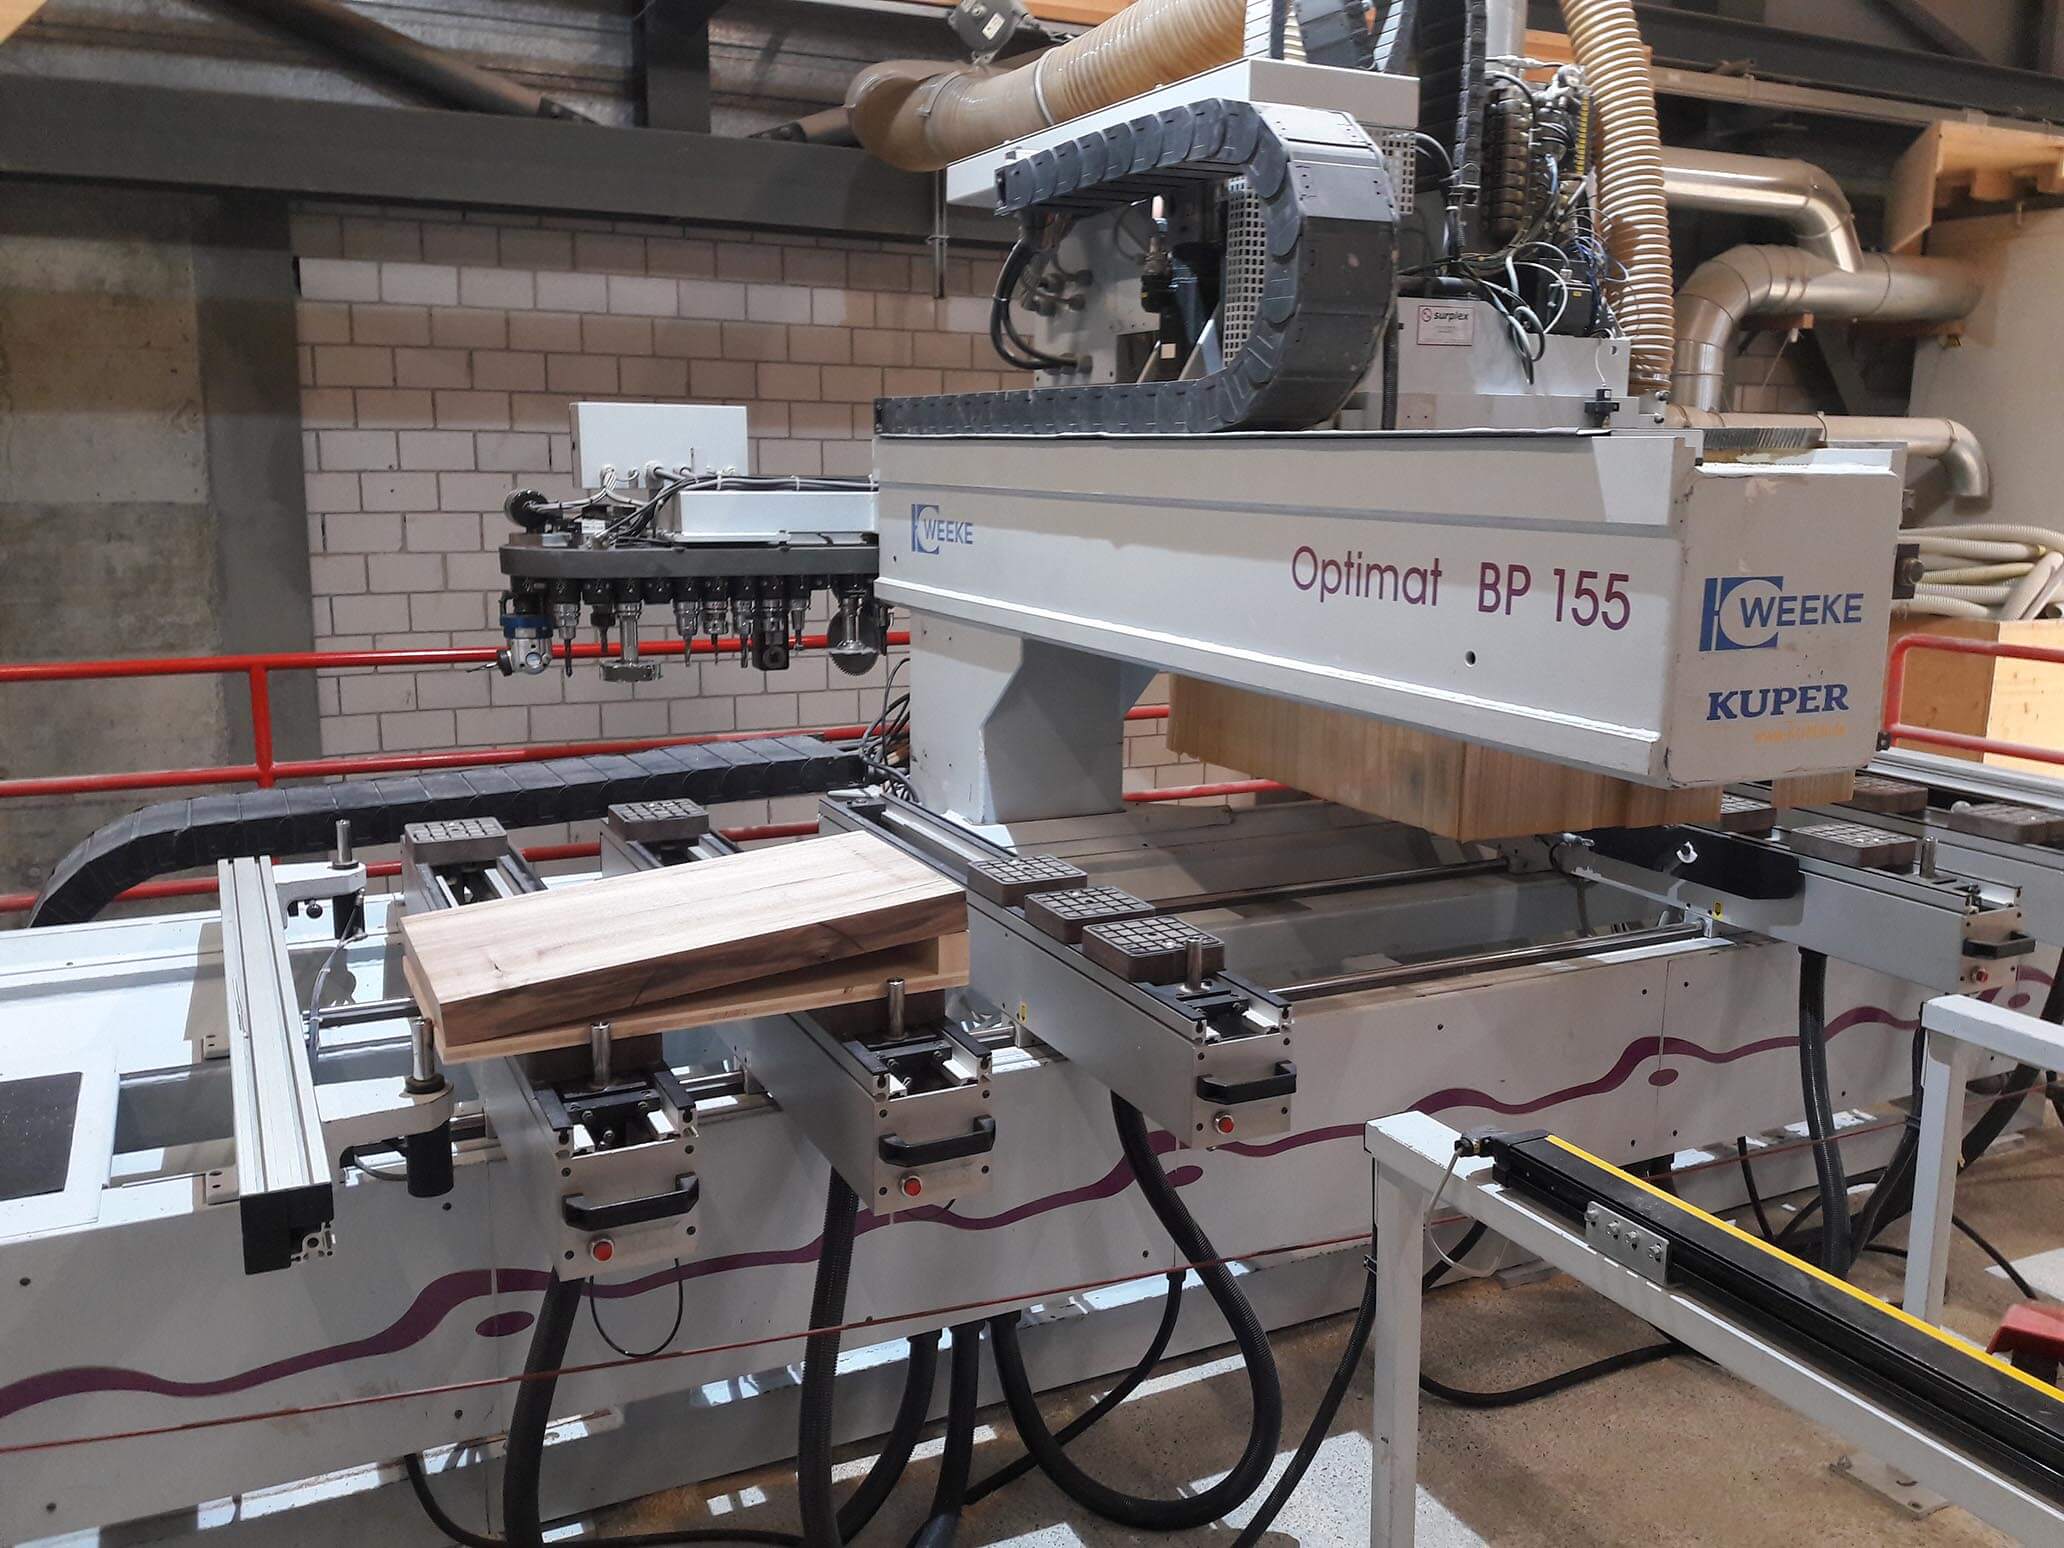
When it came to forming the wooden body of the instrument, I had the luck of knowing Walter Kälin, a professional carpenter. He let me use his CNC milling machine and various other tools in his workshop.
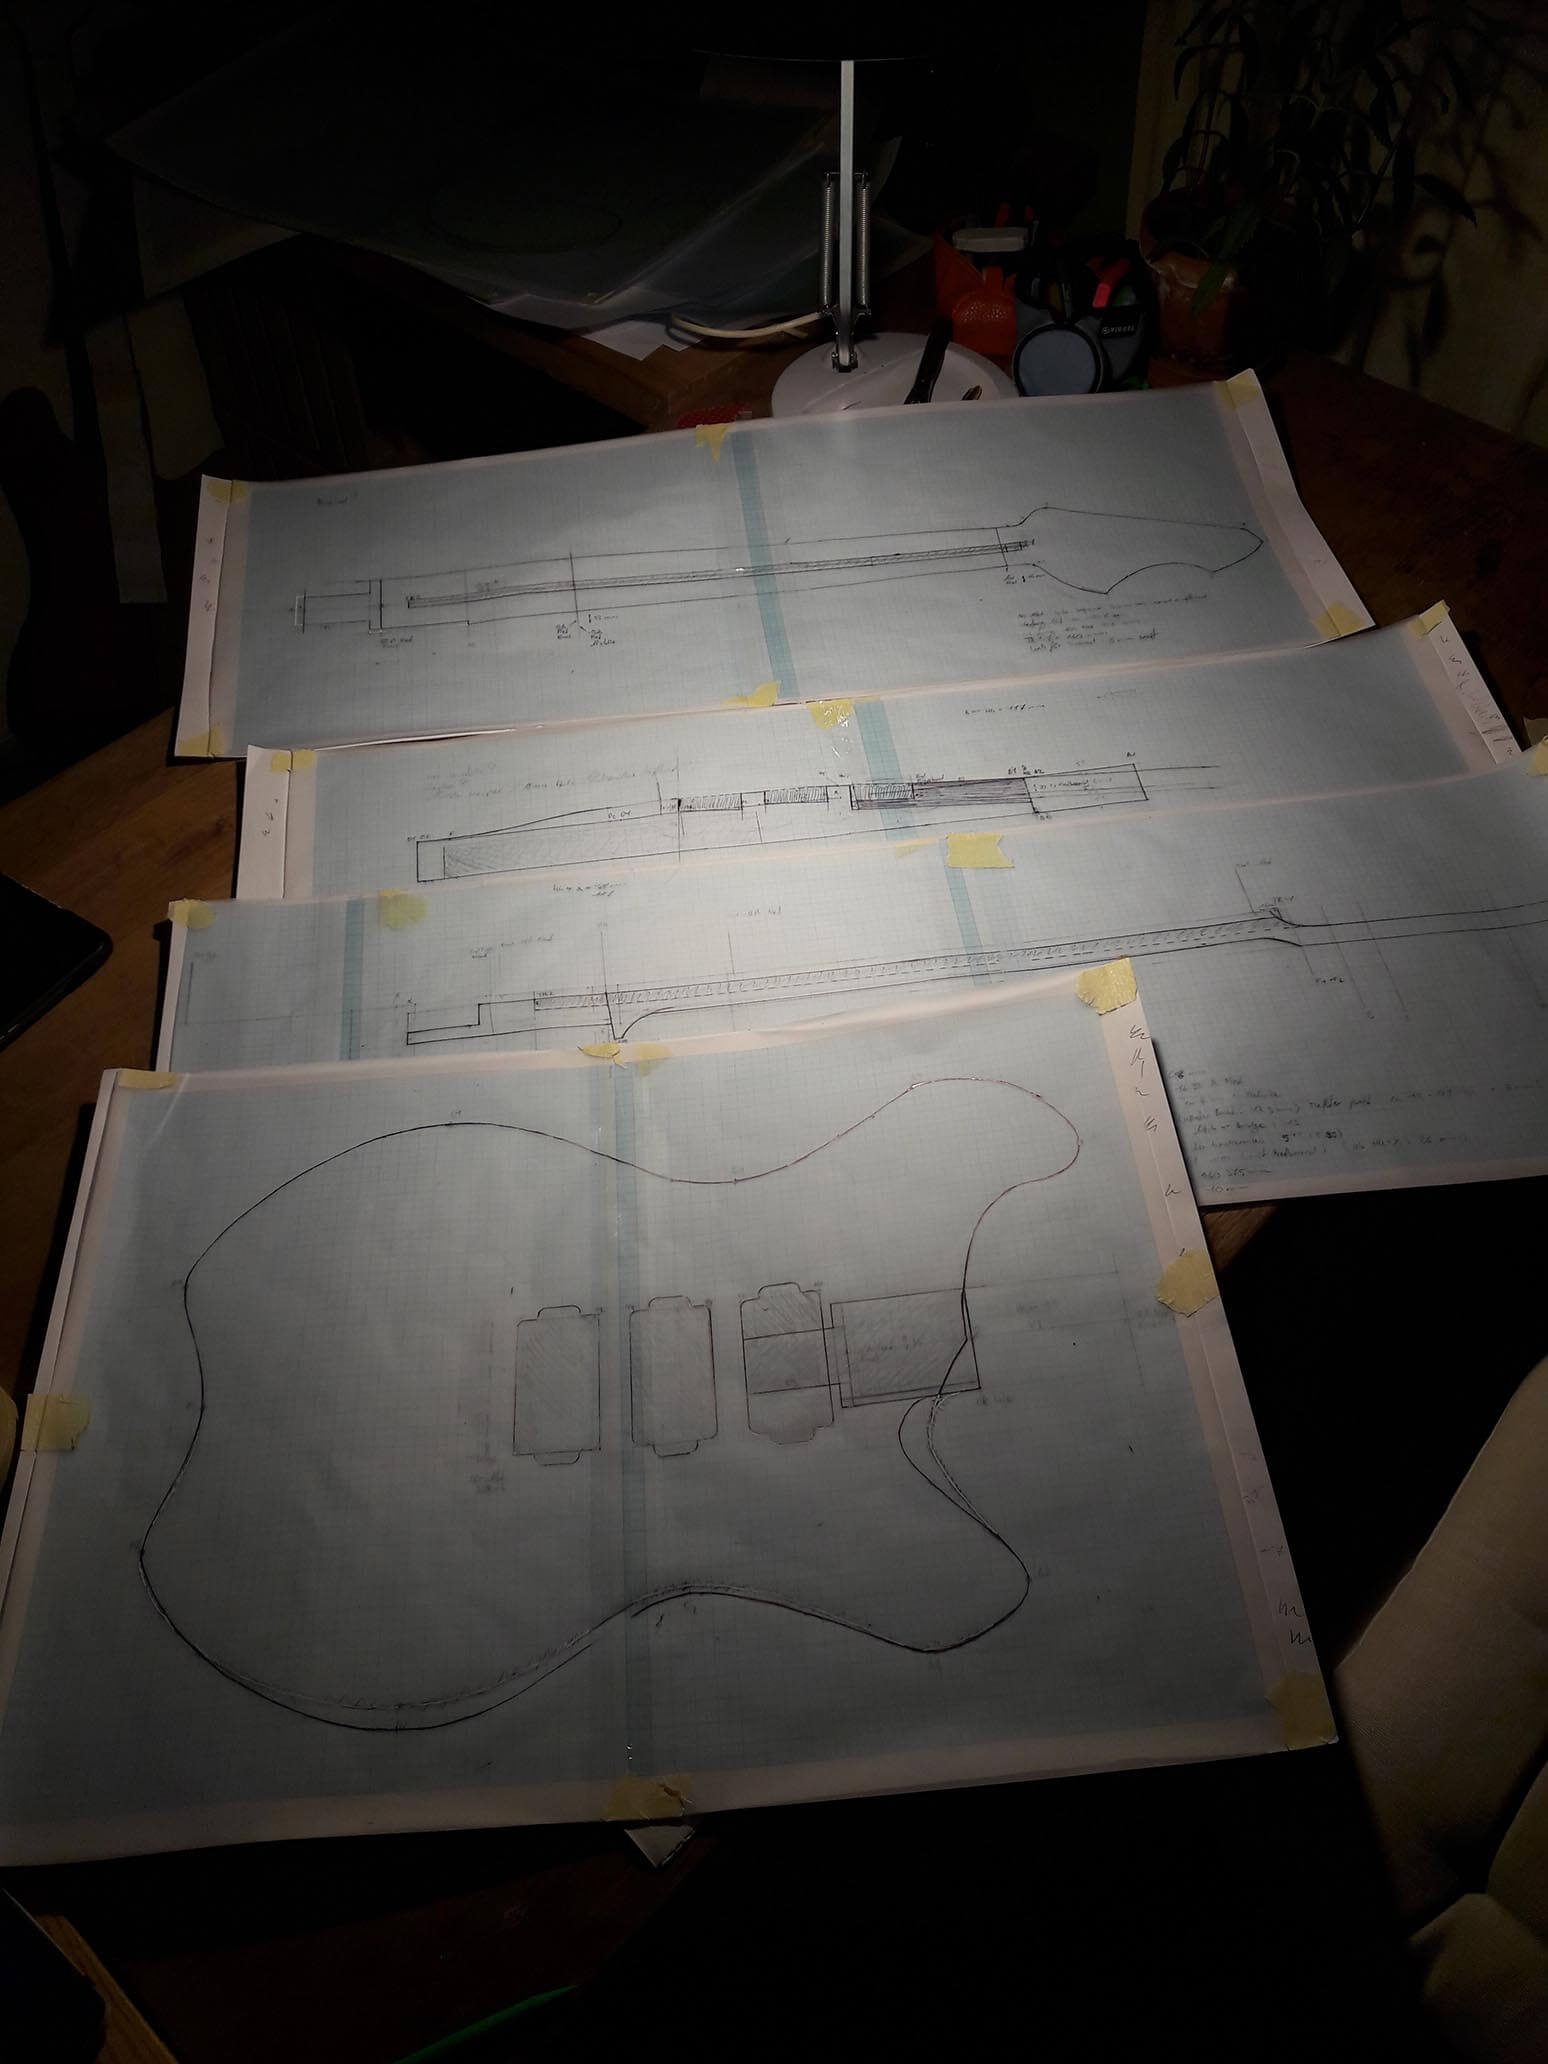
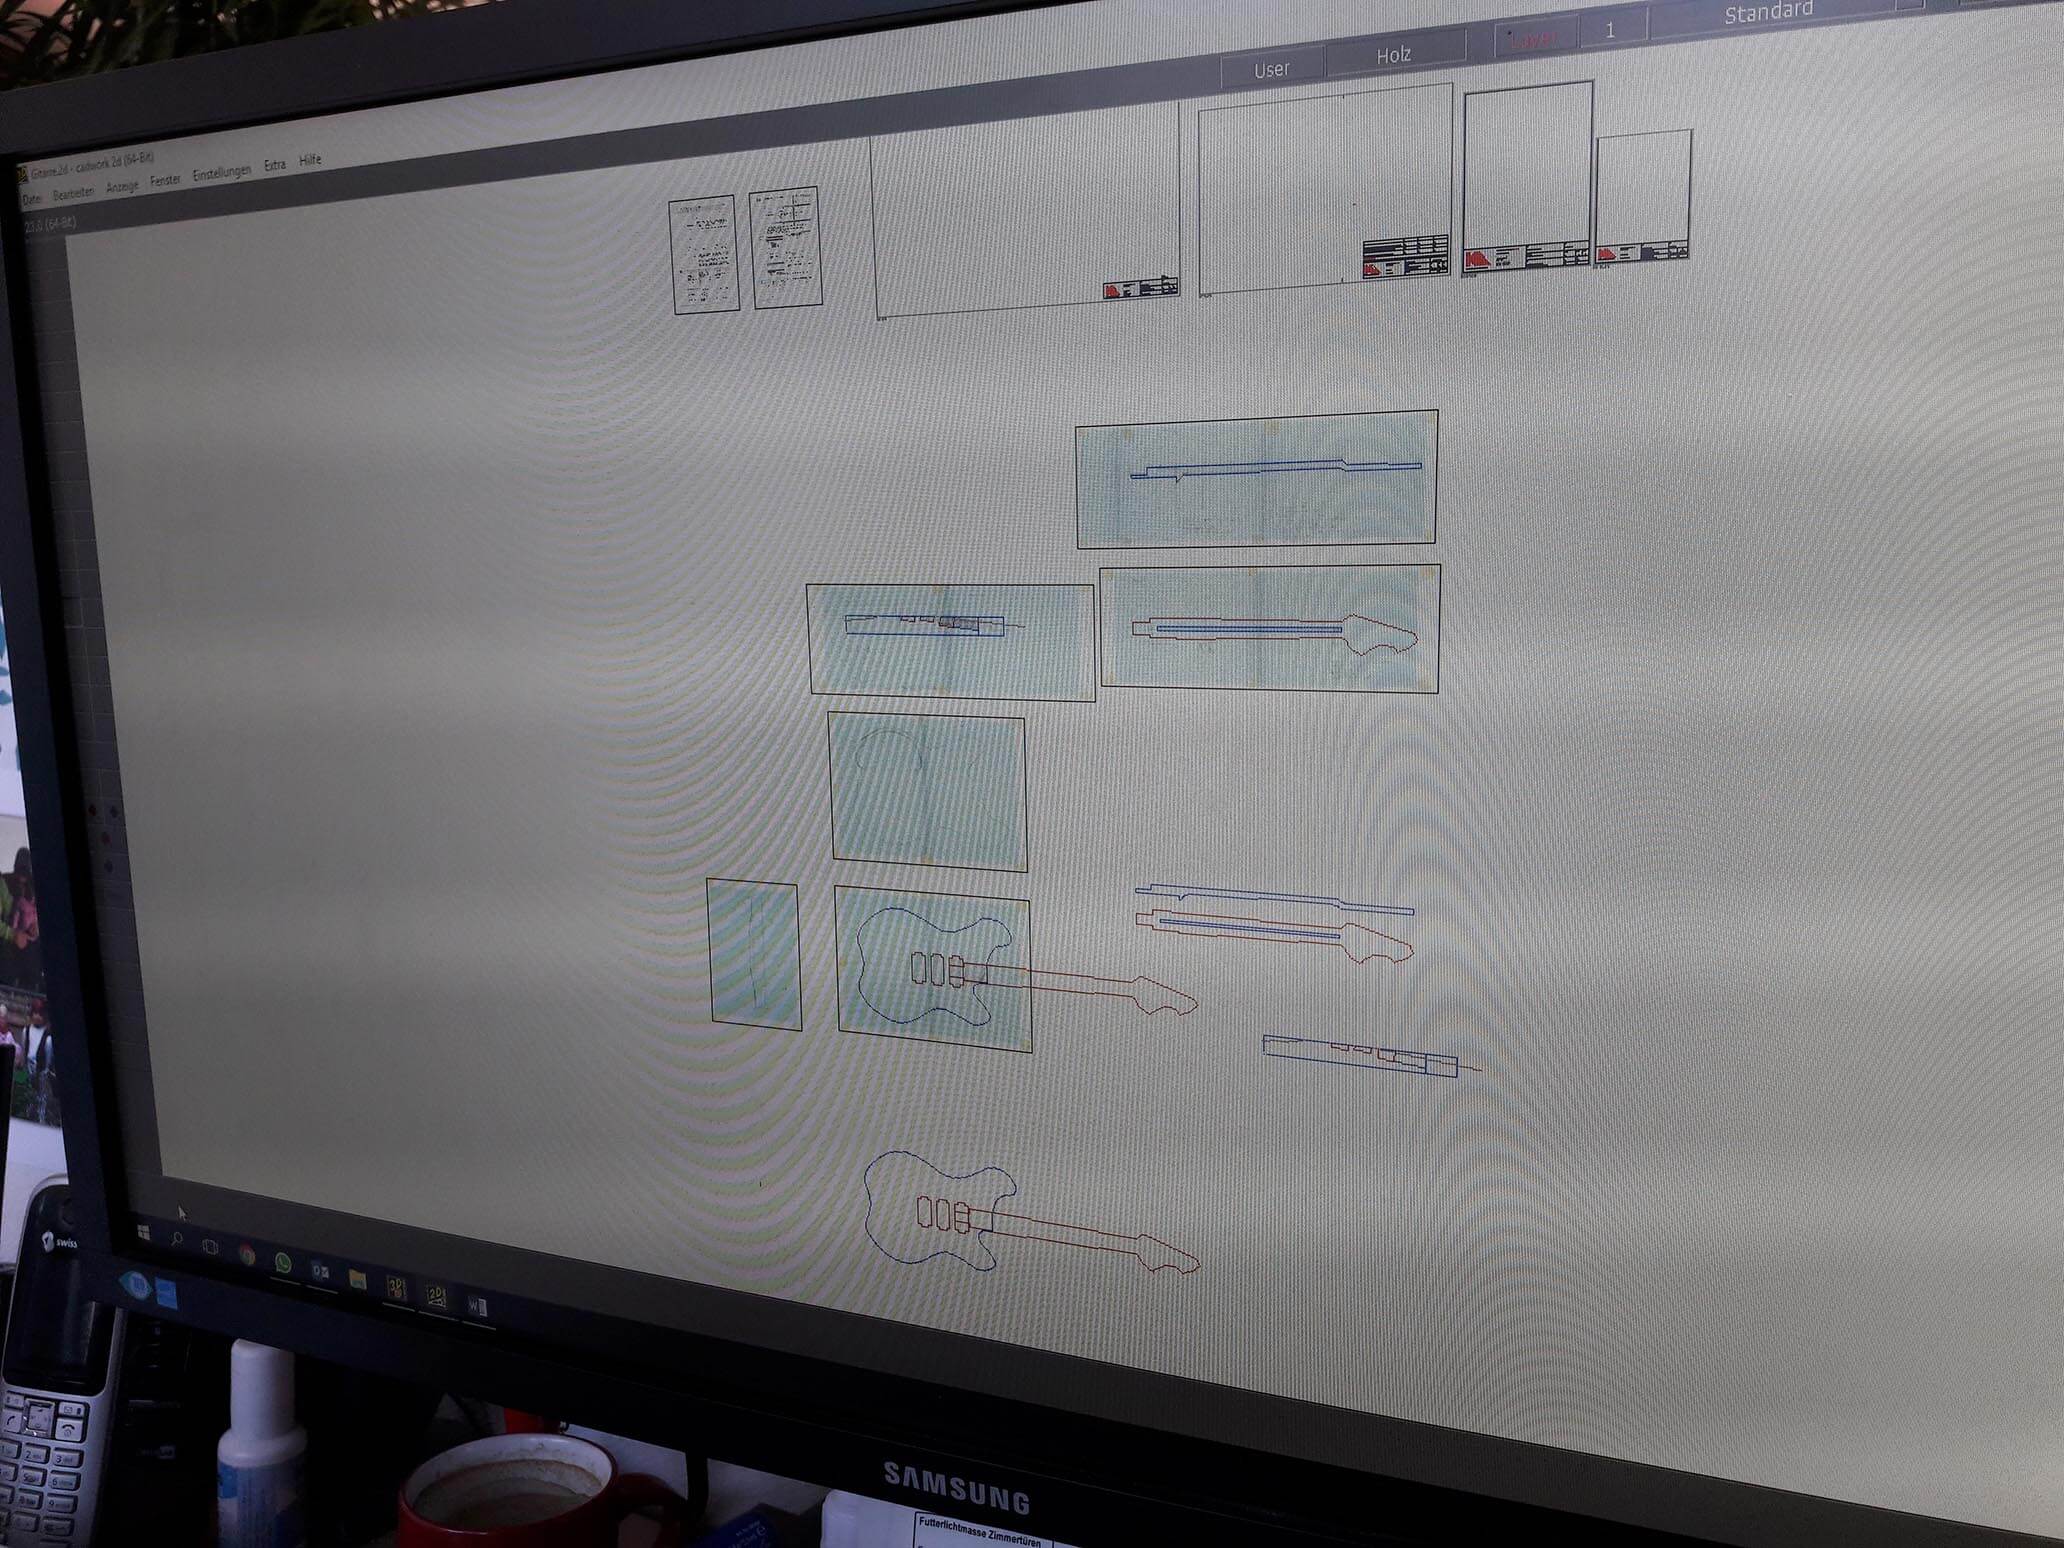
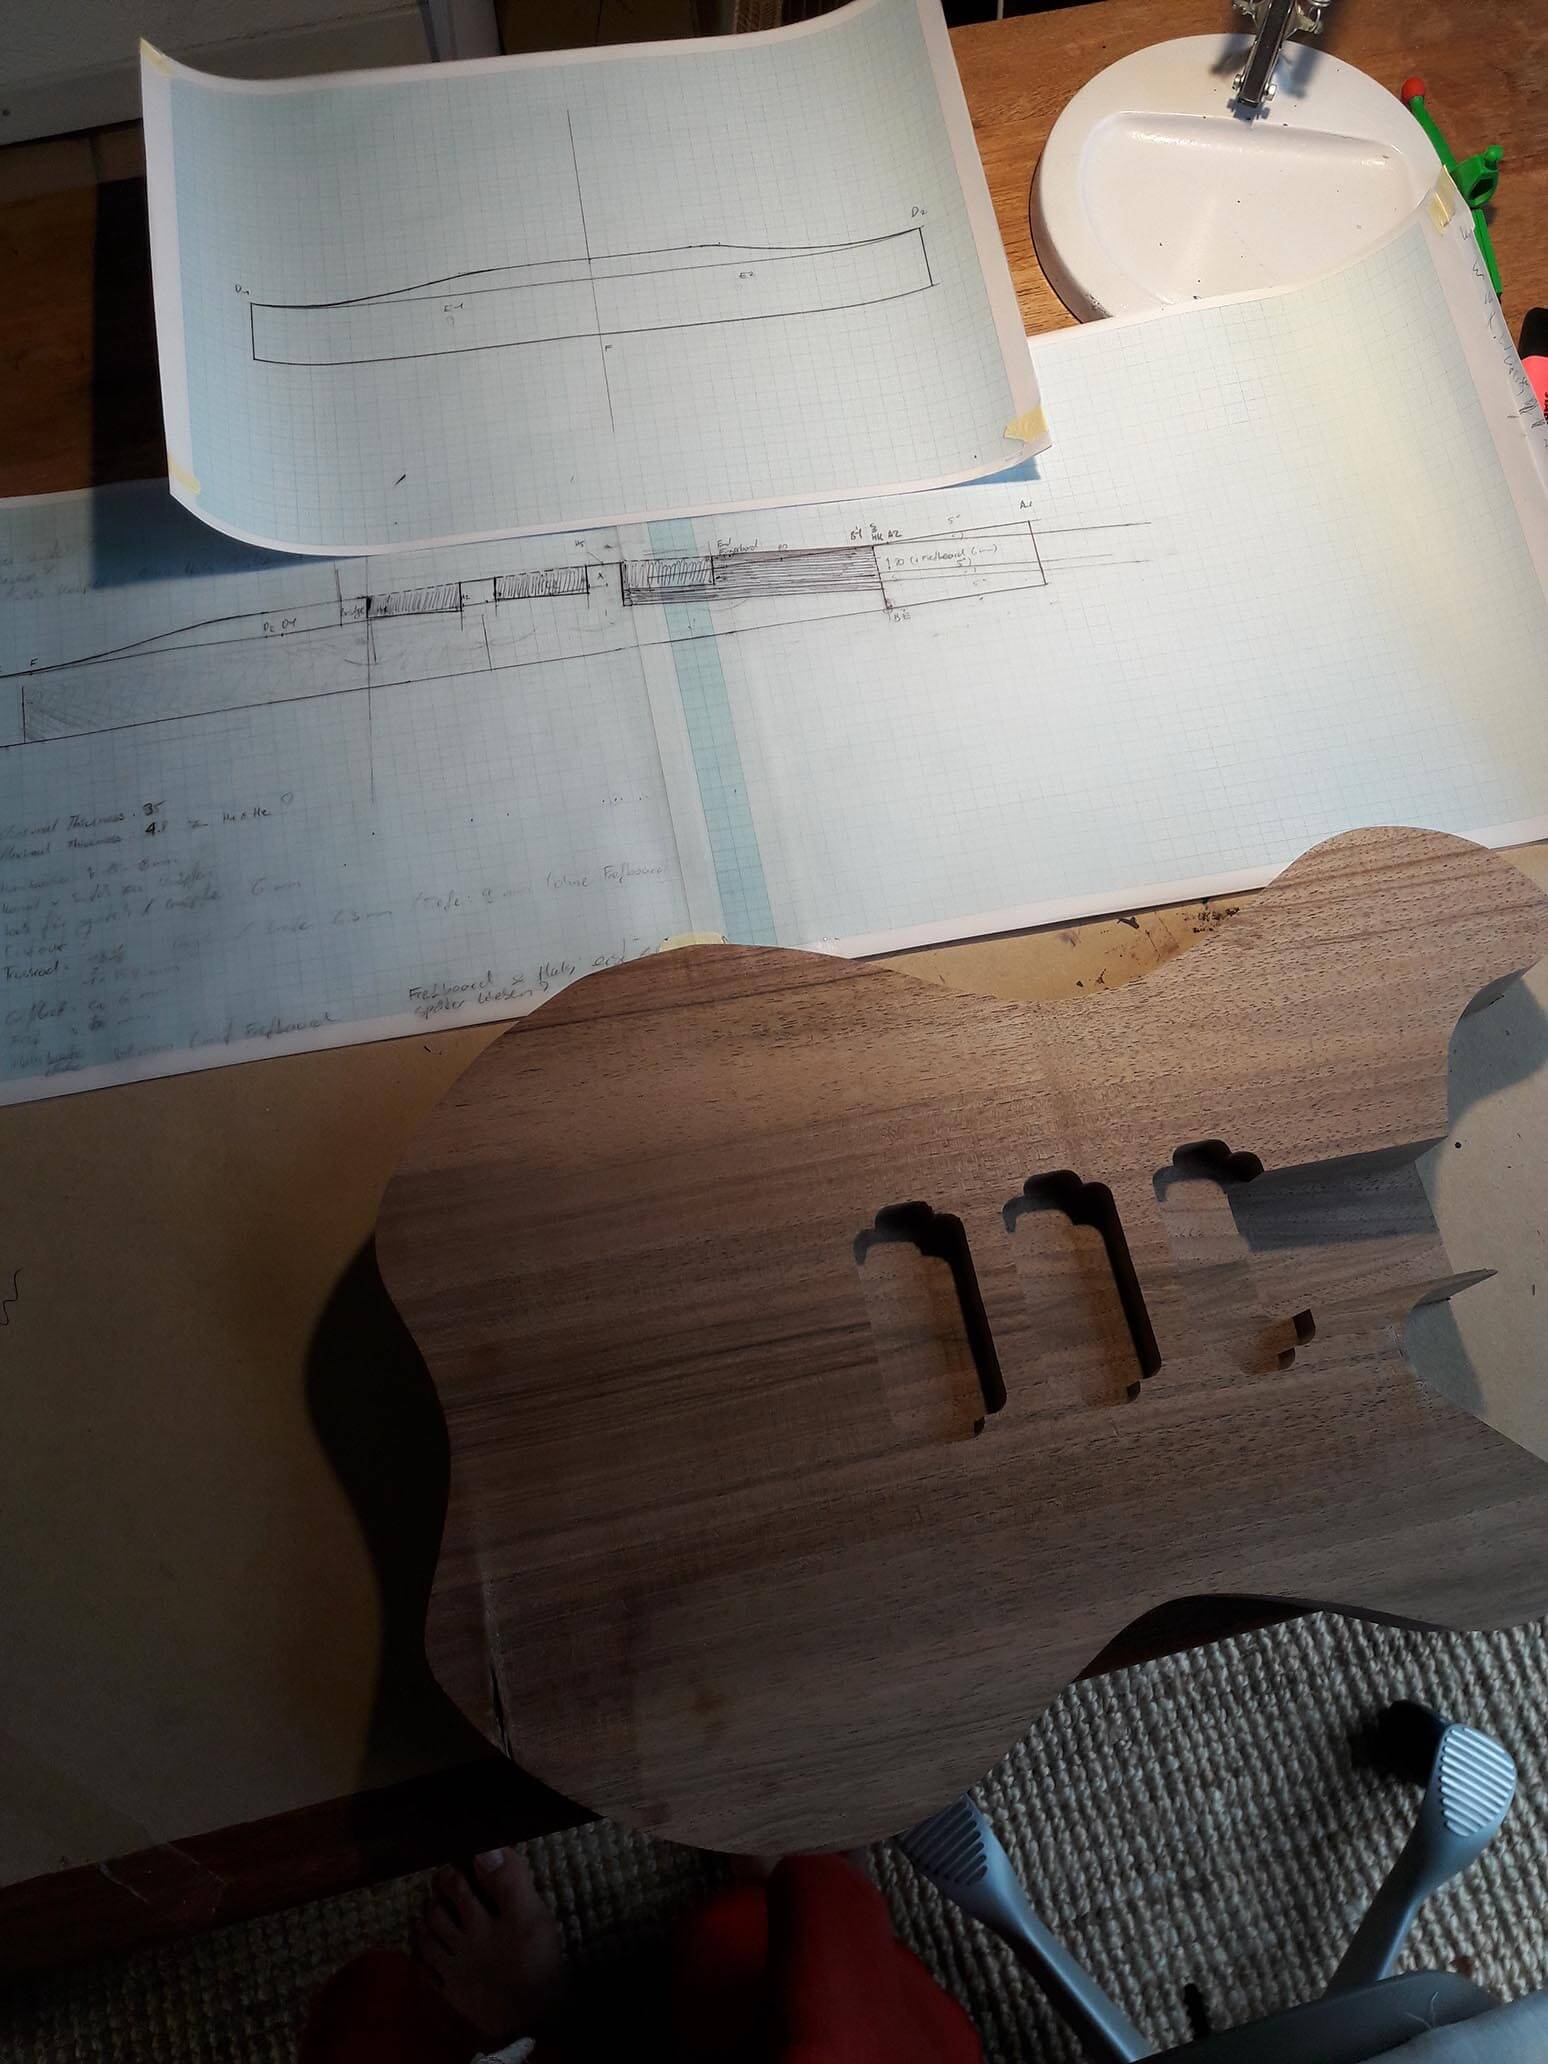
This CNC milling machine enabled me to skip the work steps of actually having to carve the guitar by hand. It now meant however, that I had to draw precise plans for the entire guitar.
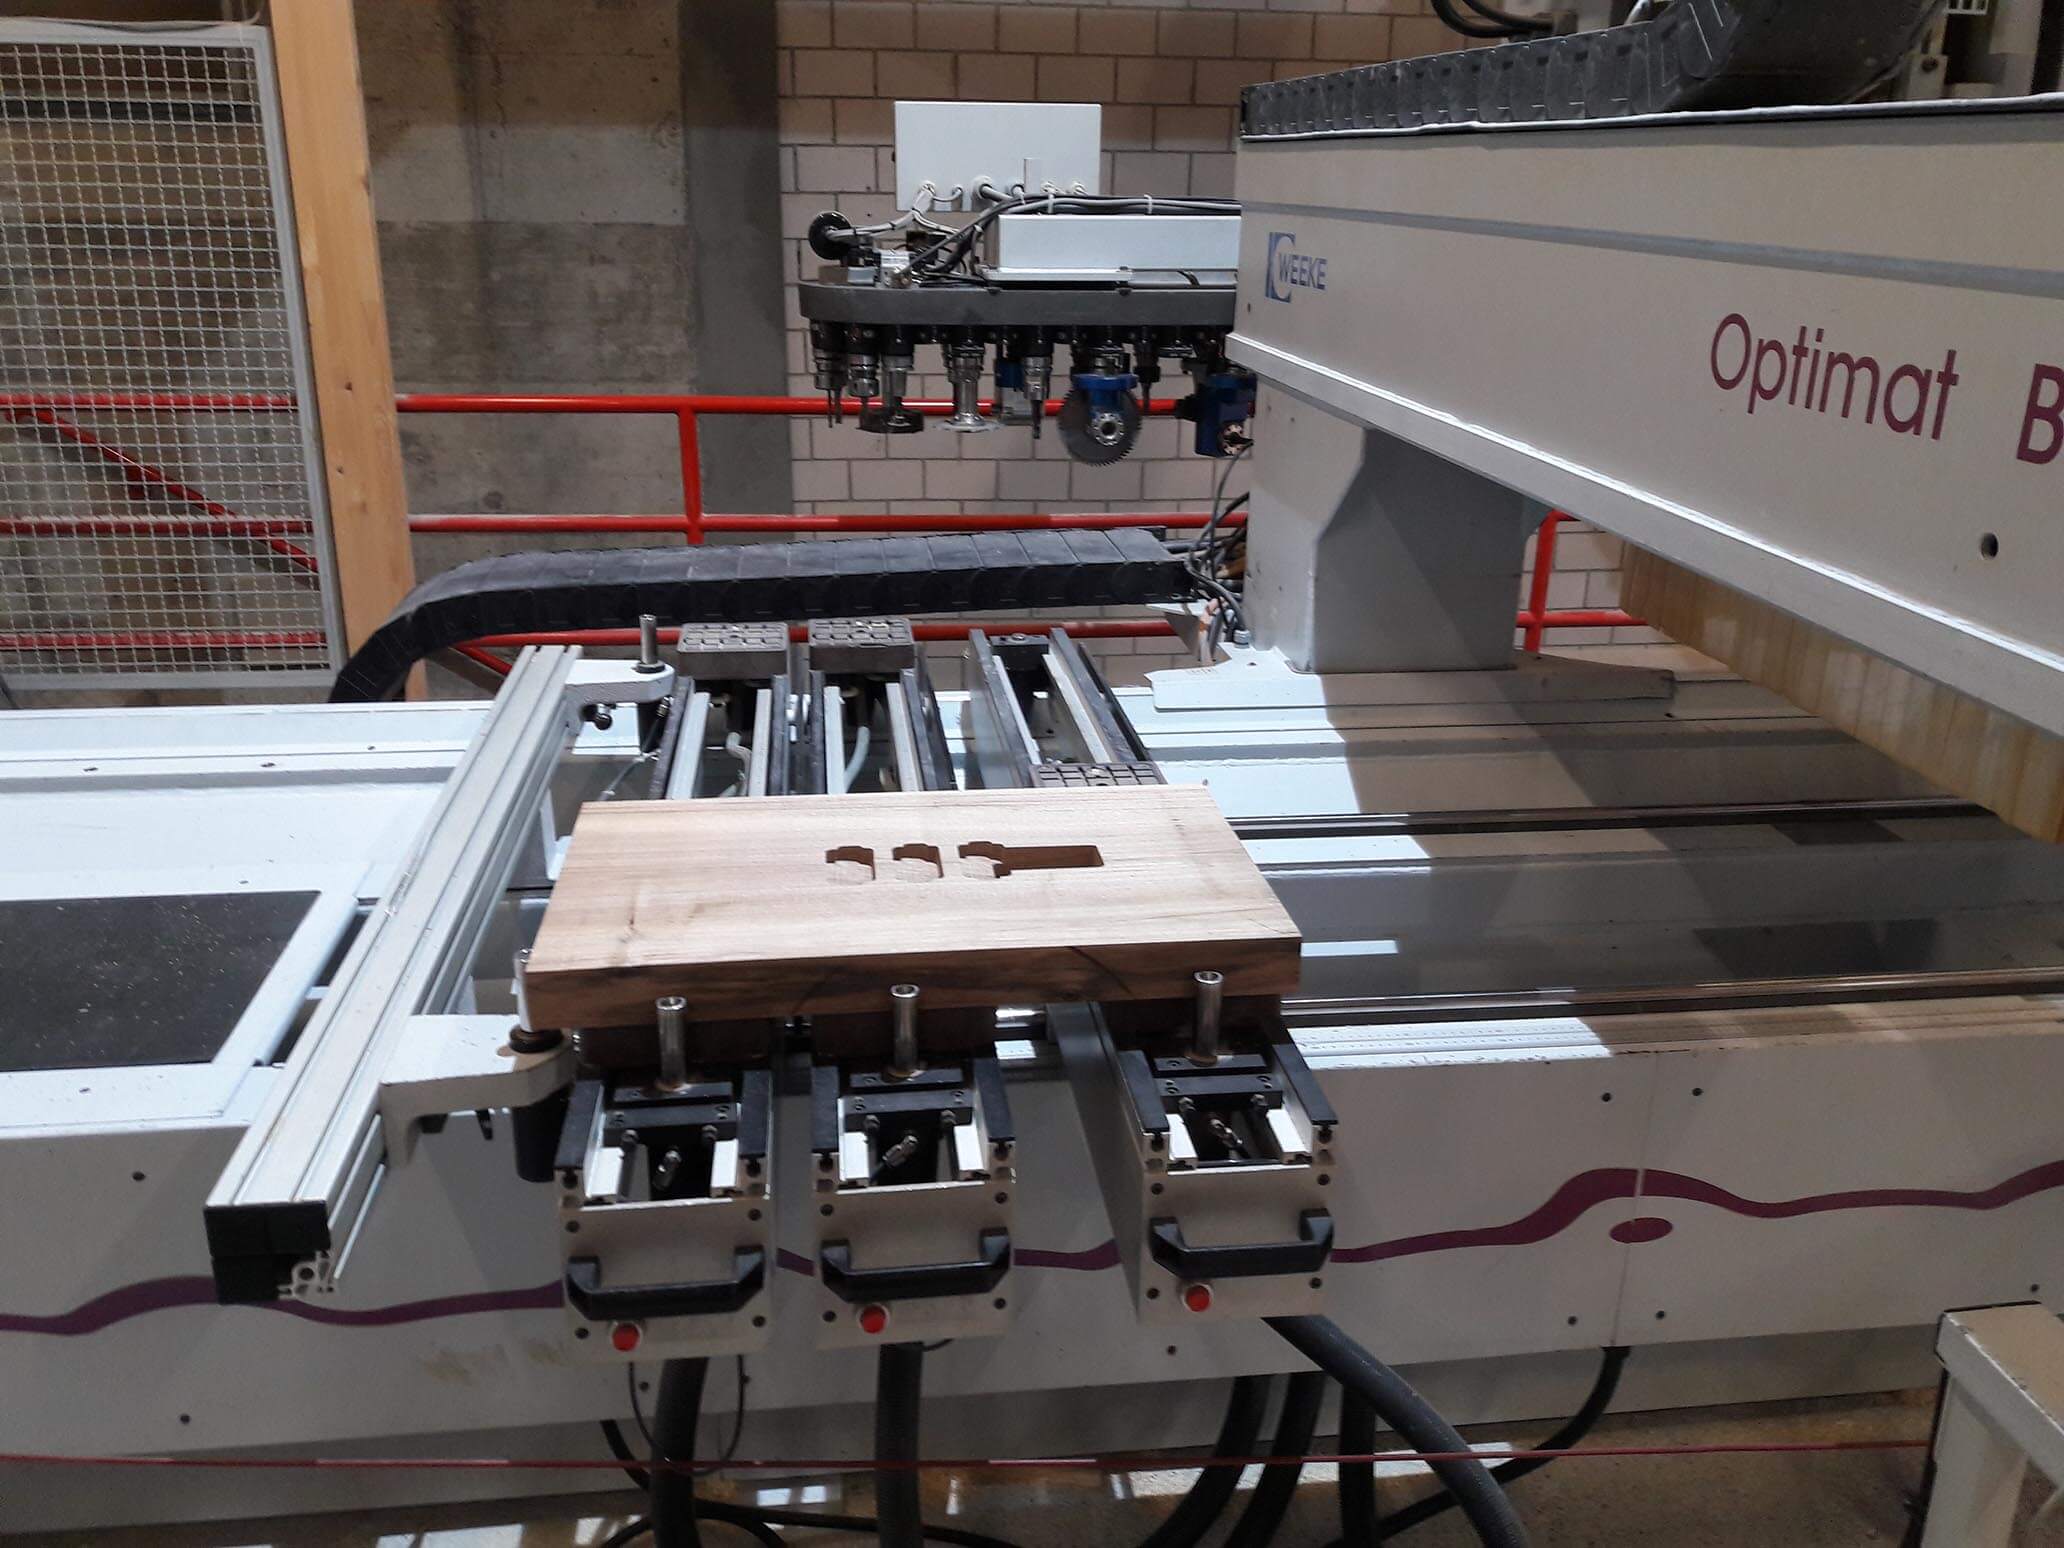
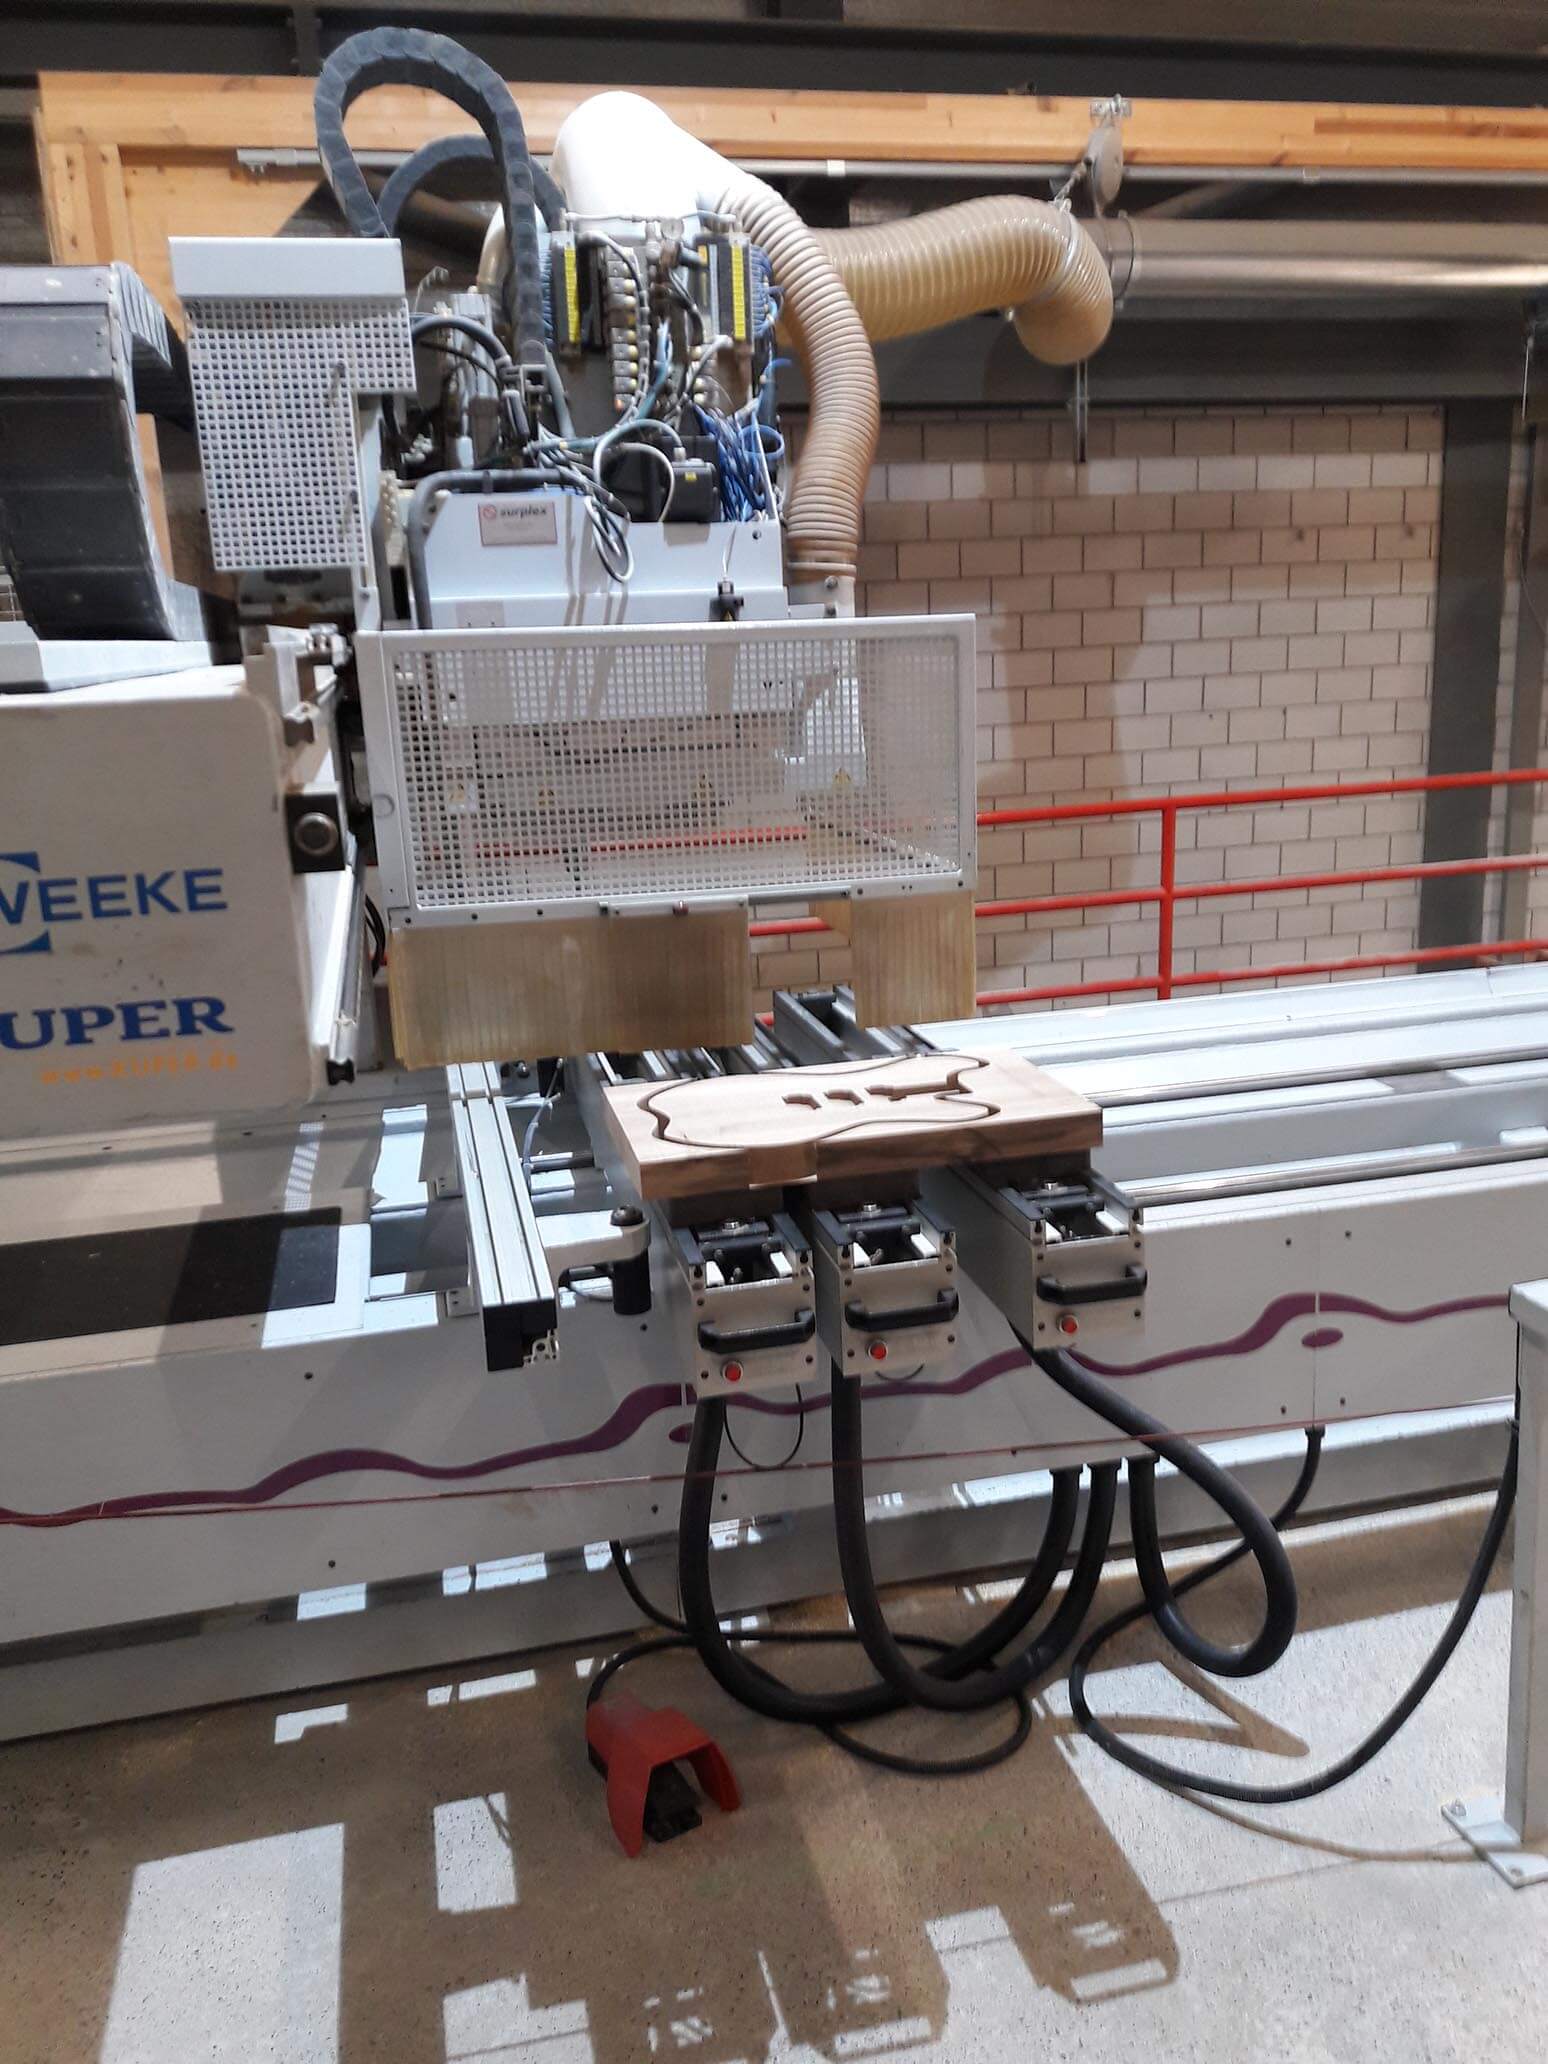
Milling Process
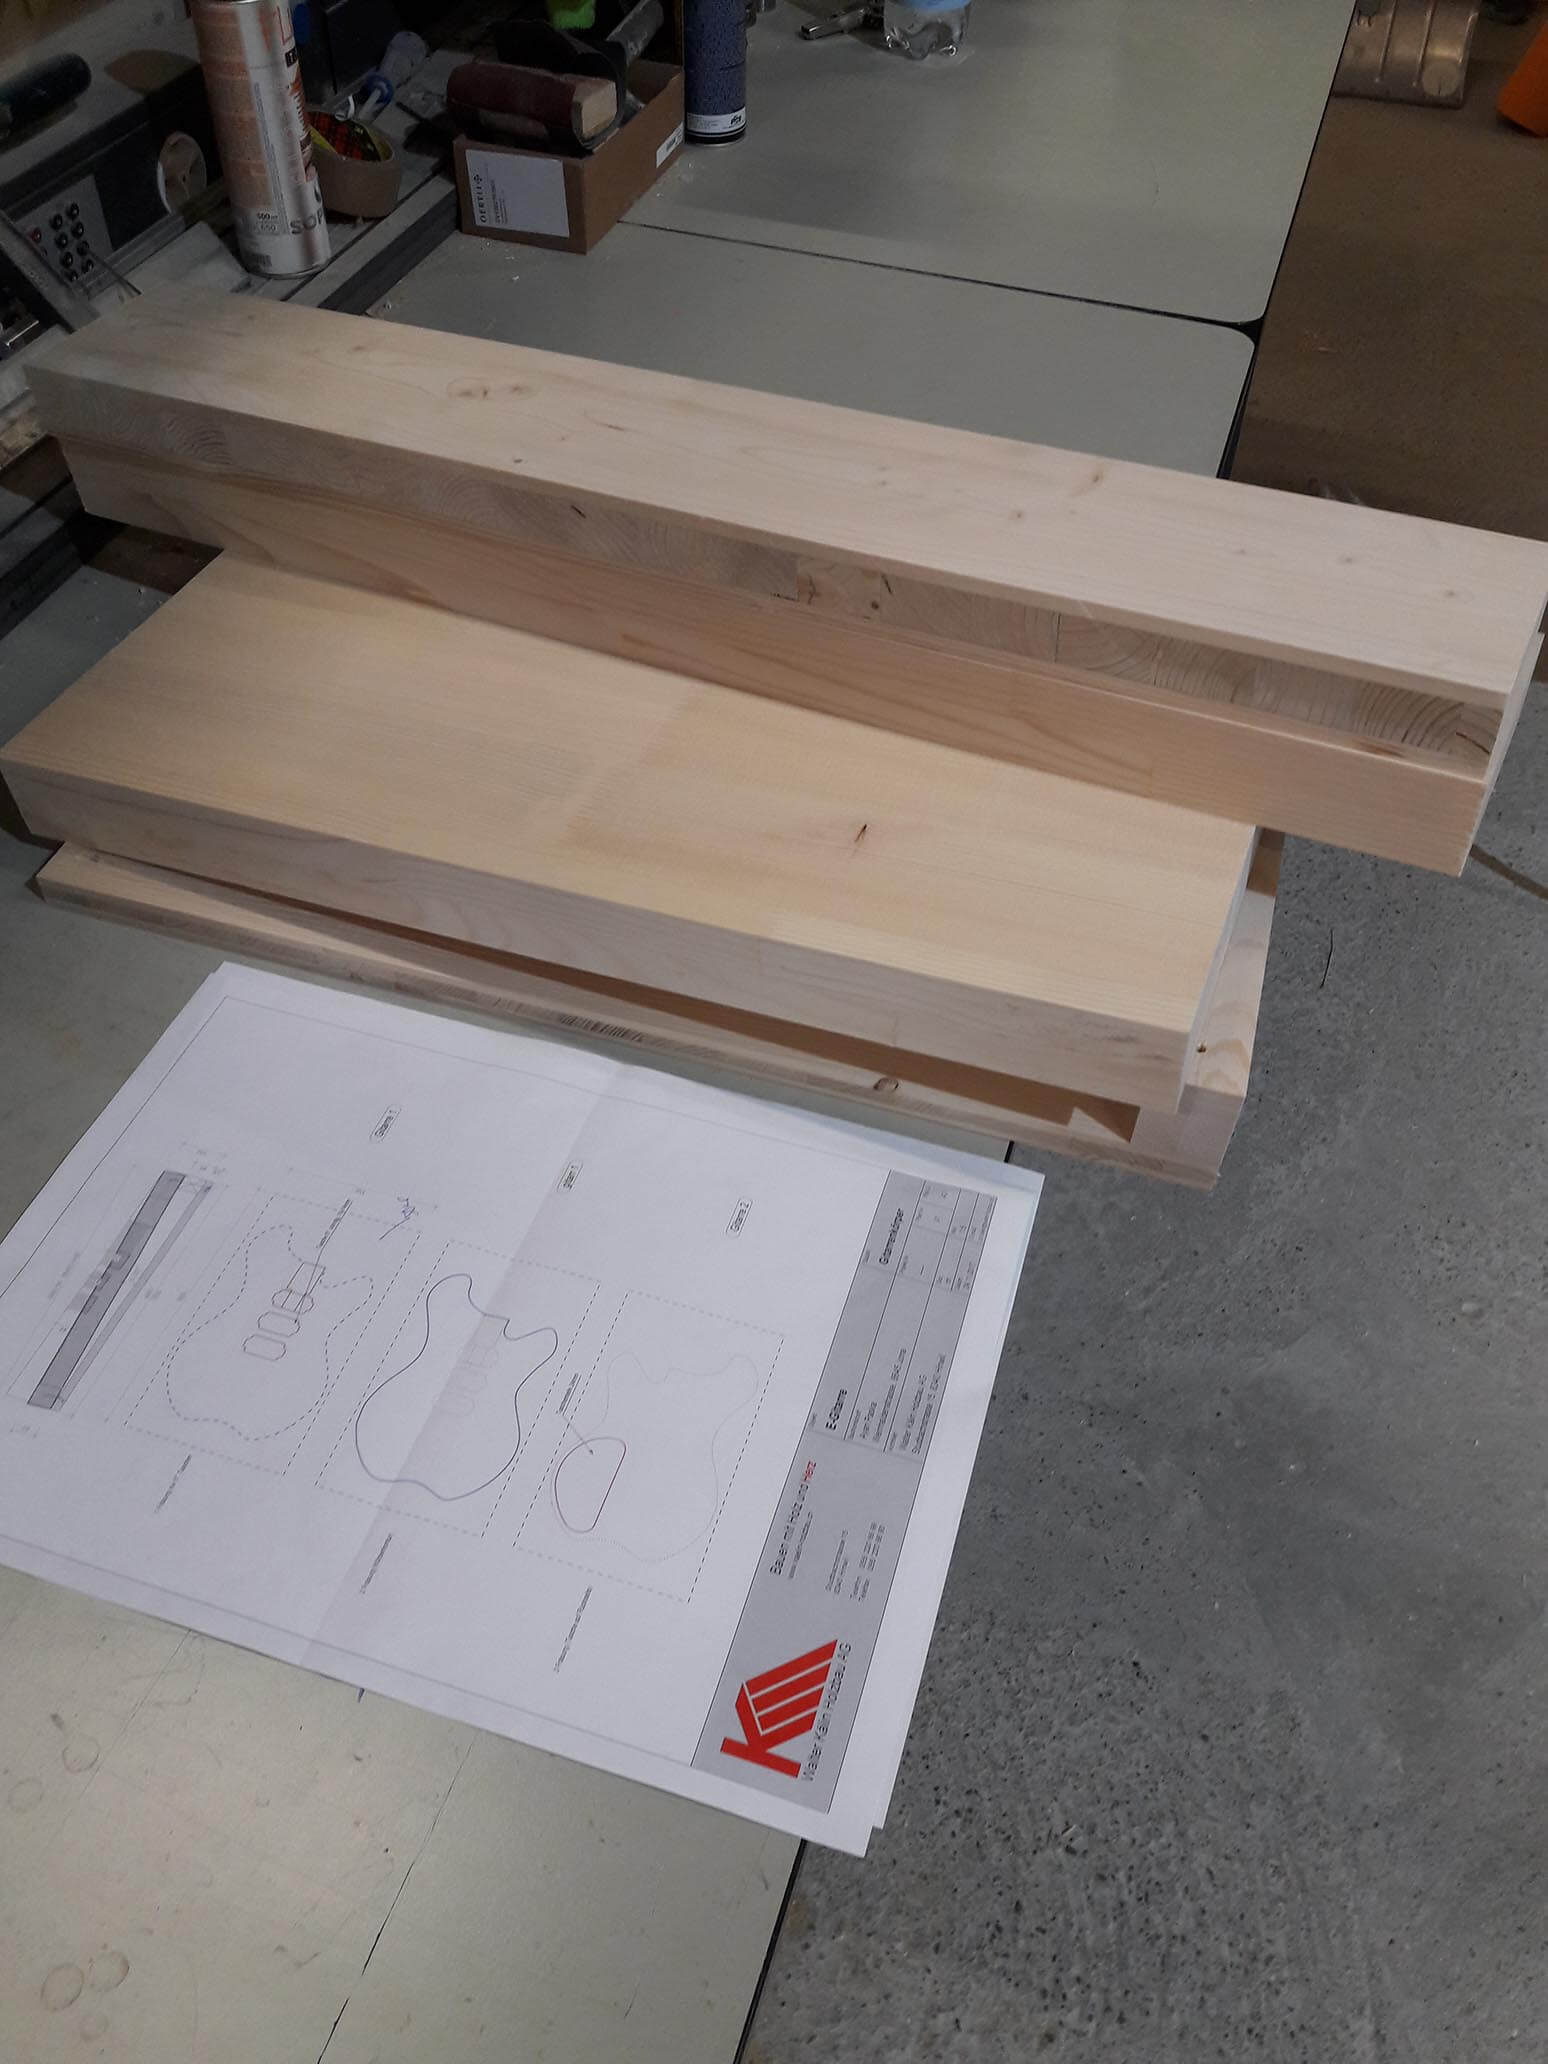
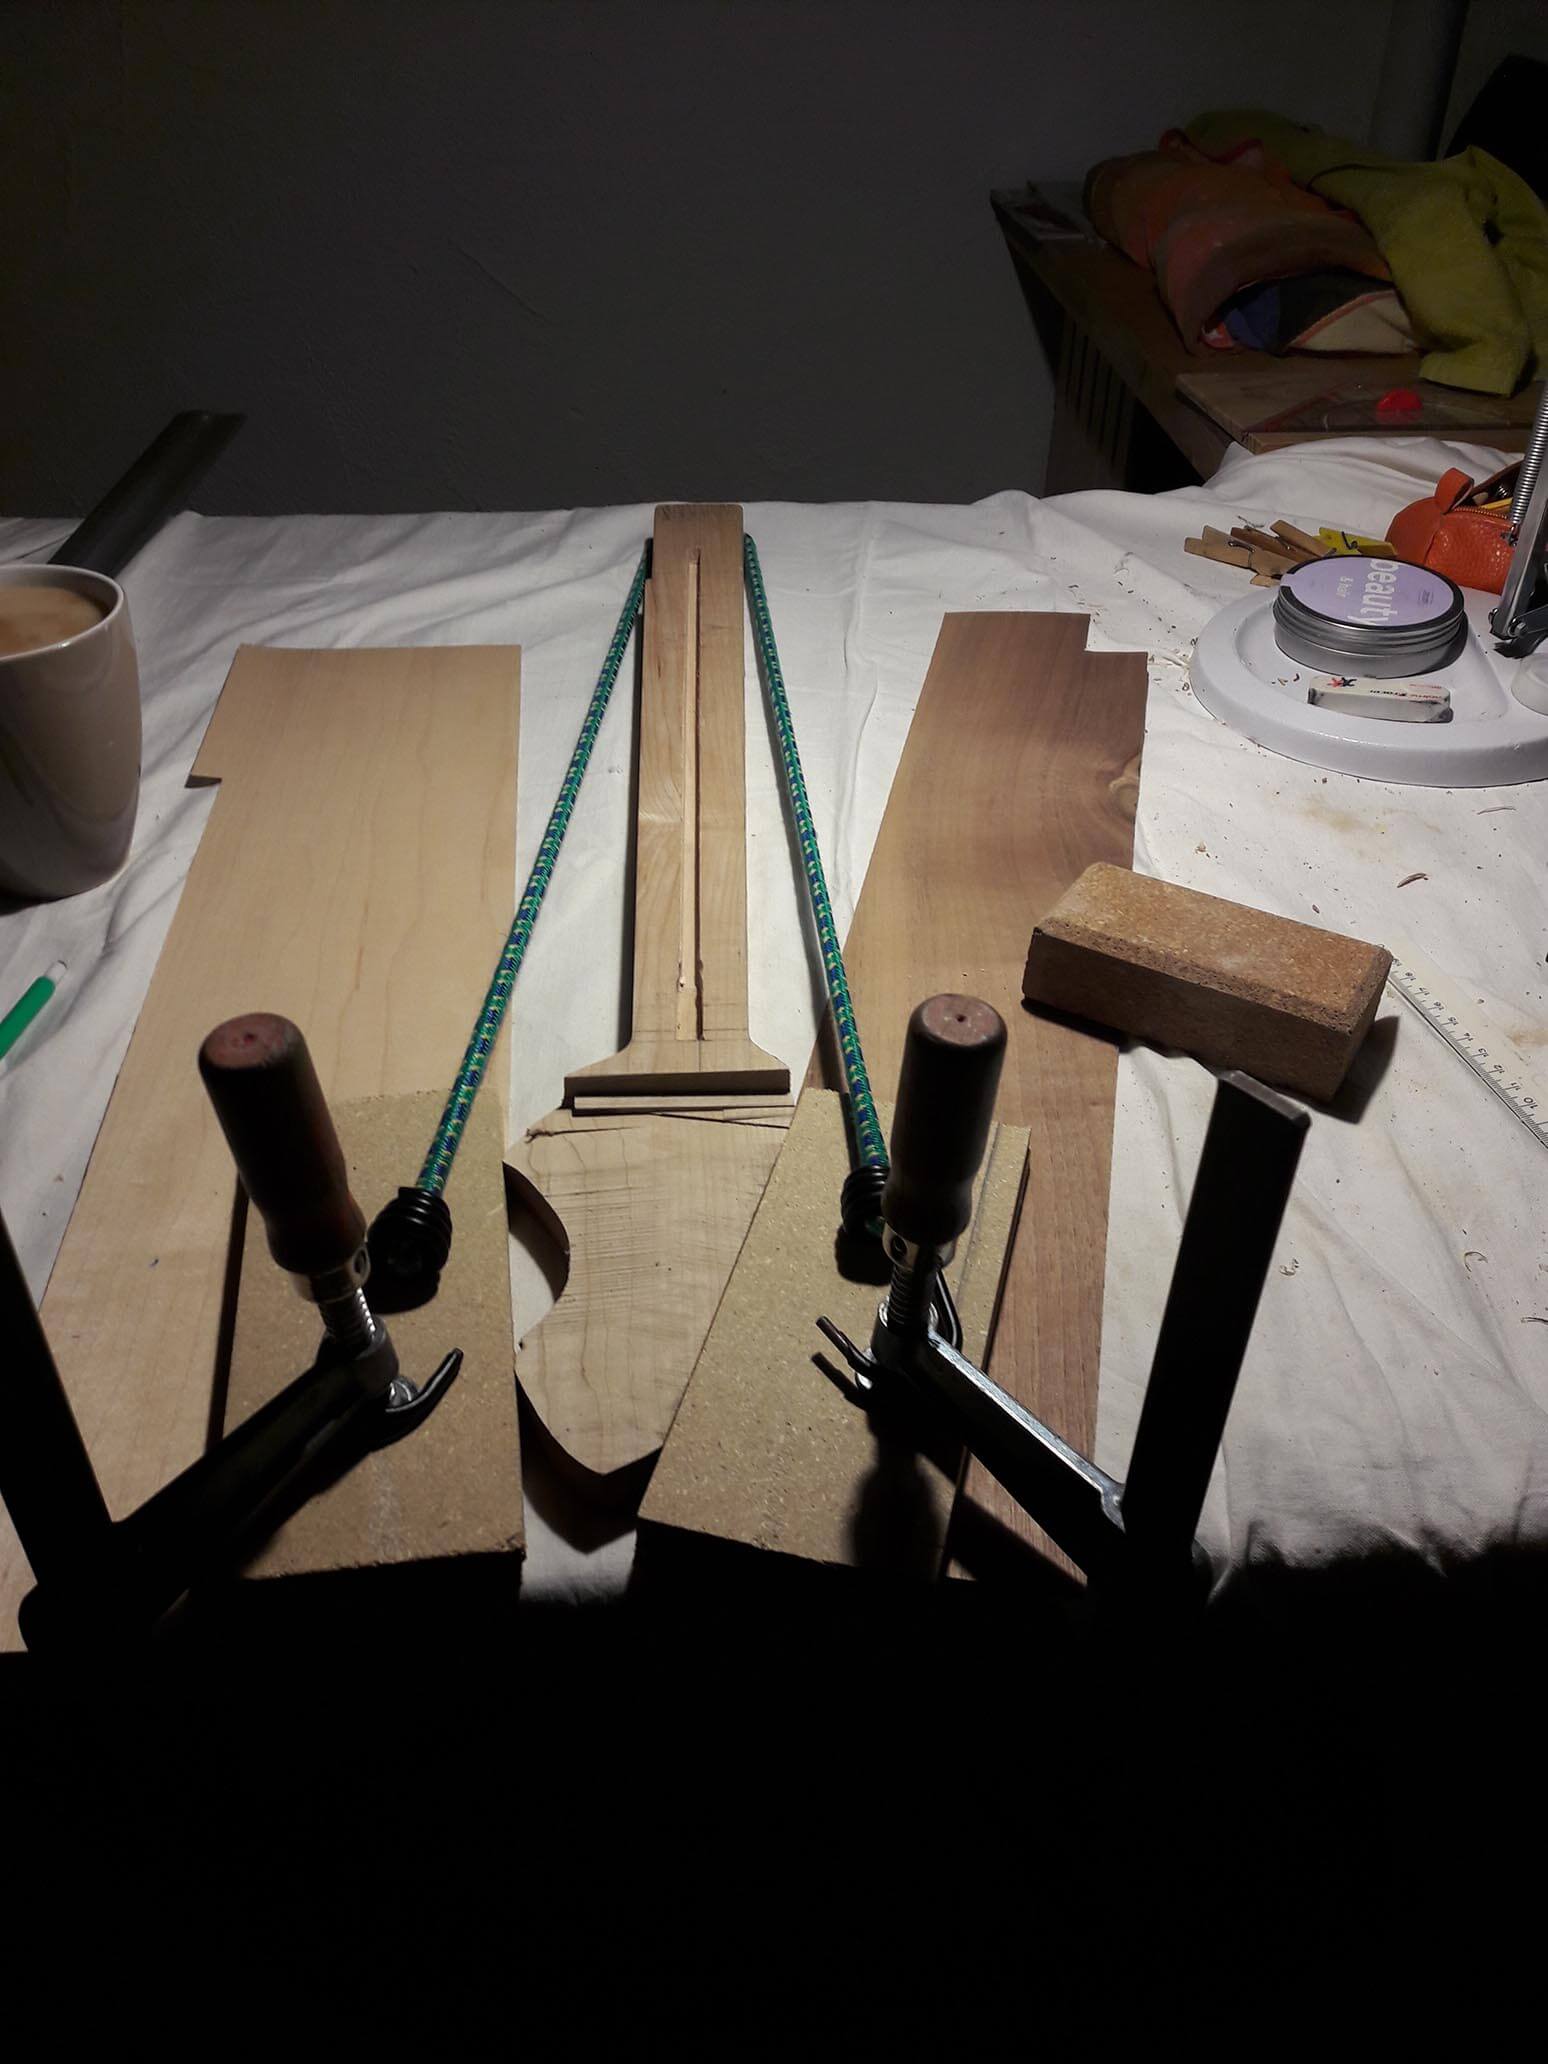
The plans were all brought to Walter Kälin-Holzbau AG and digitalized.
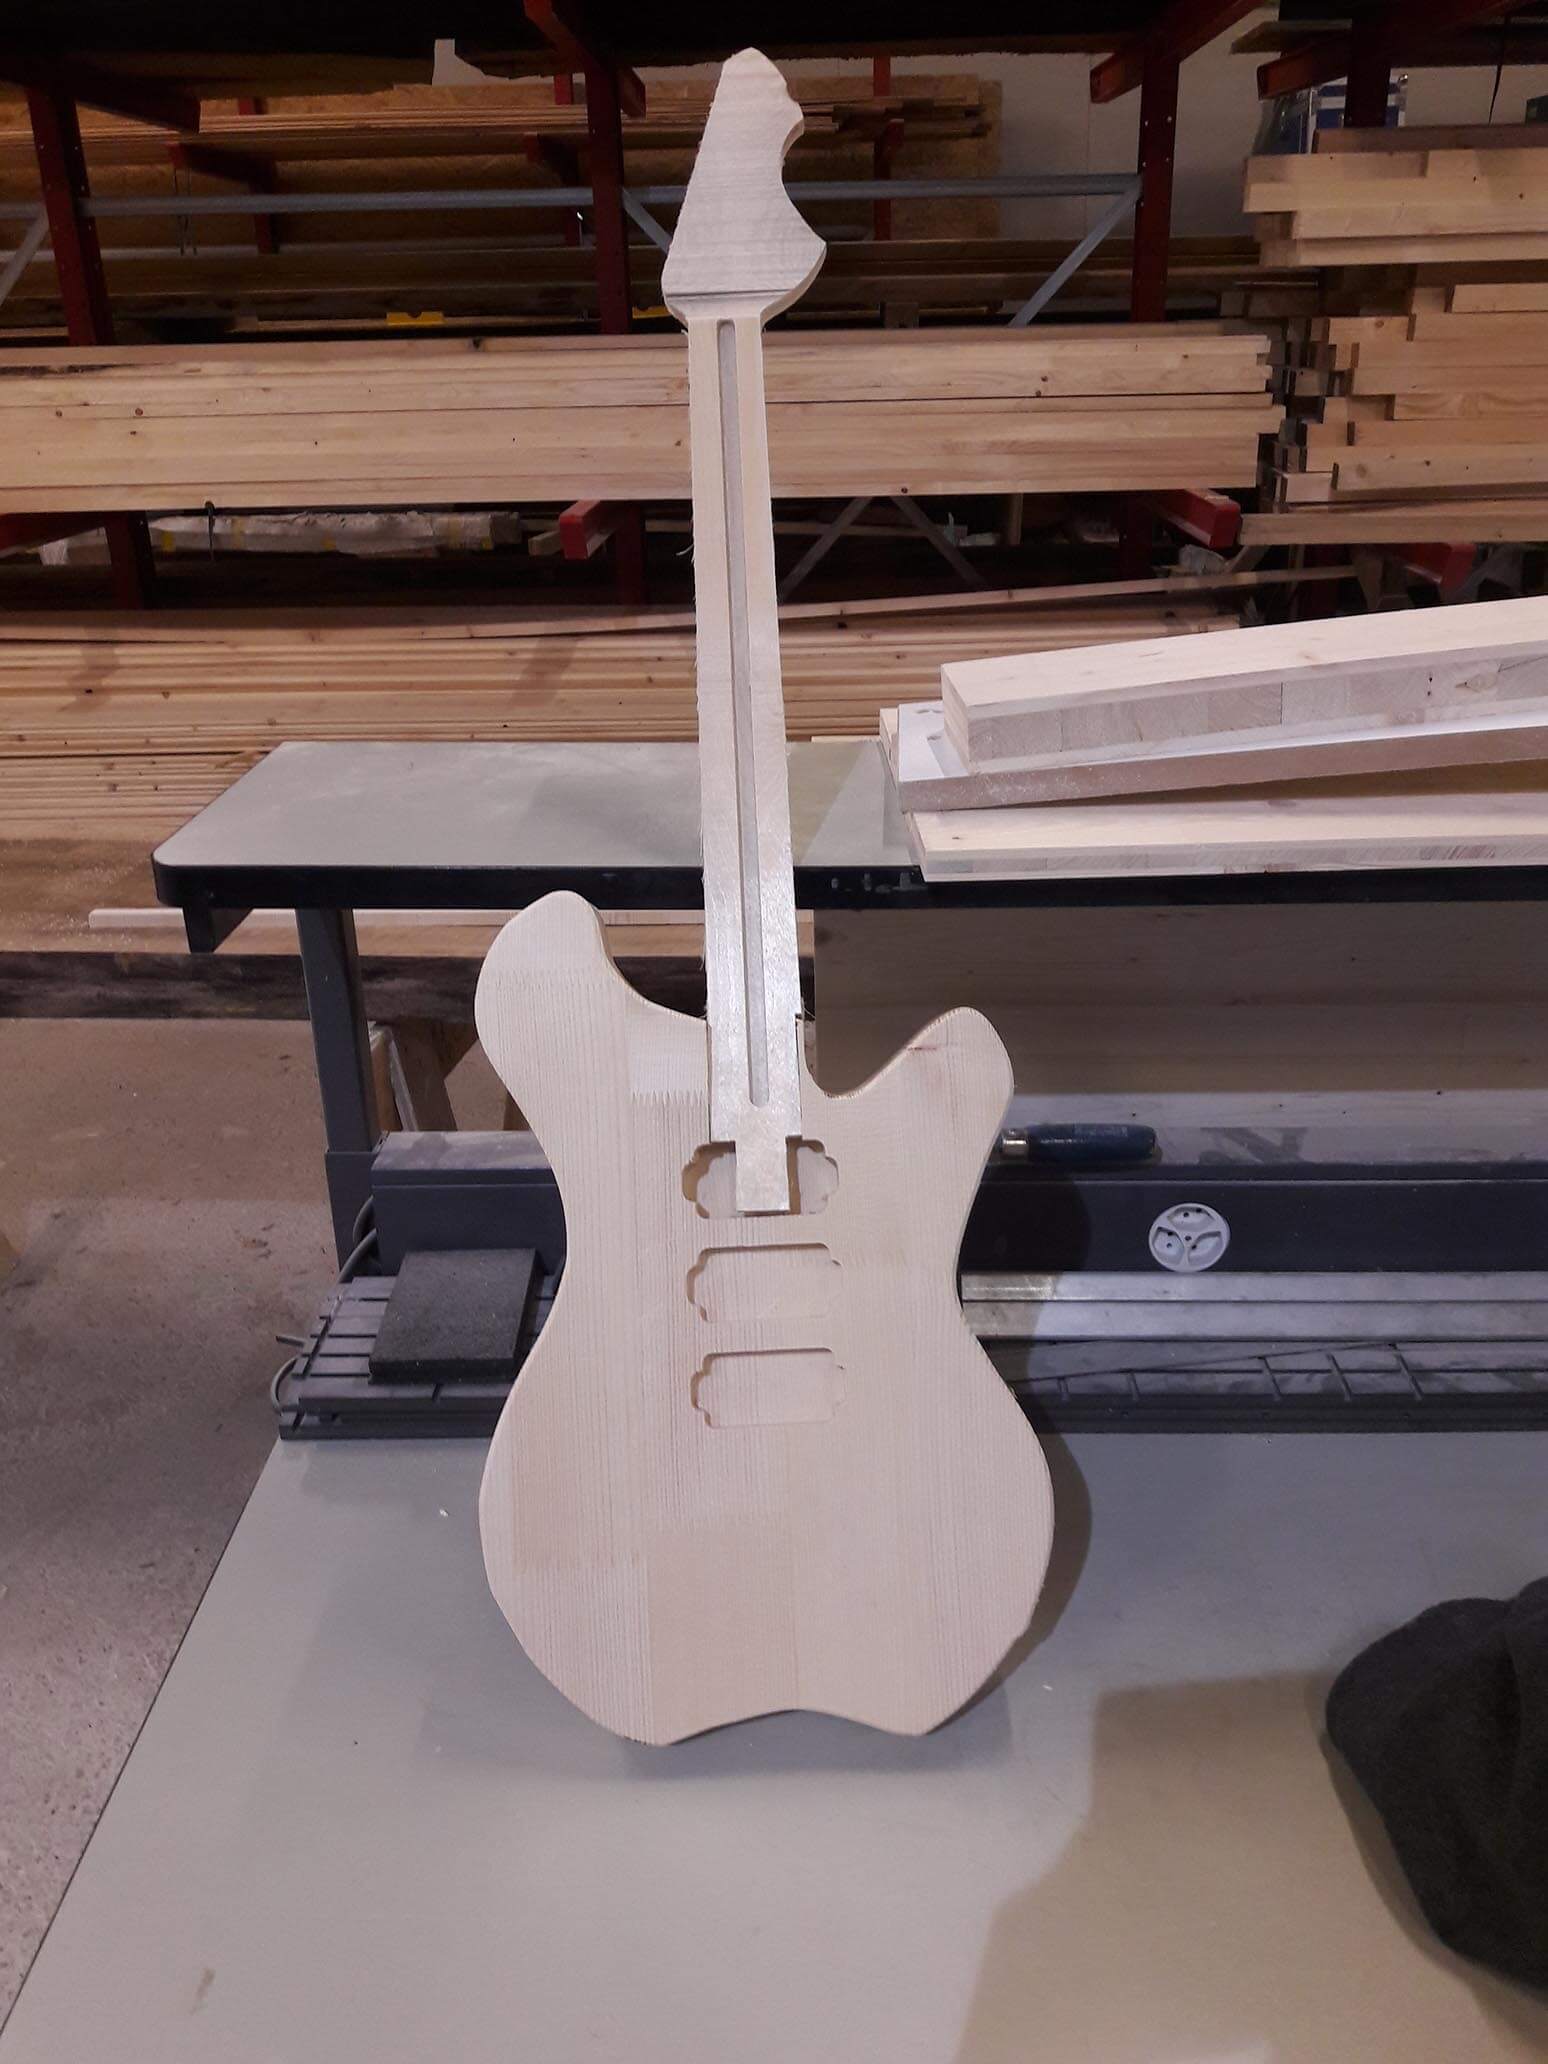
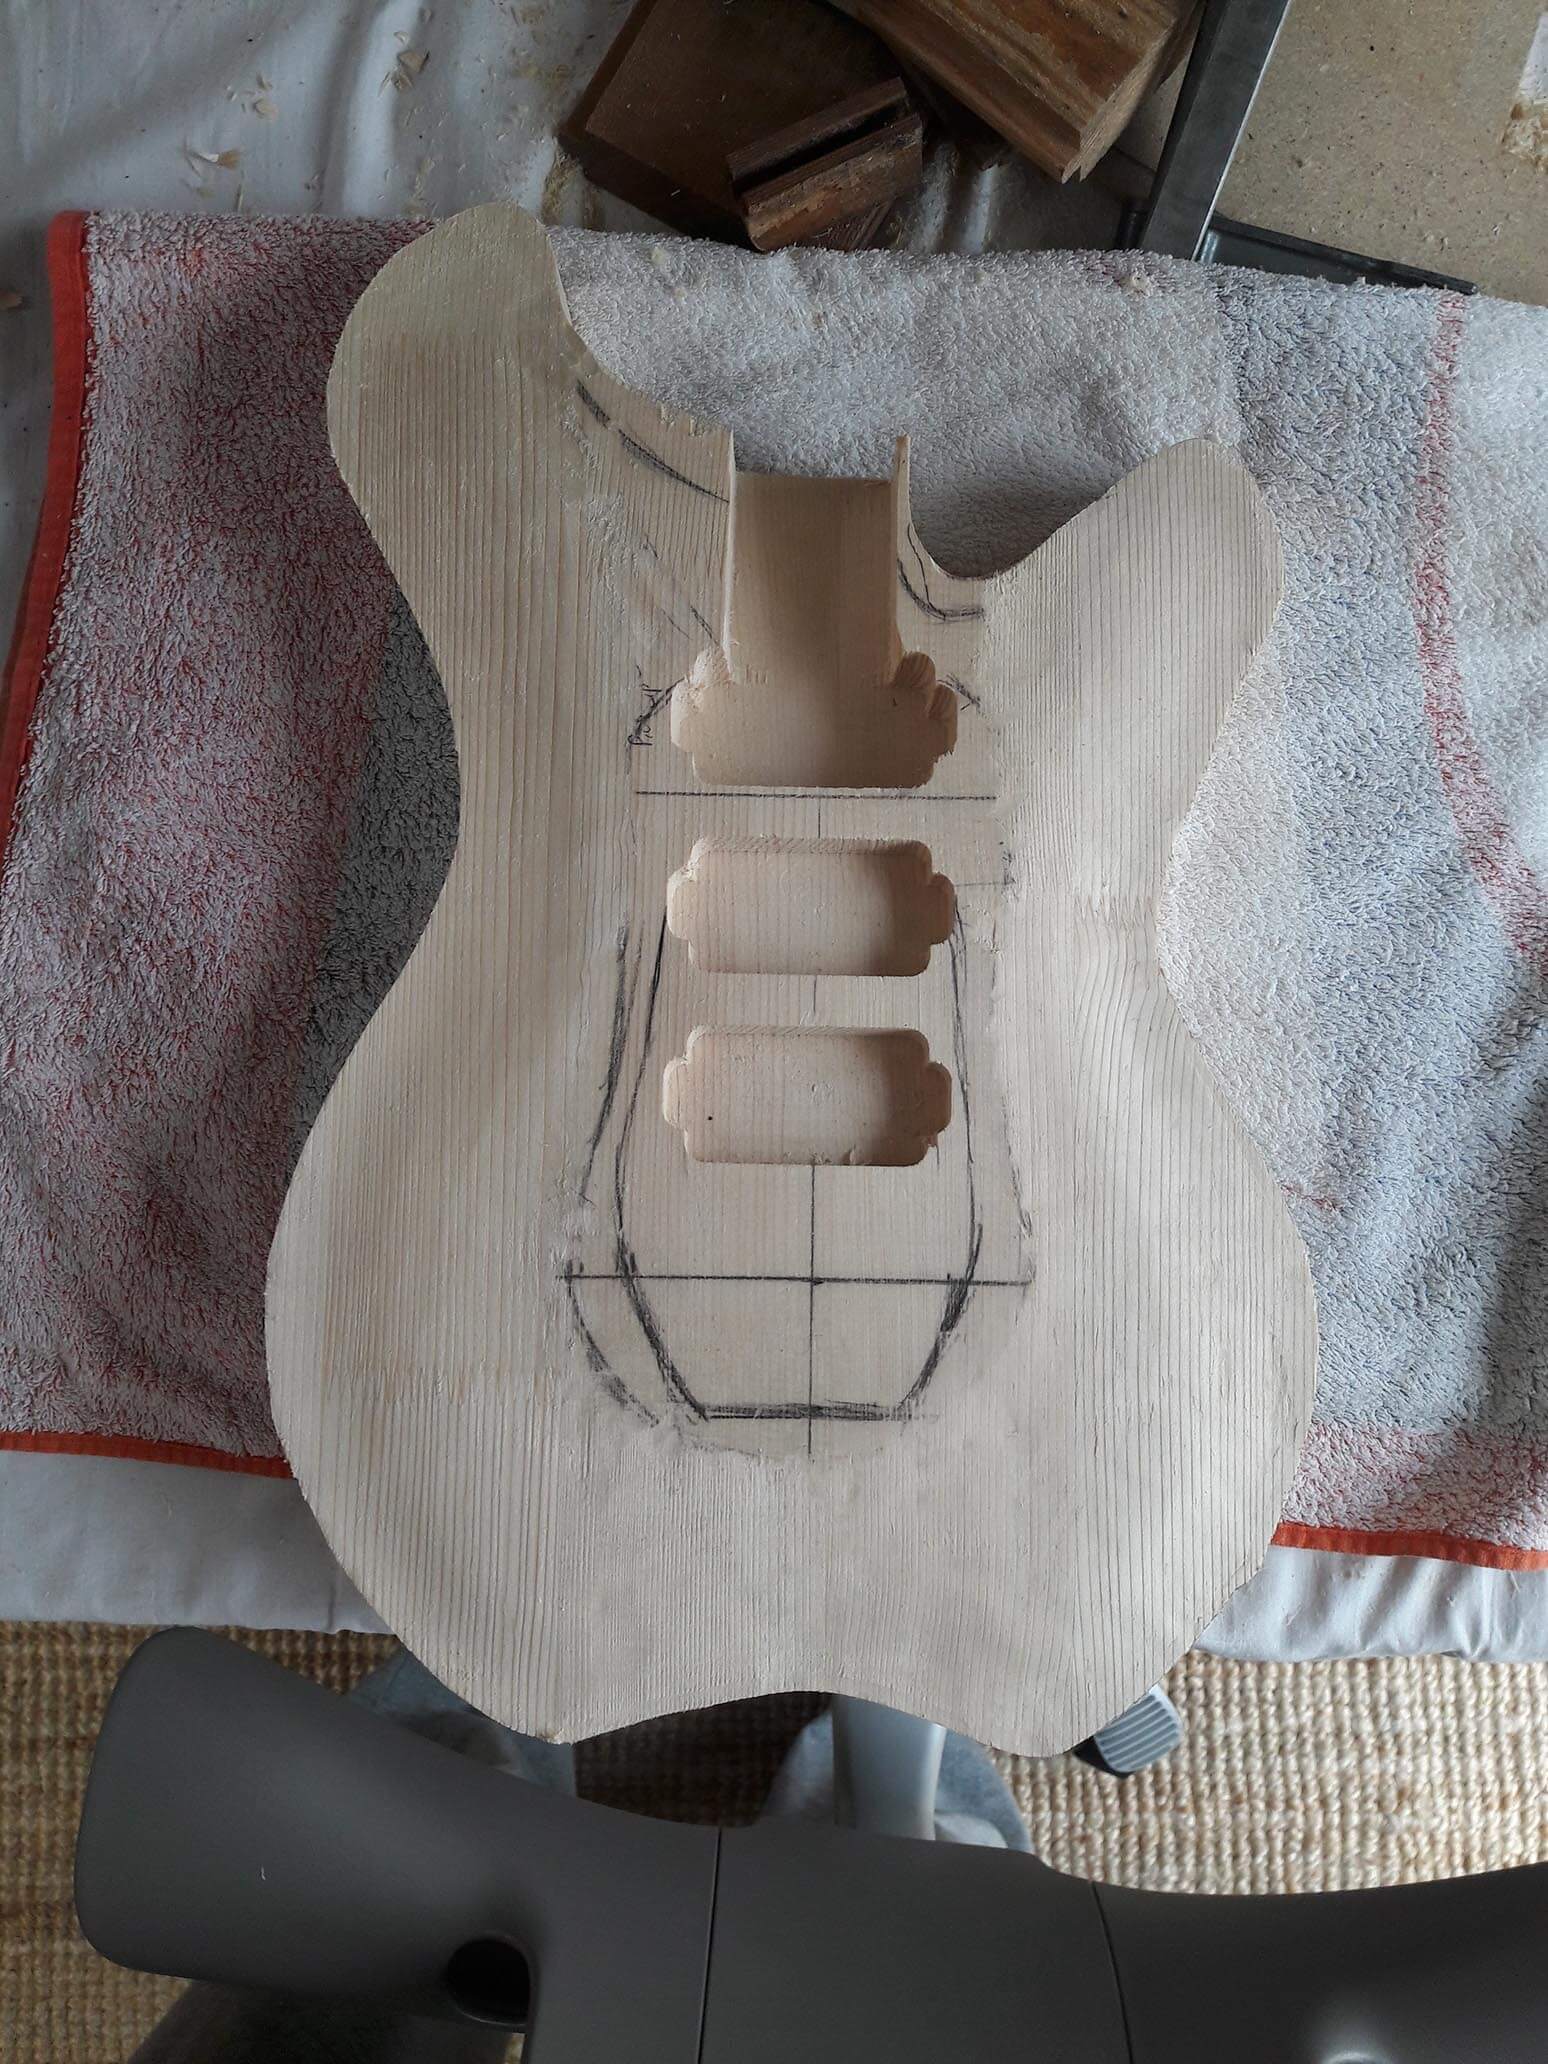
First, a prototype was made from soft fir wood. The real body was made from walnut wood and the neck from Canadian maple.
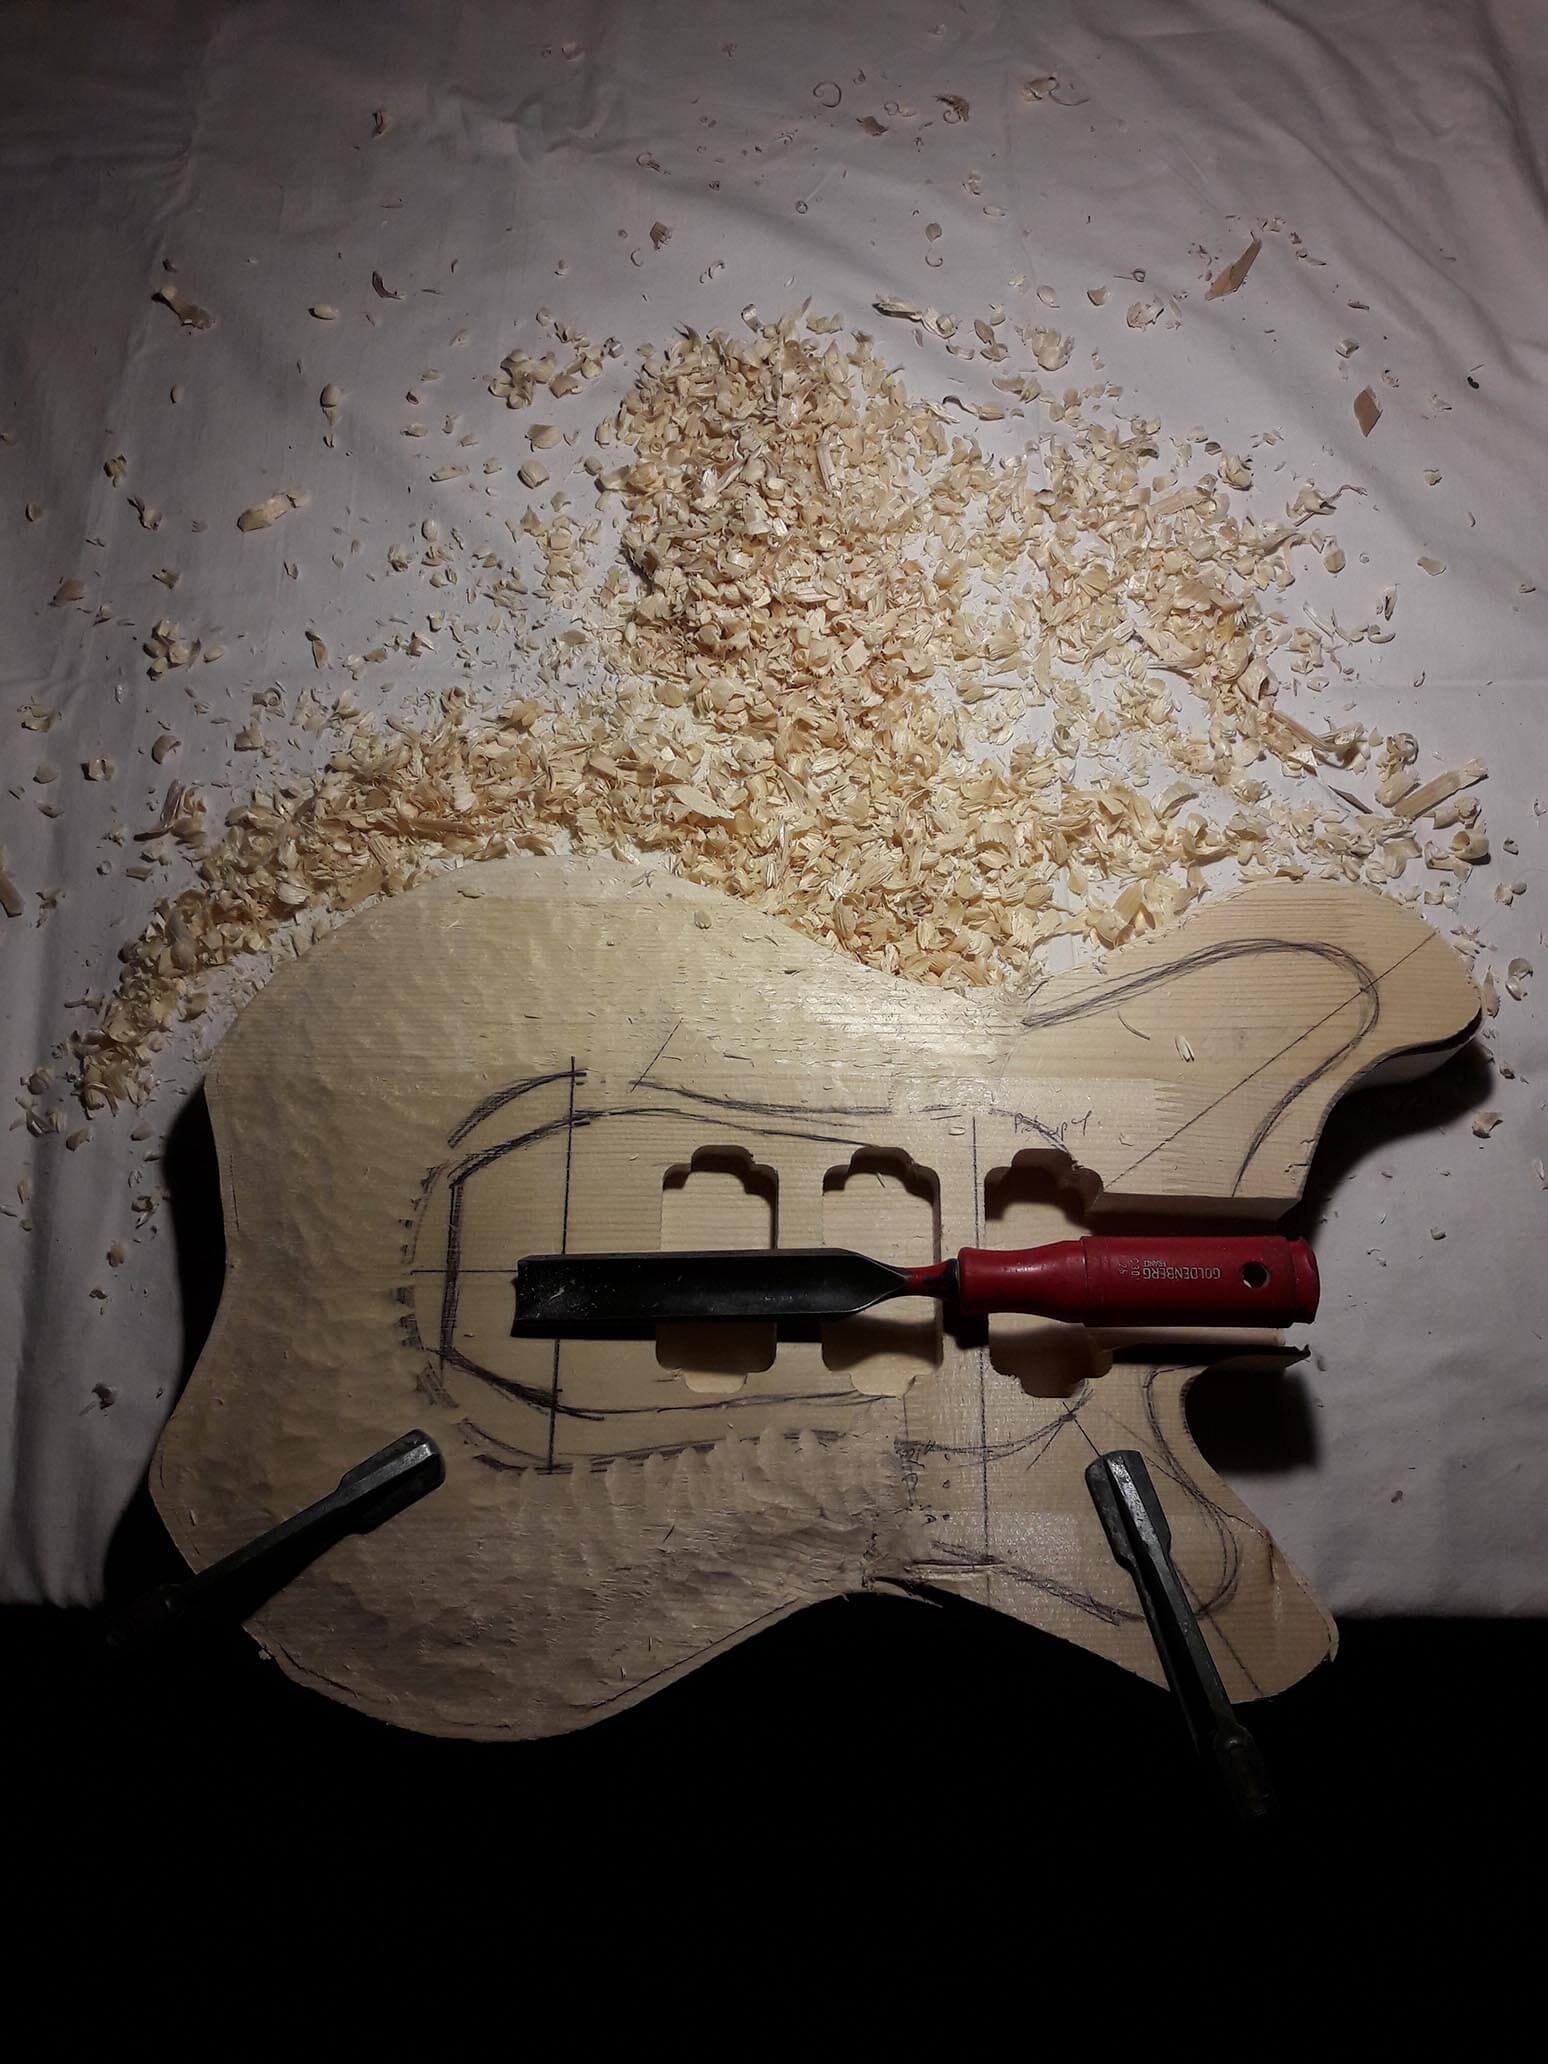
Body
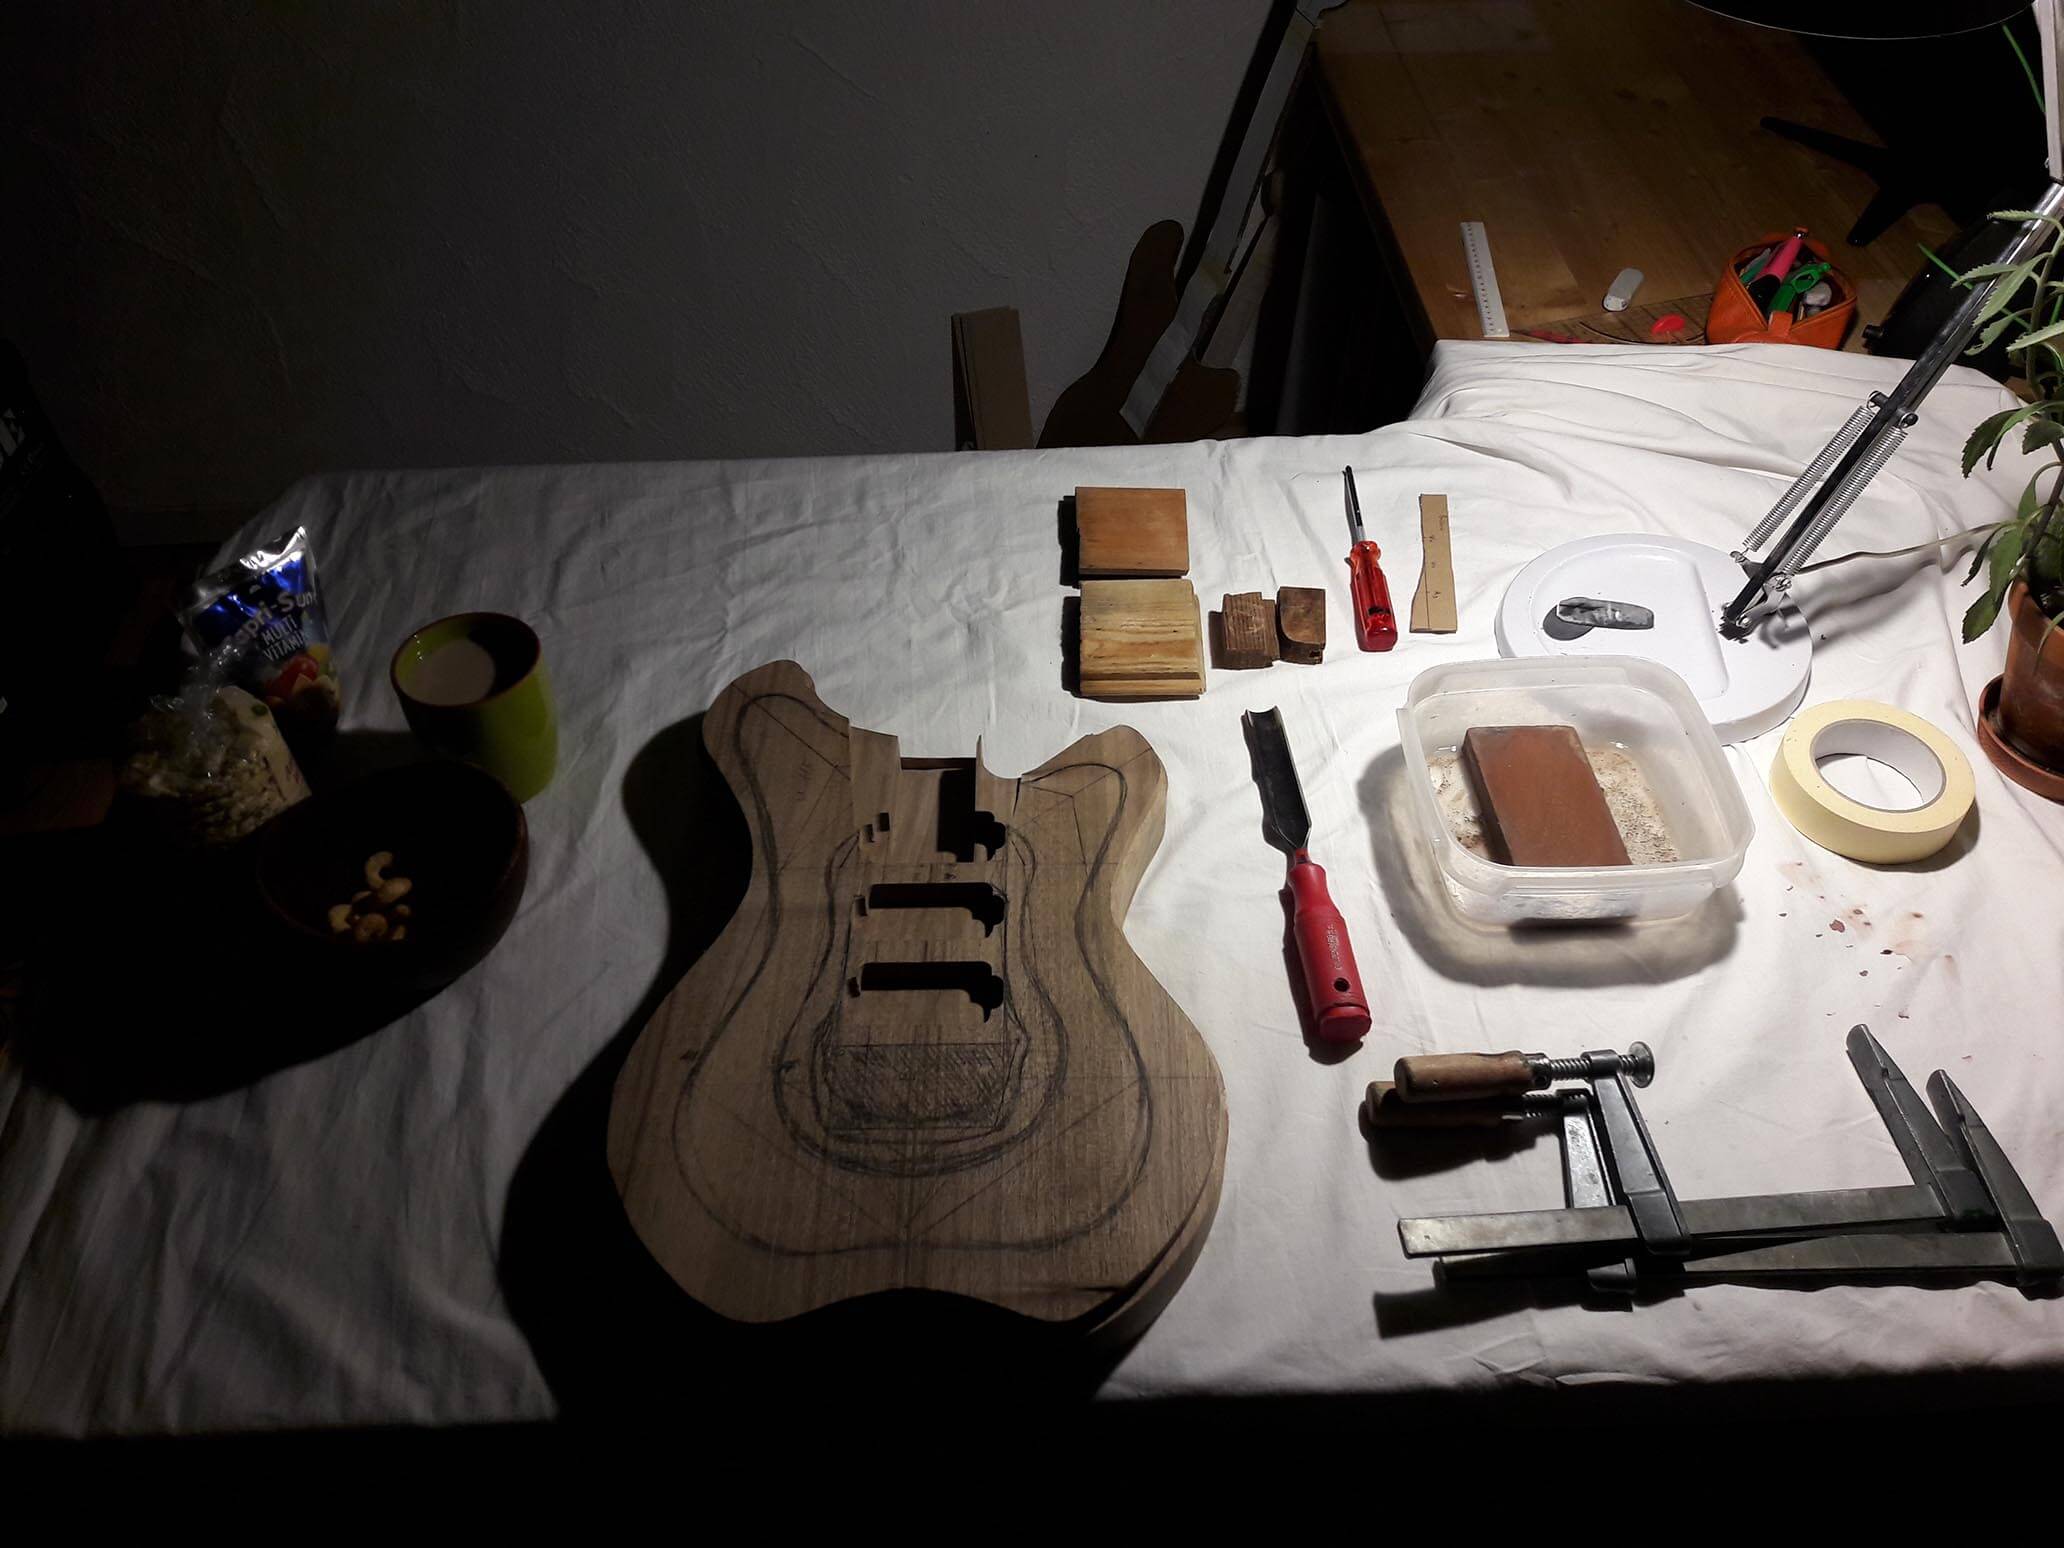
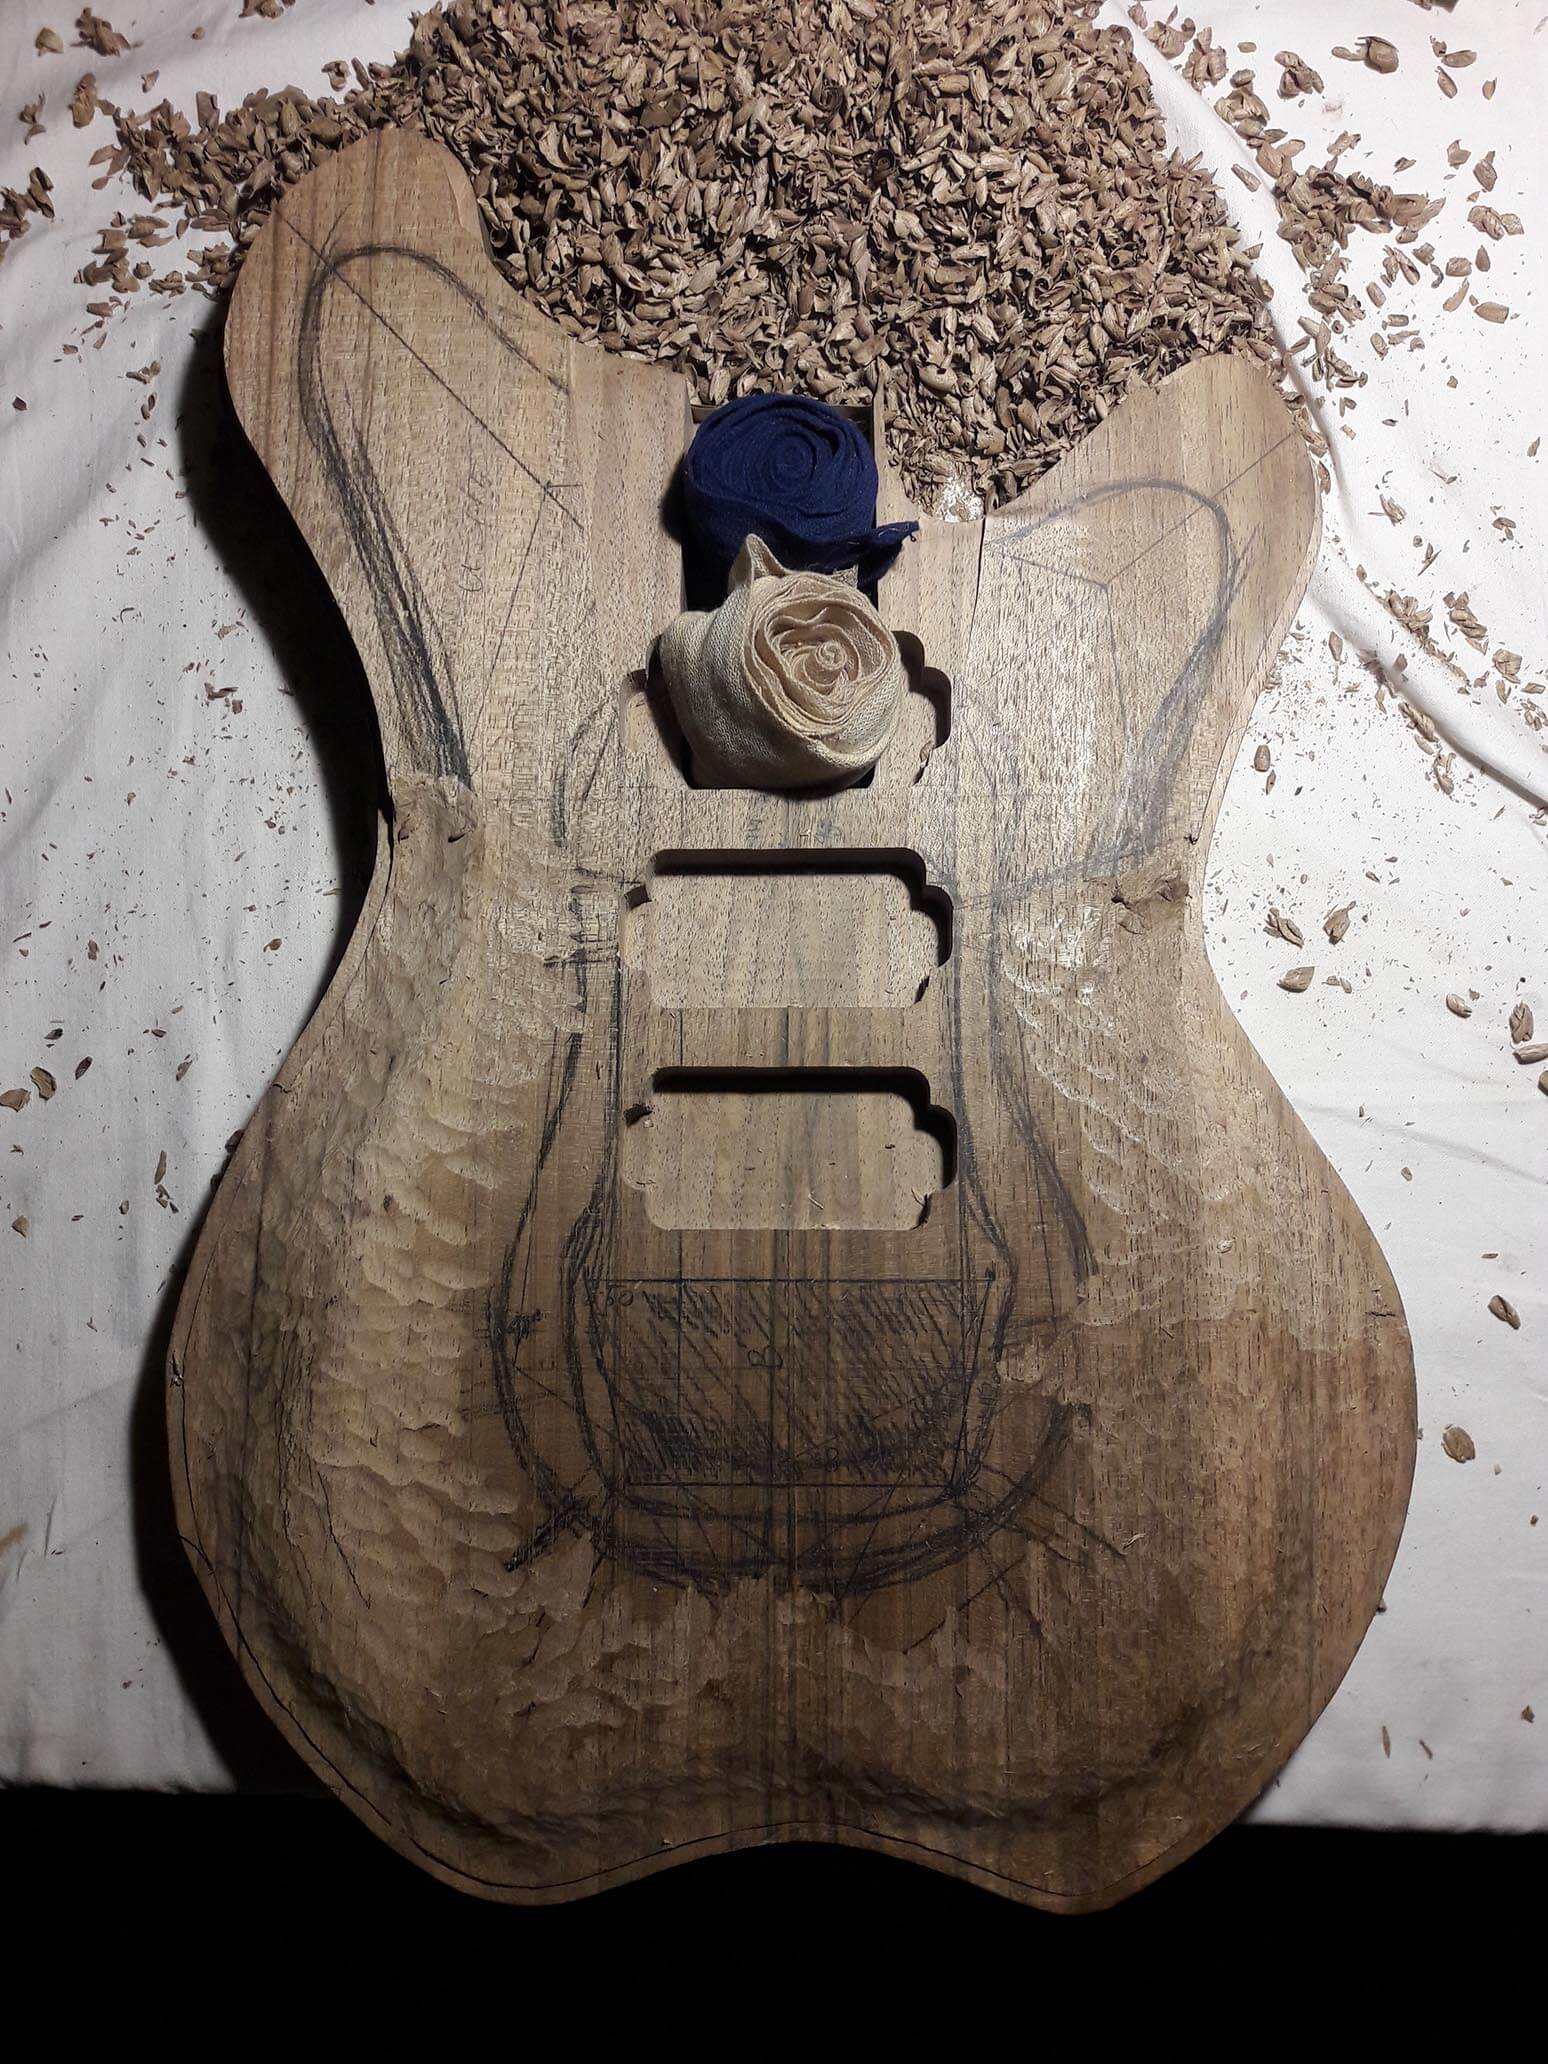
To achieve the kind of curvature I wanted, I first practiced on the fir prototype with a chisel.
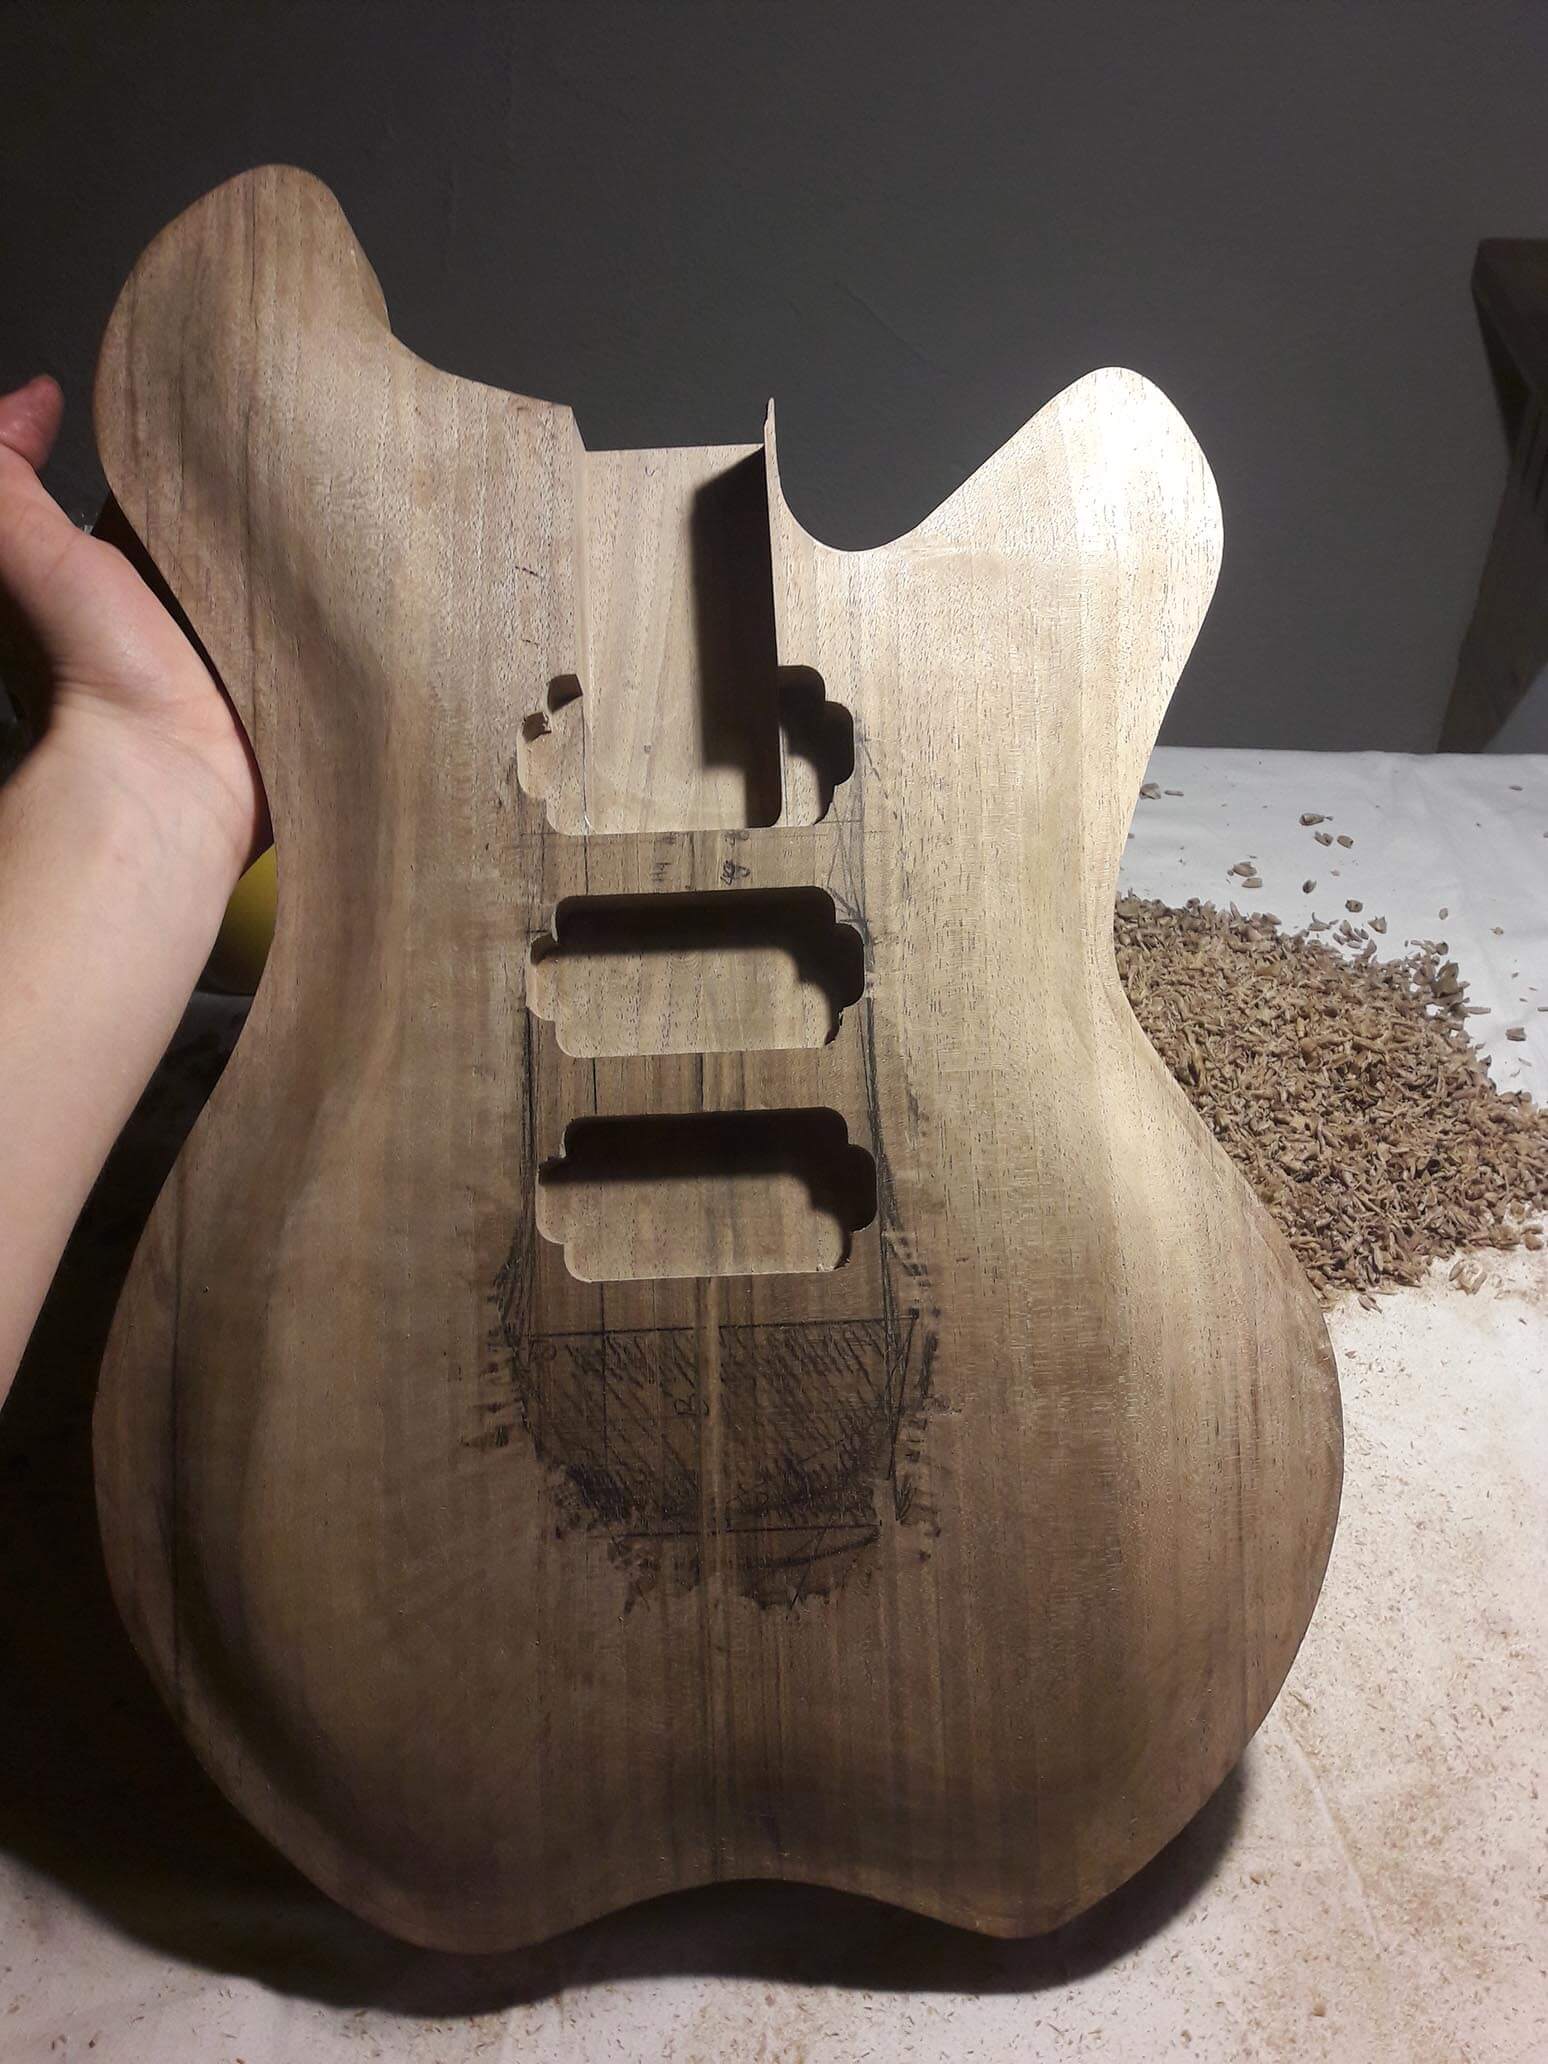
I then started working on the walnut body. The rough curve was made using a chisel, the surface was then smoothed out using drawknives and later sand paper.
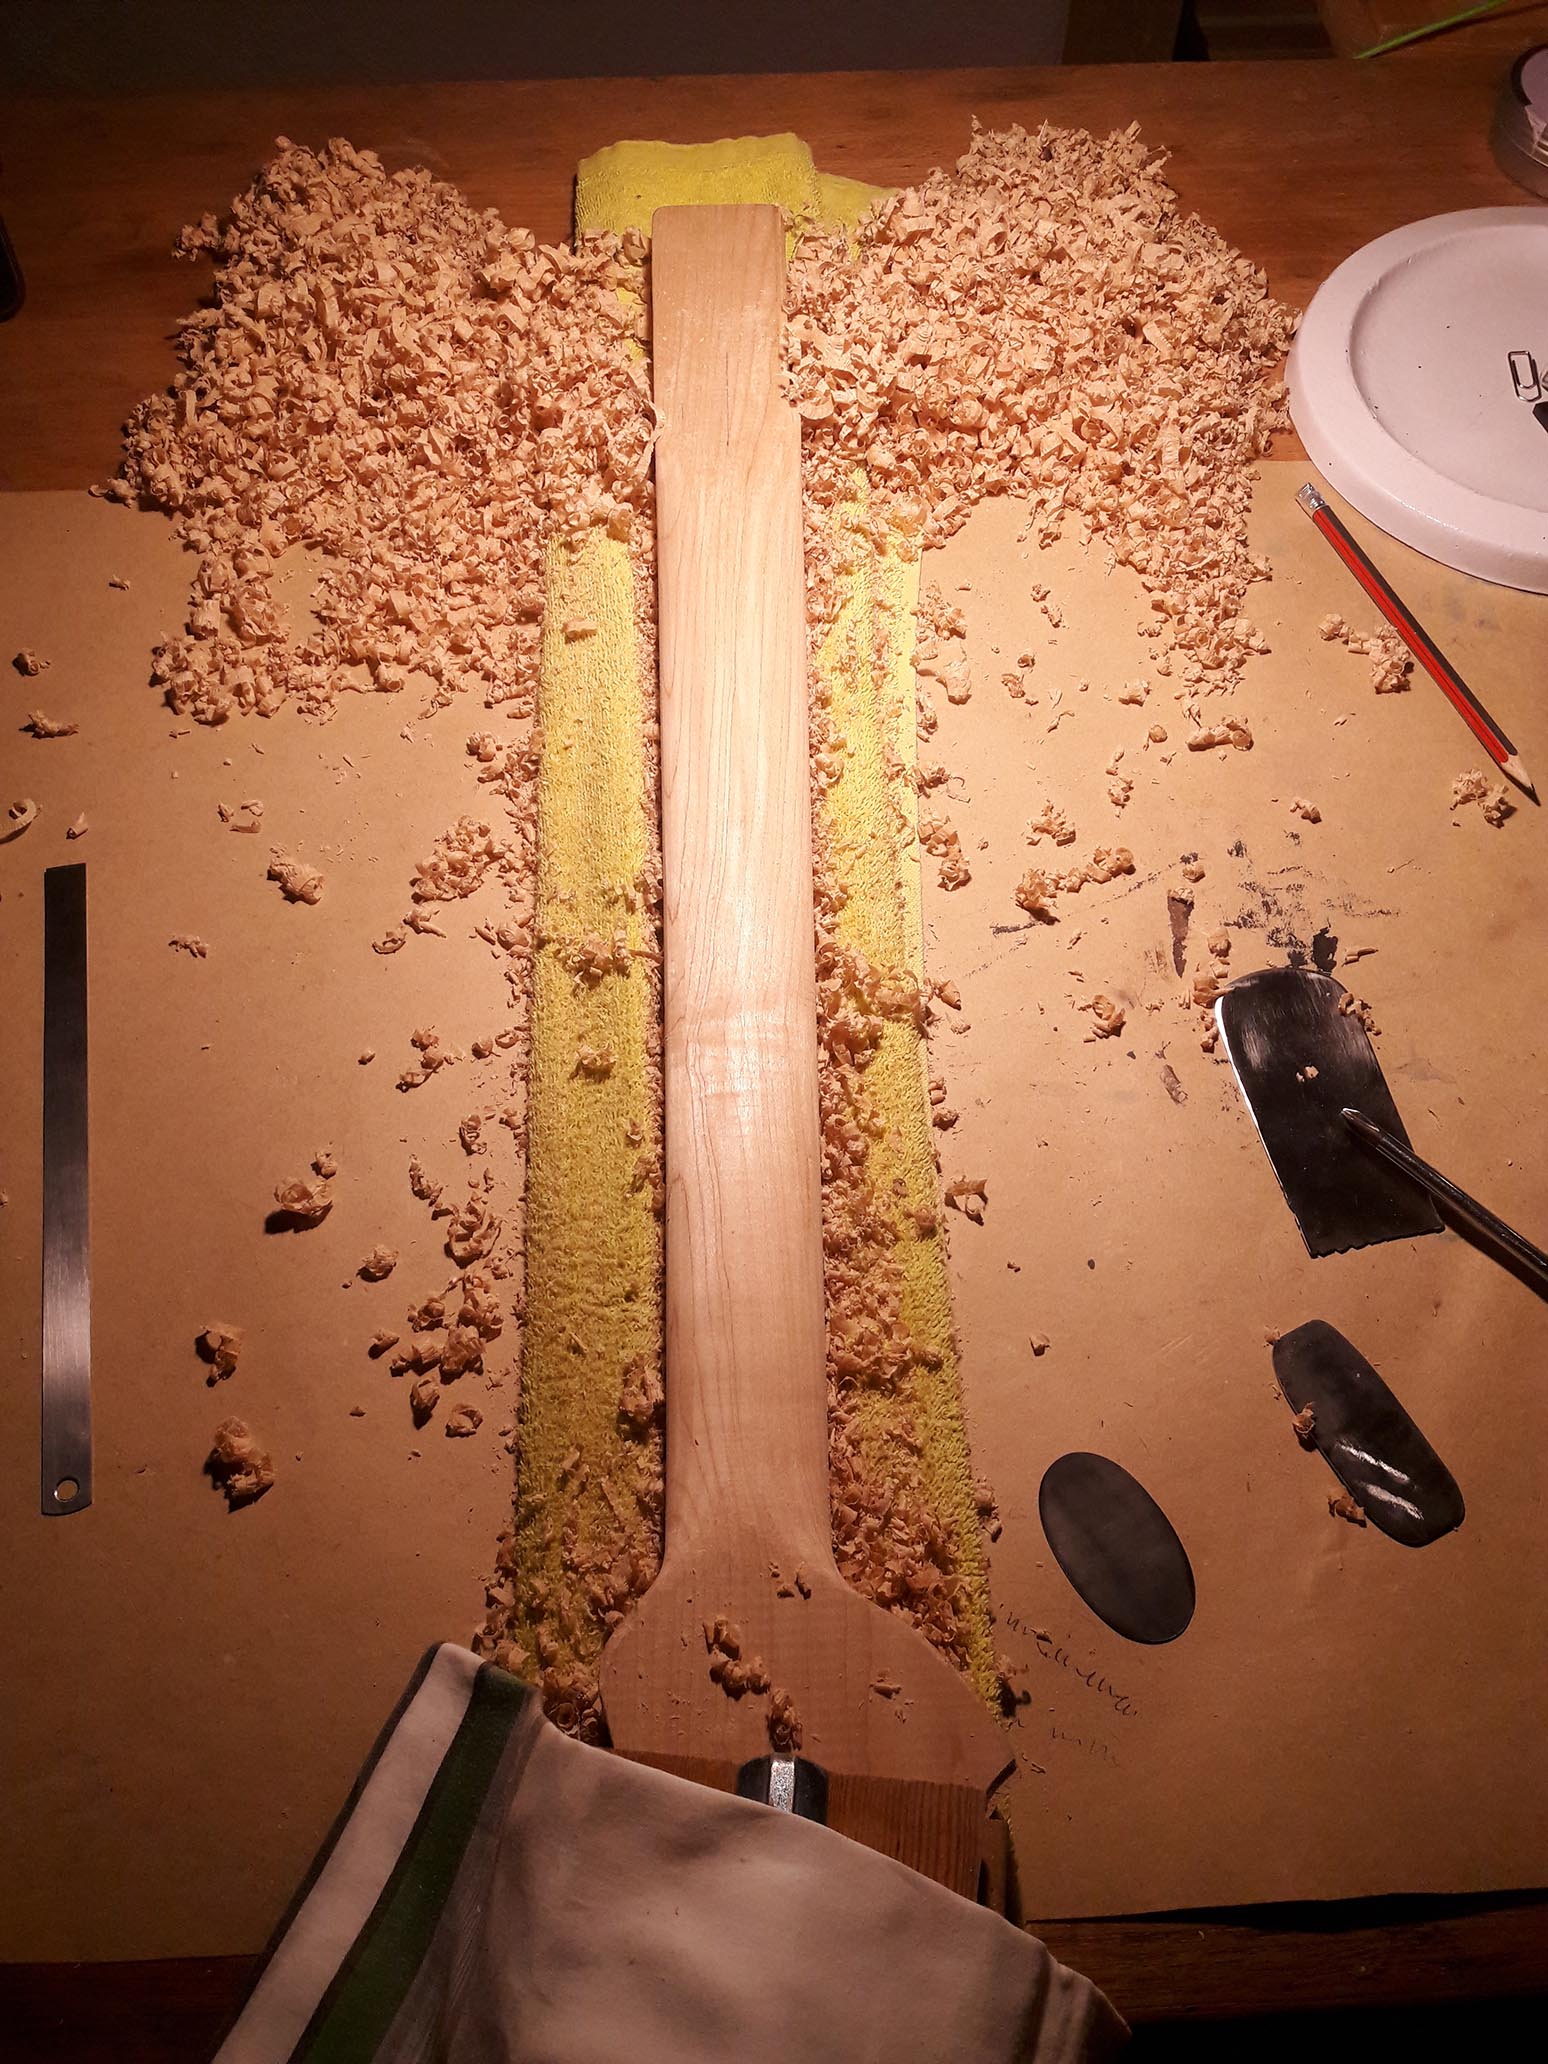
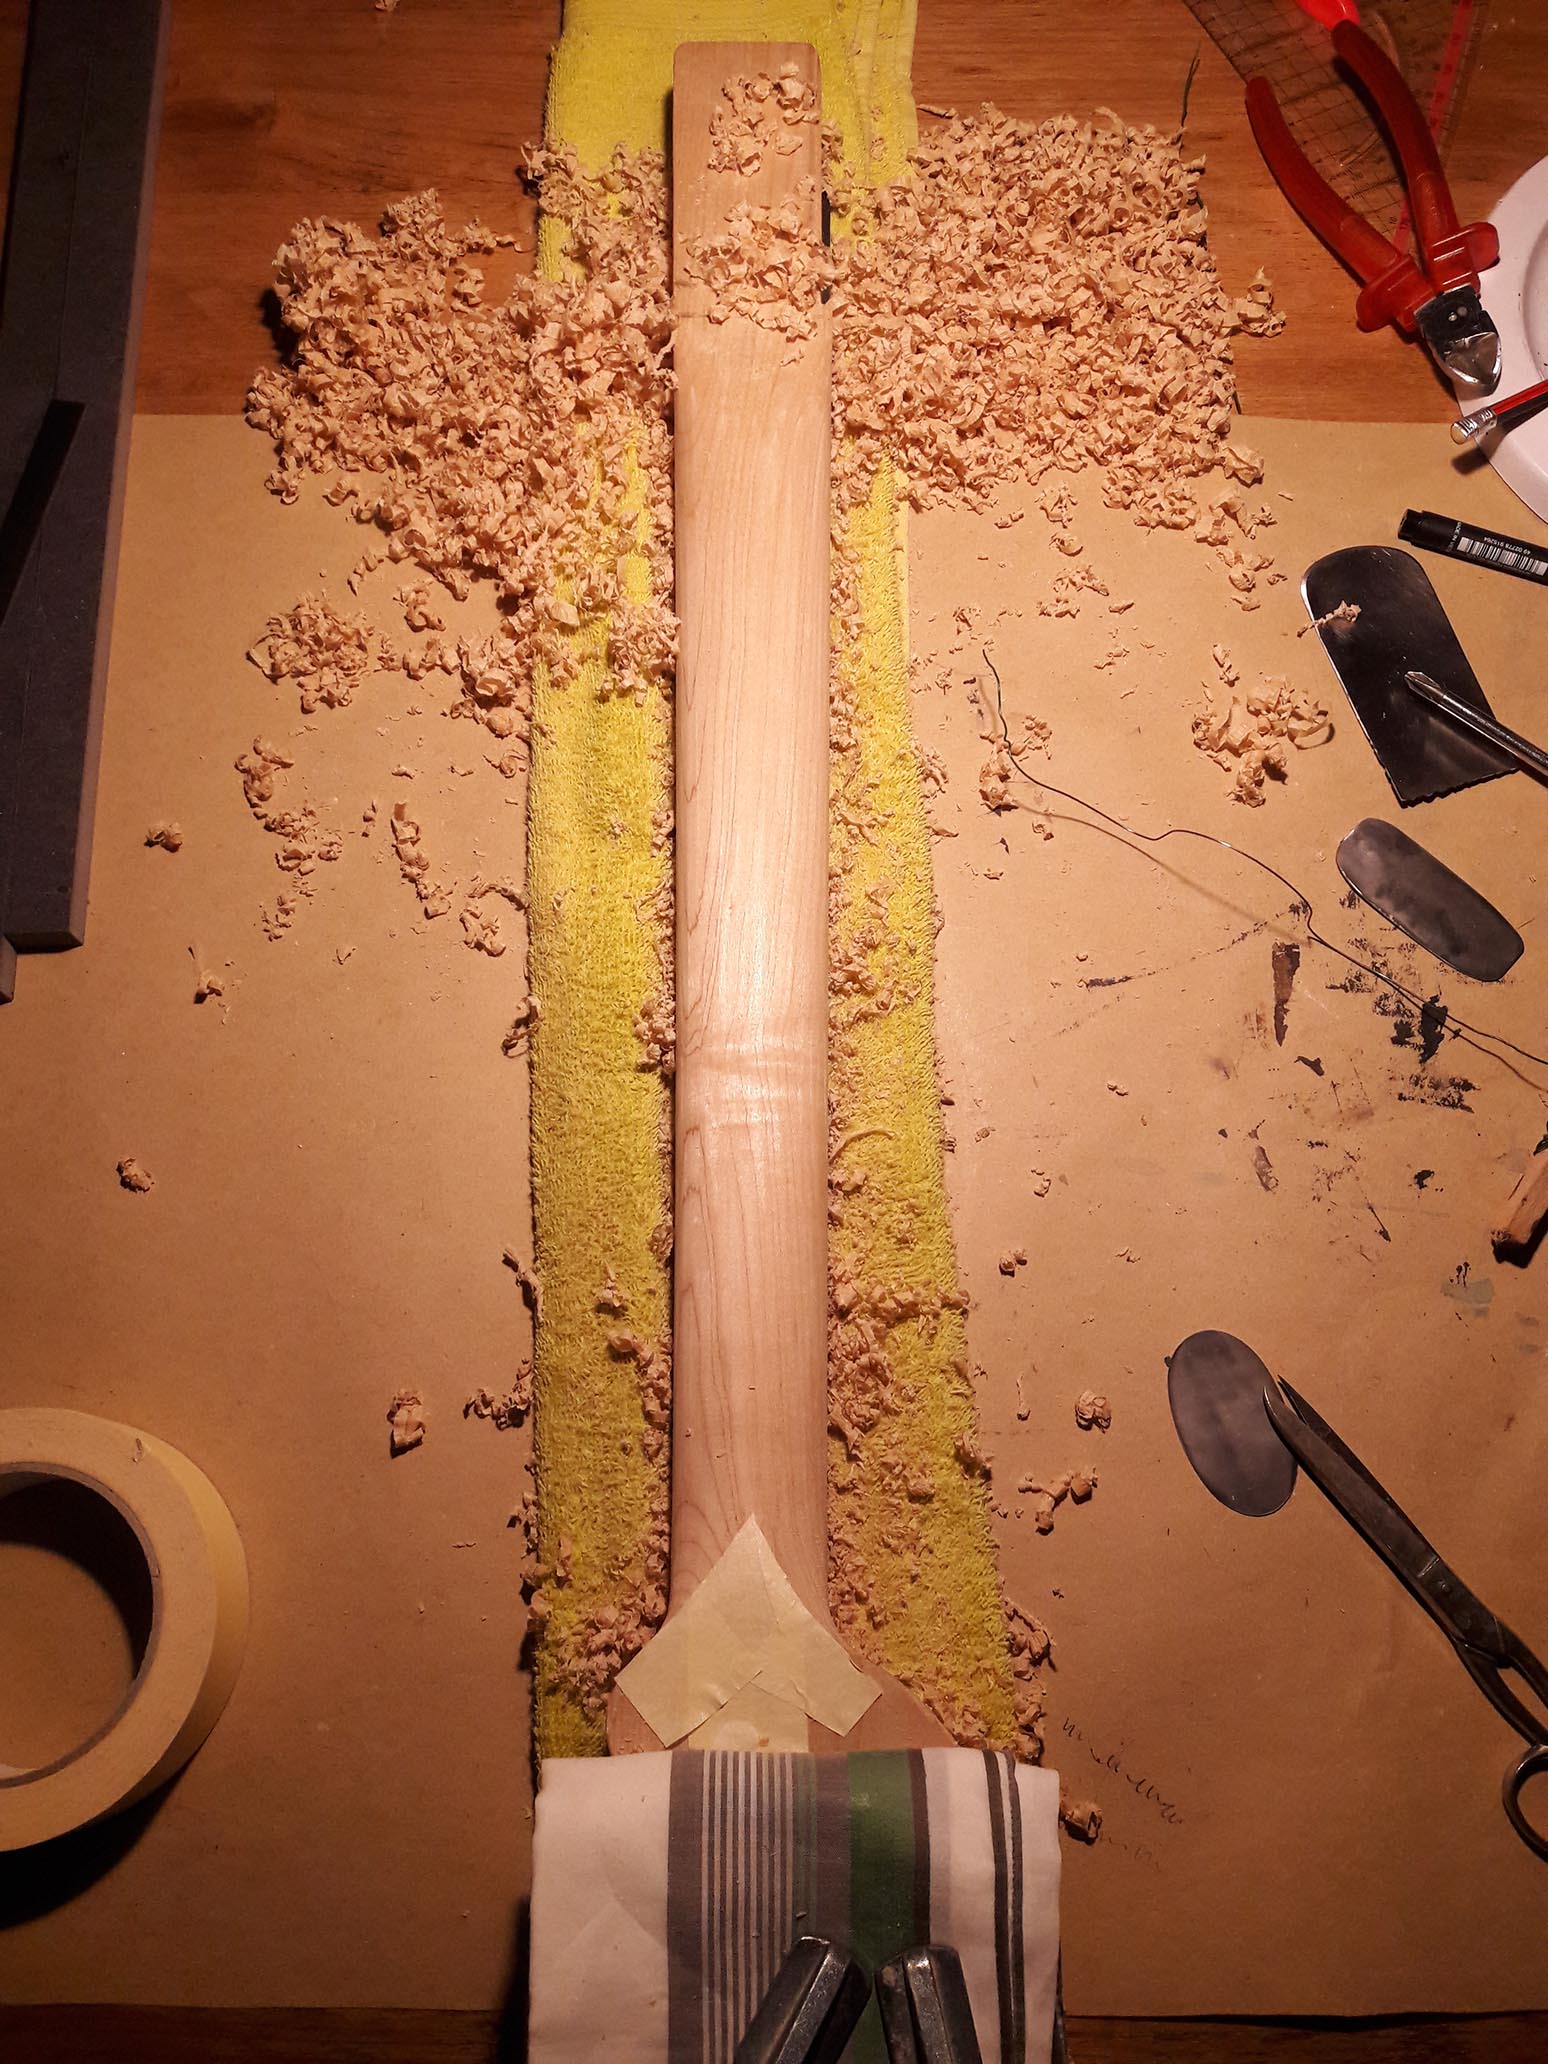
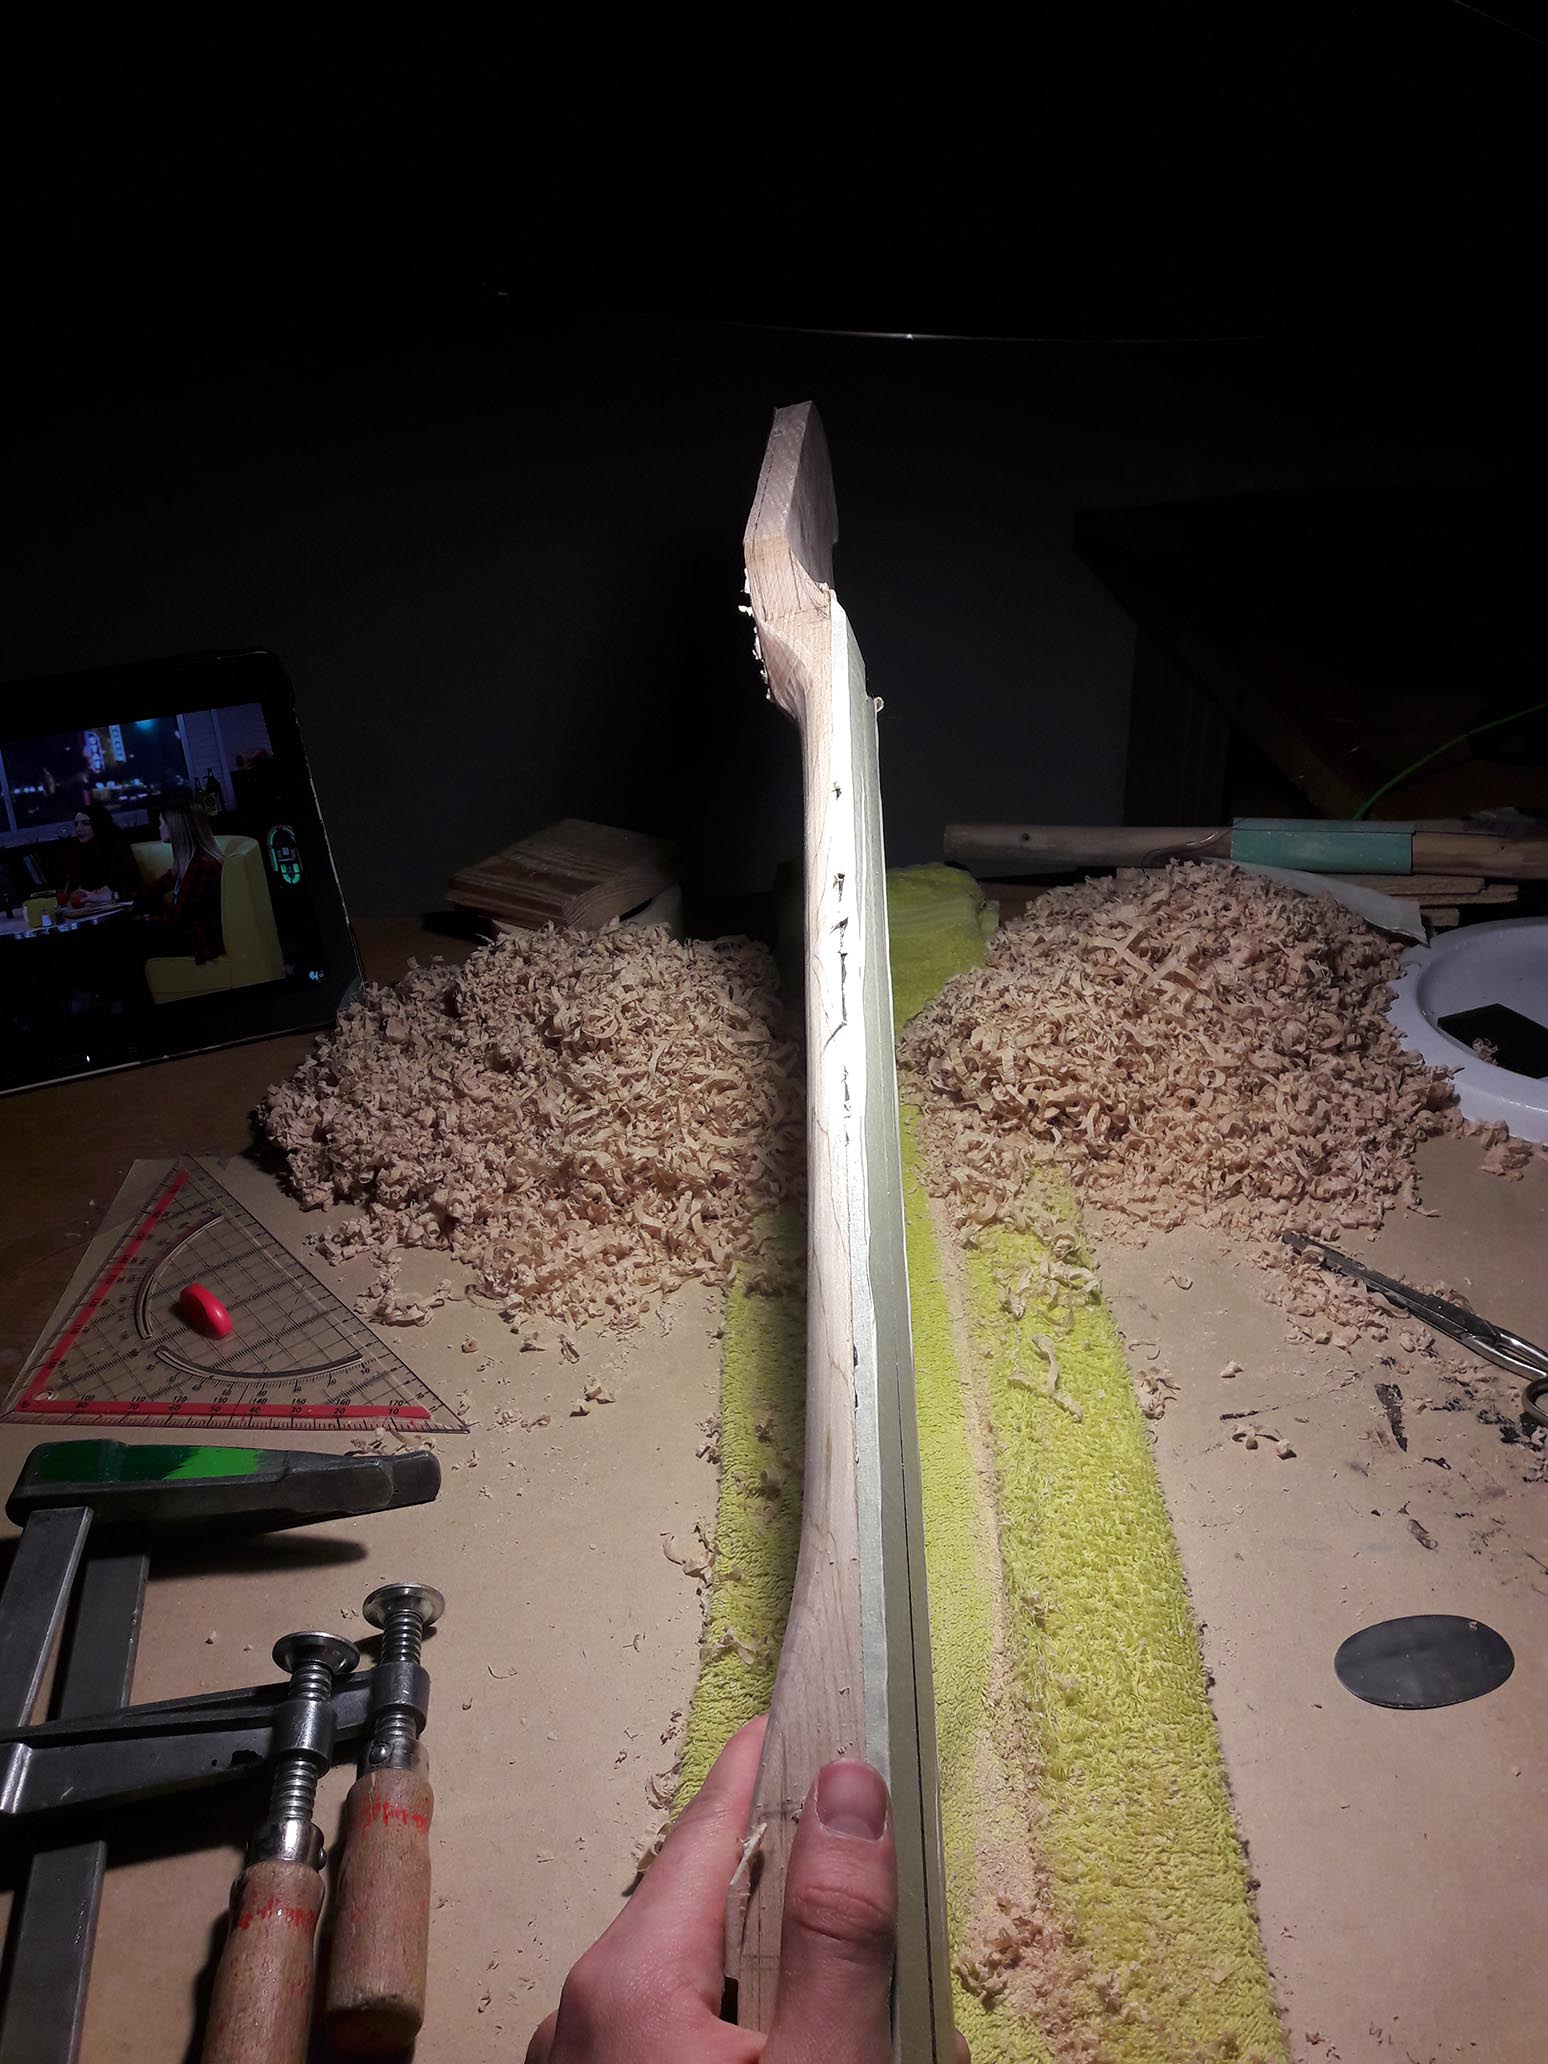
Neck
To get the neck profile just right, I worked it with drawknives and sandpaper. I kept trying out the grip constantly to make sure the neck felt as comfortable as possible in my hand.
The Mishap
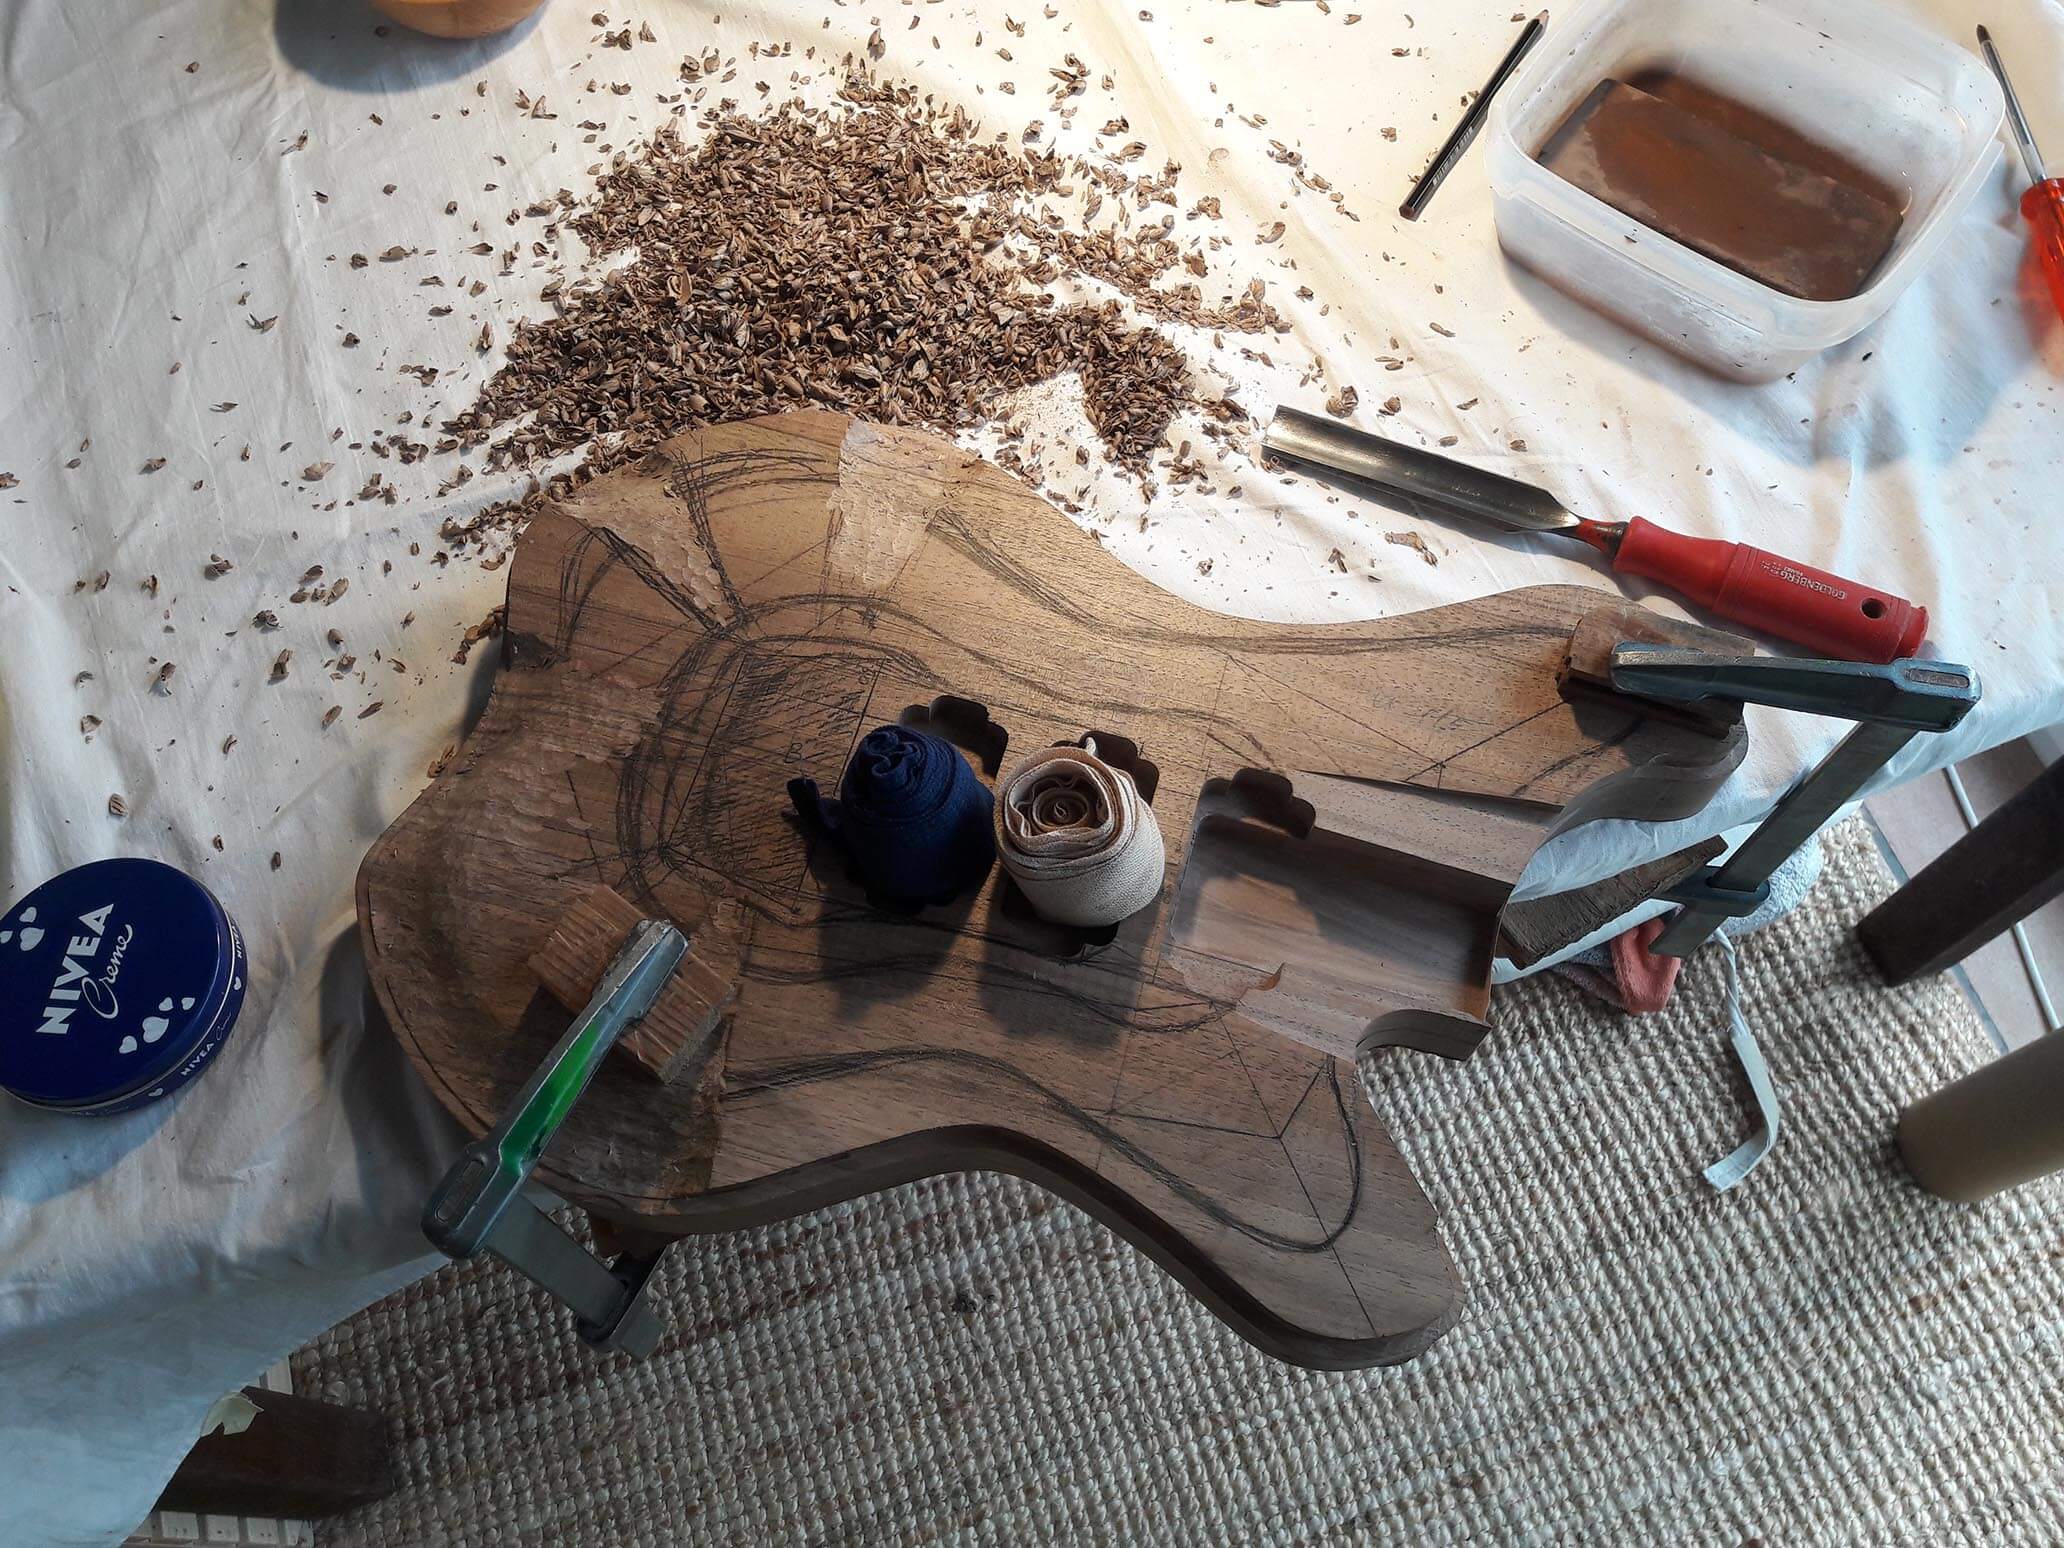
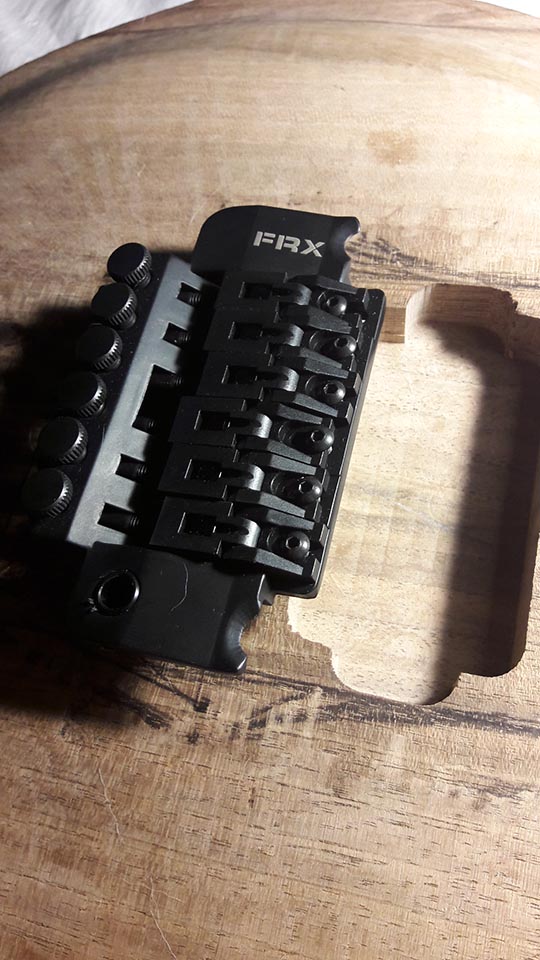
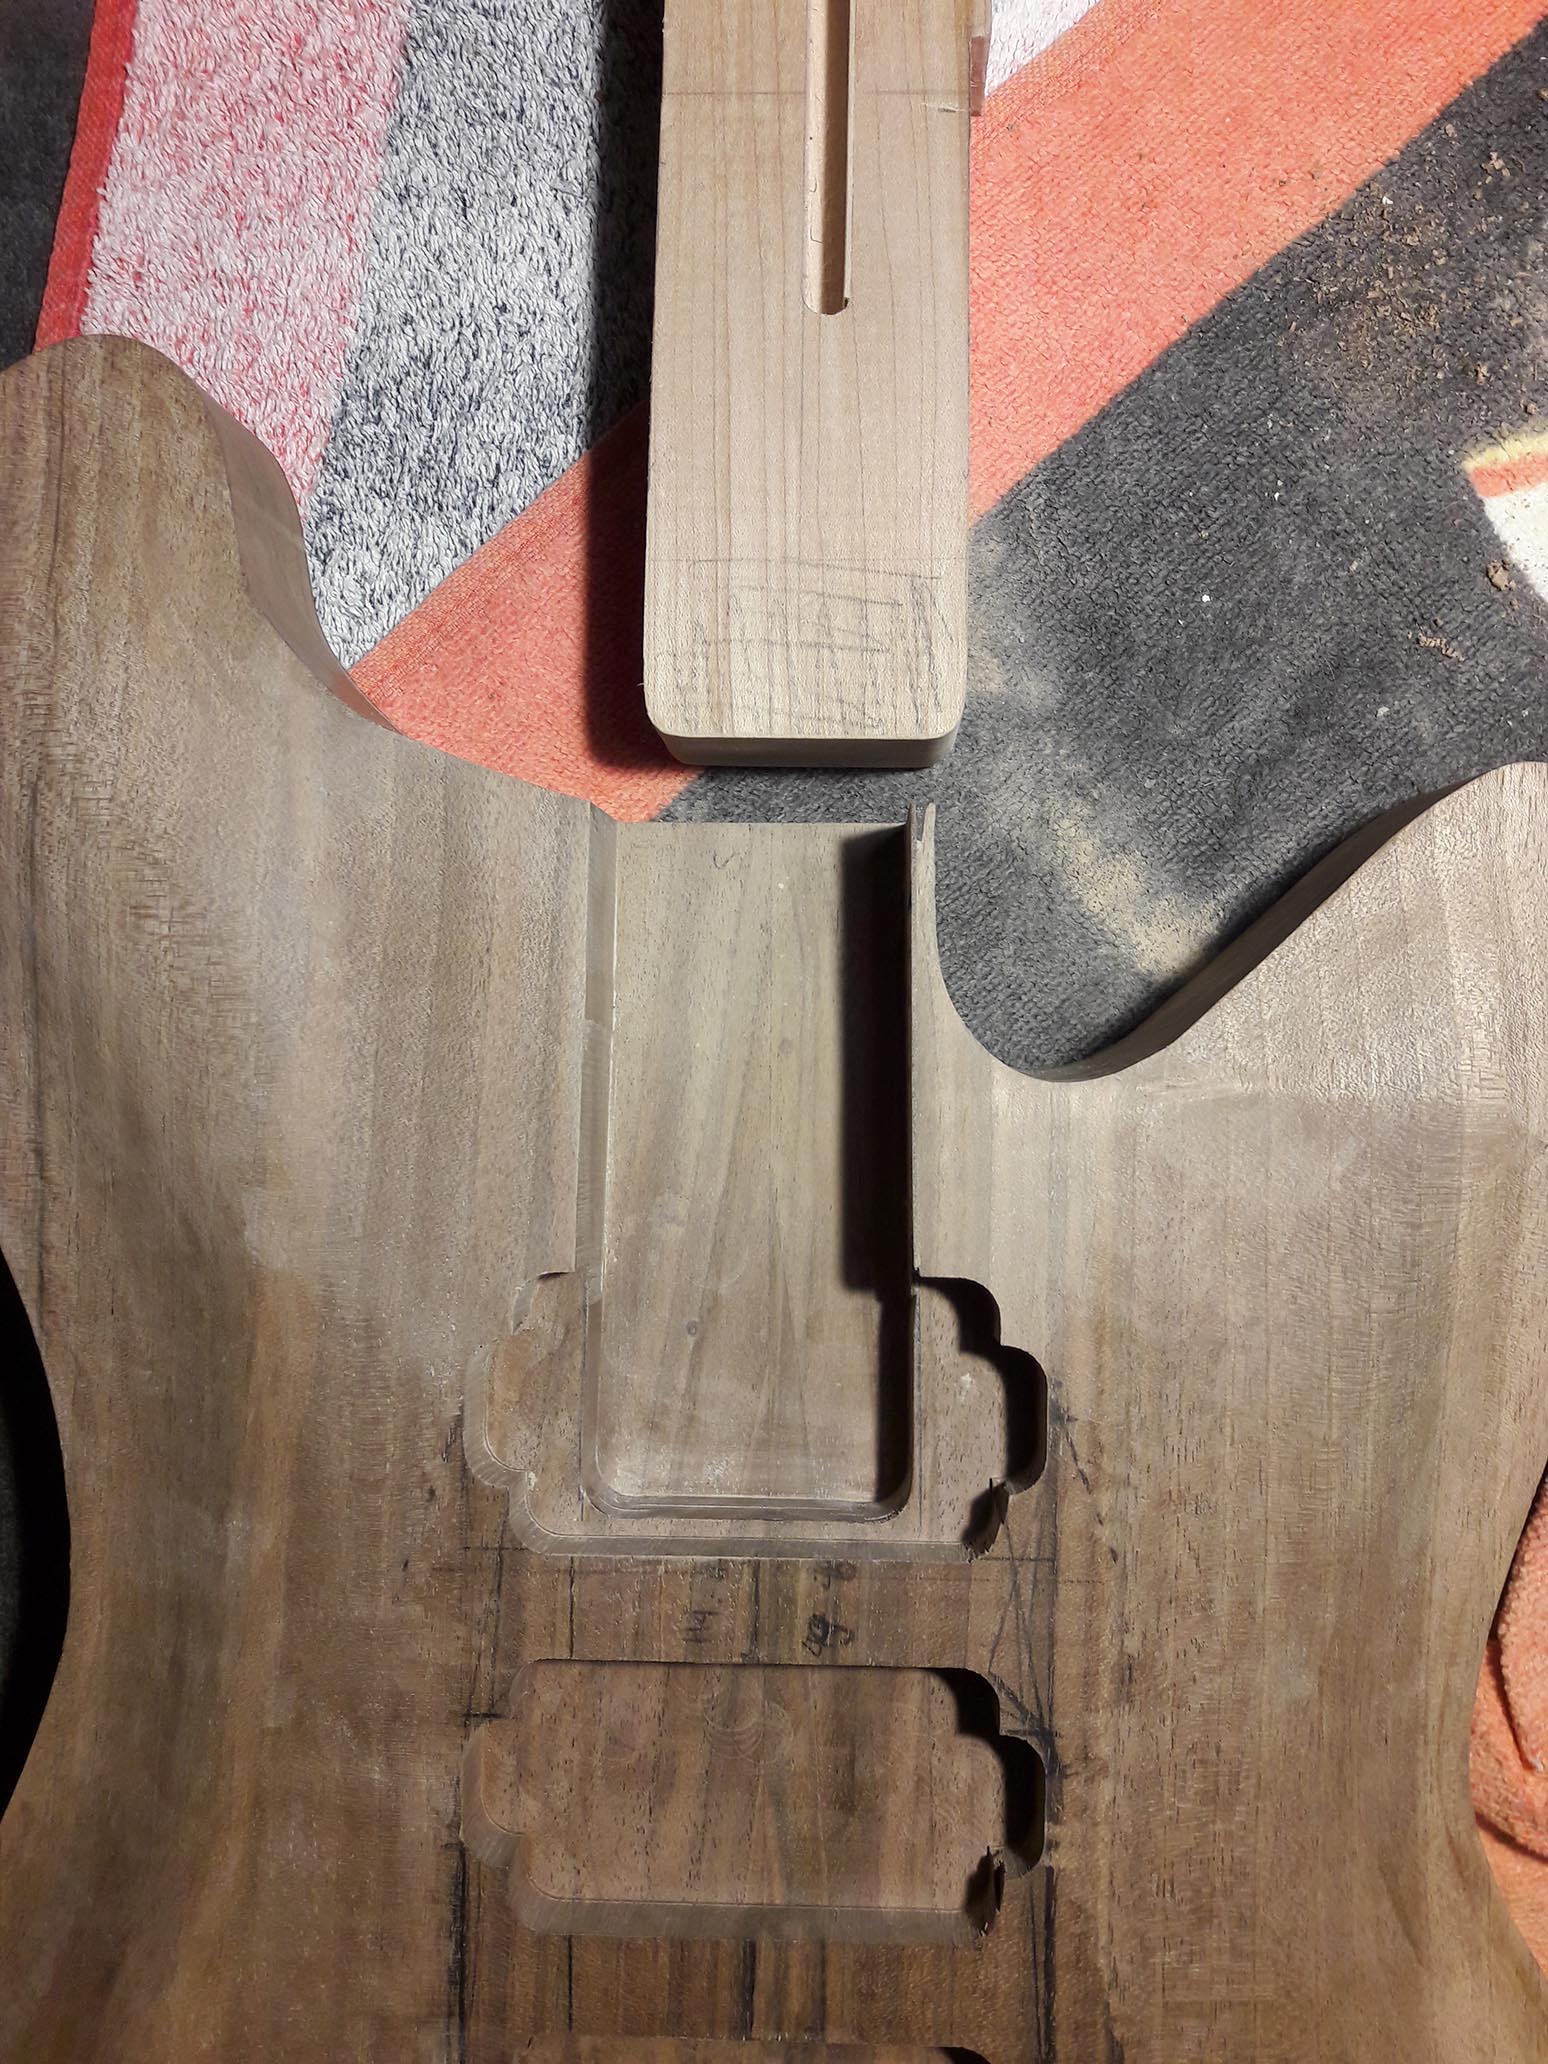
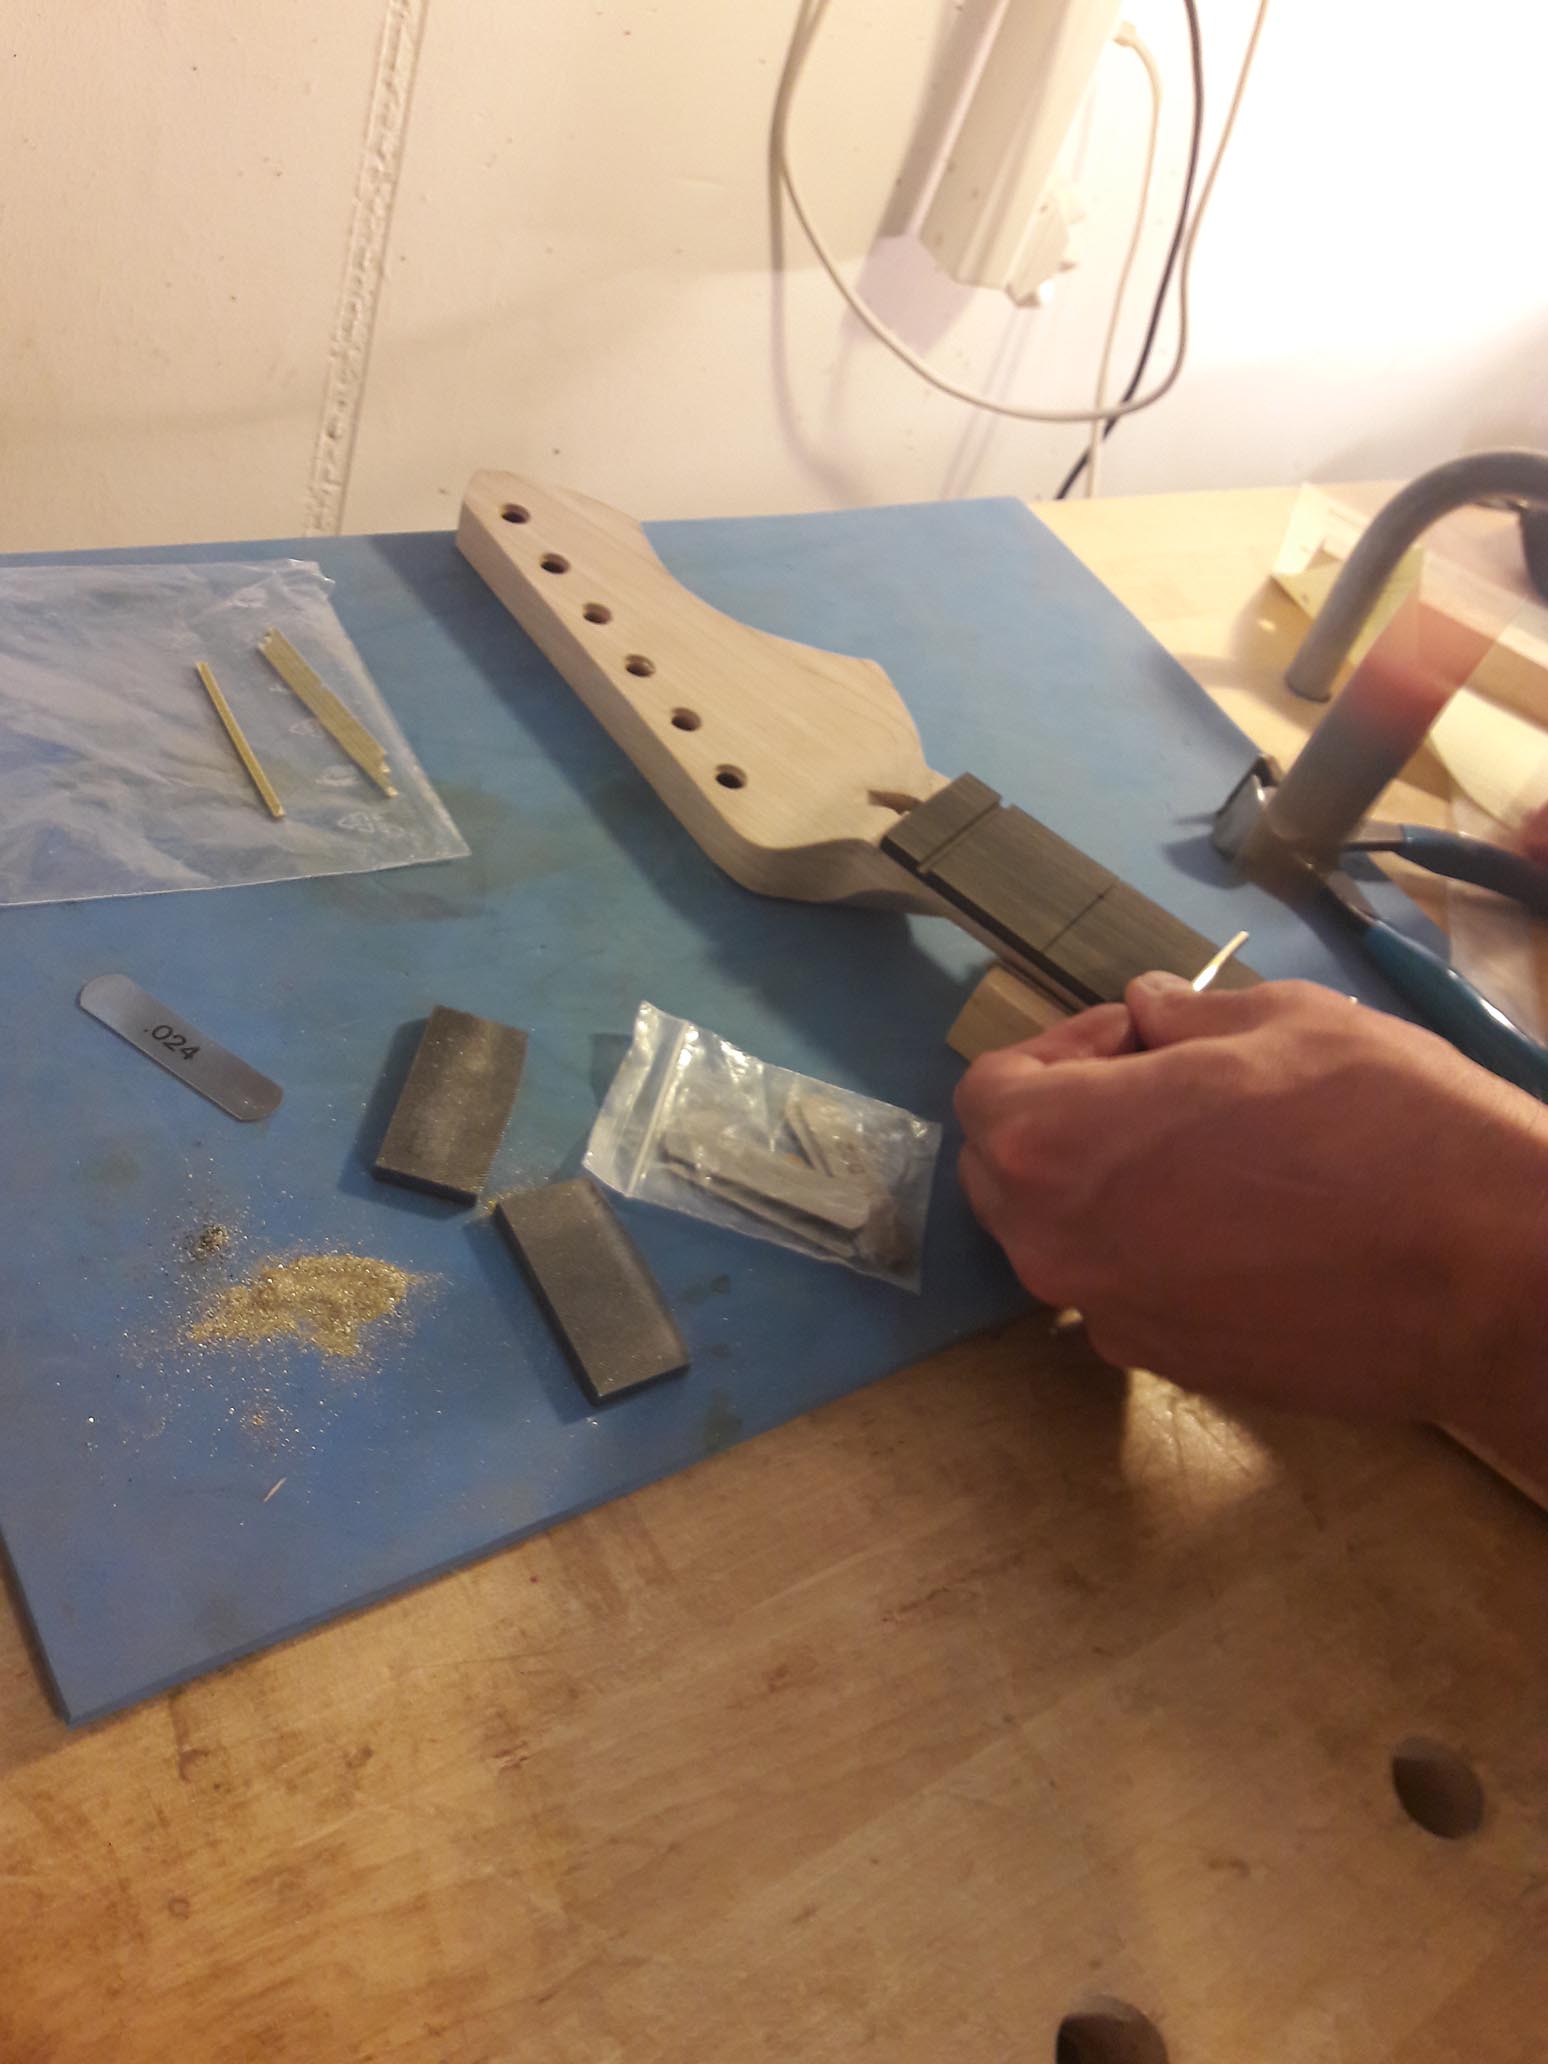
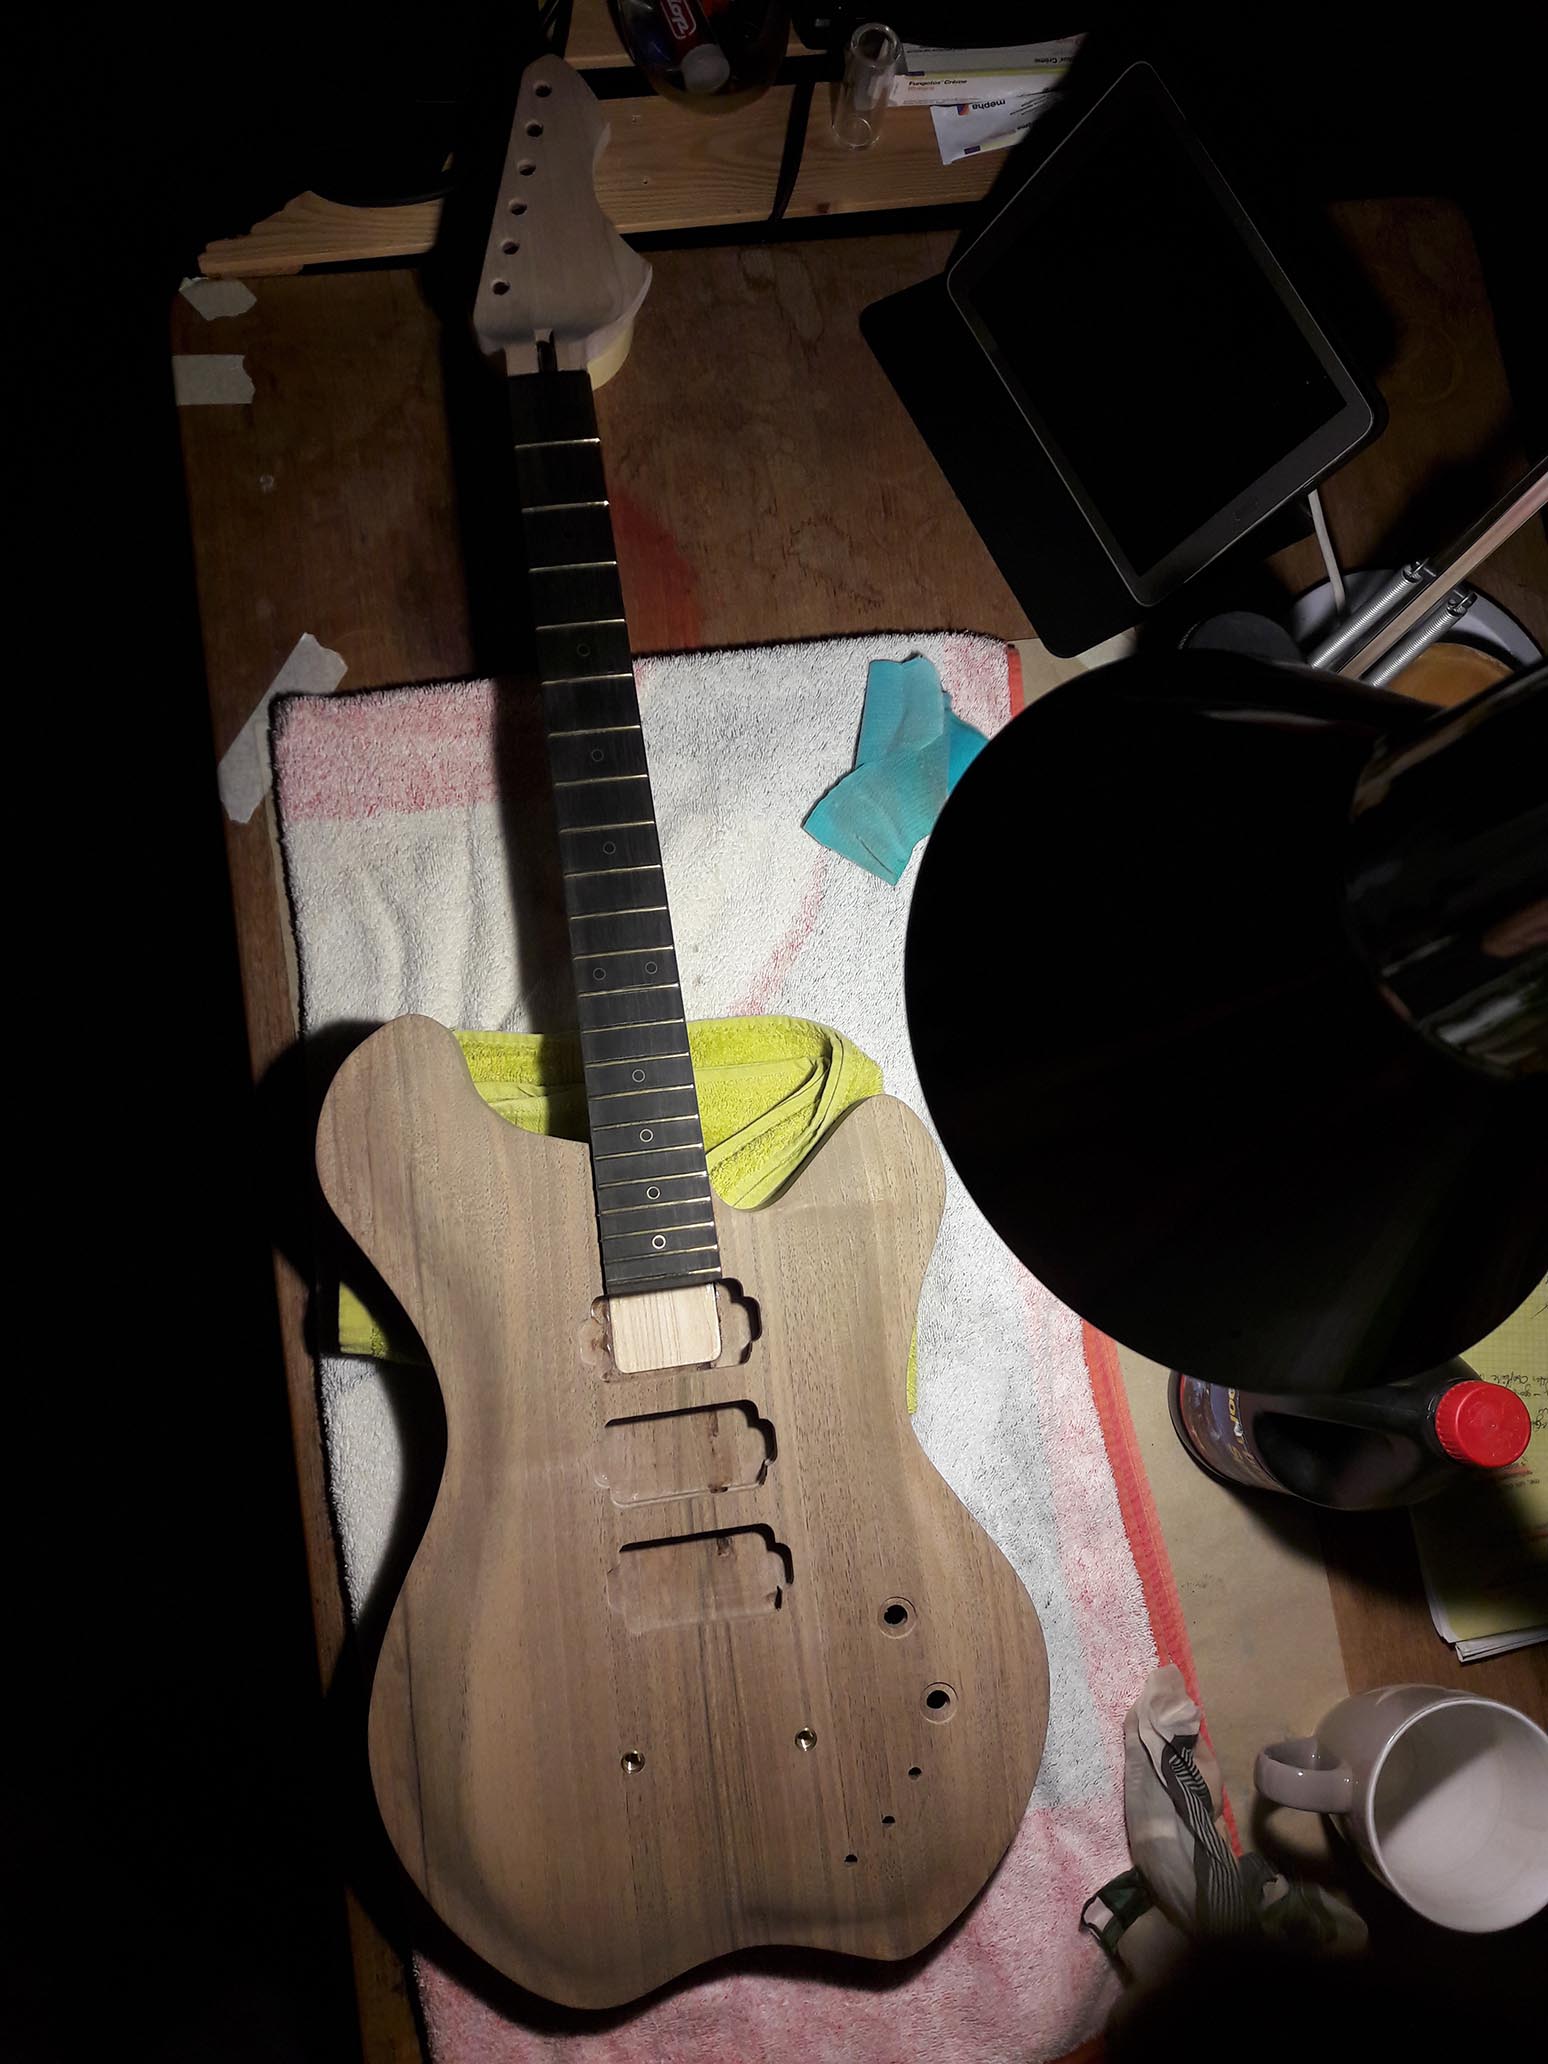
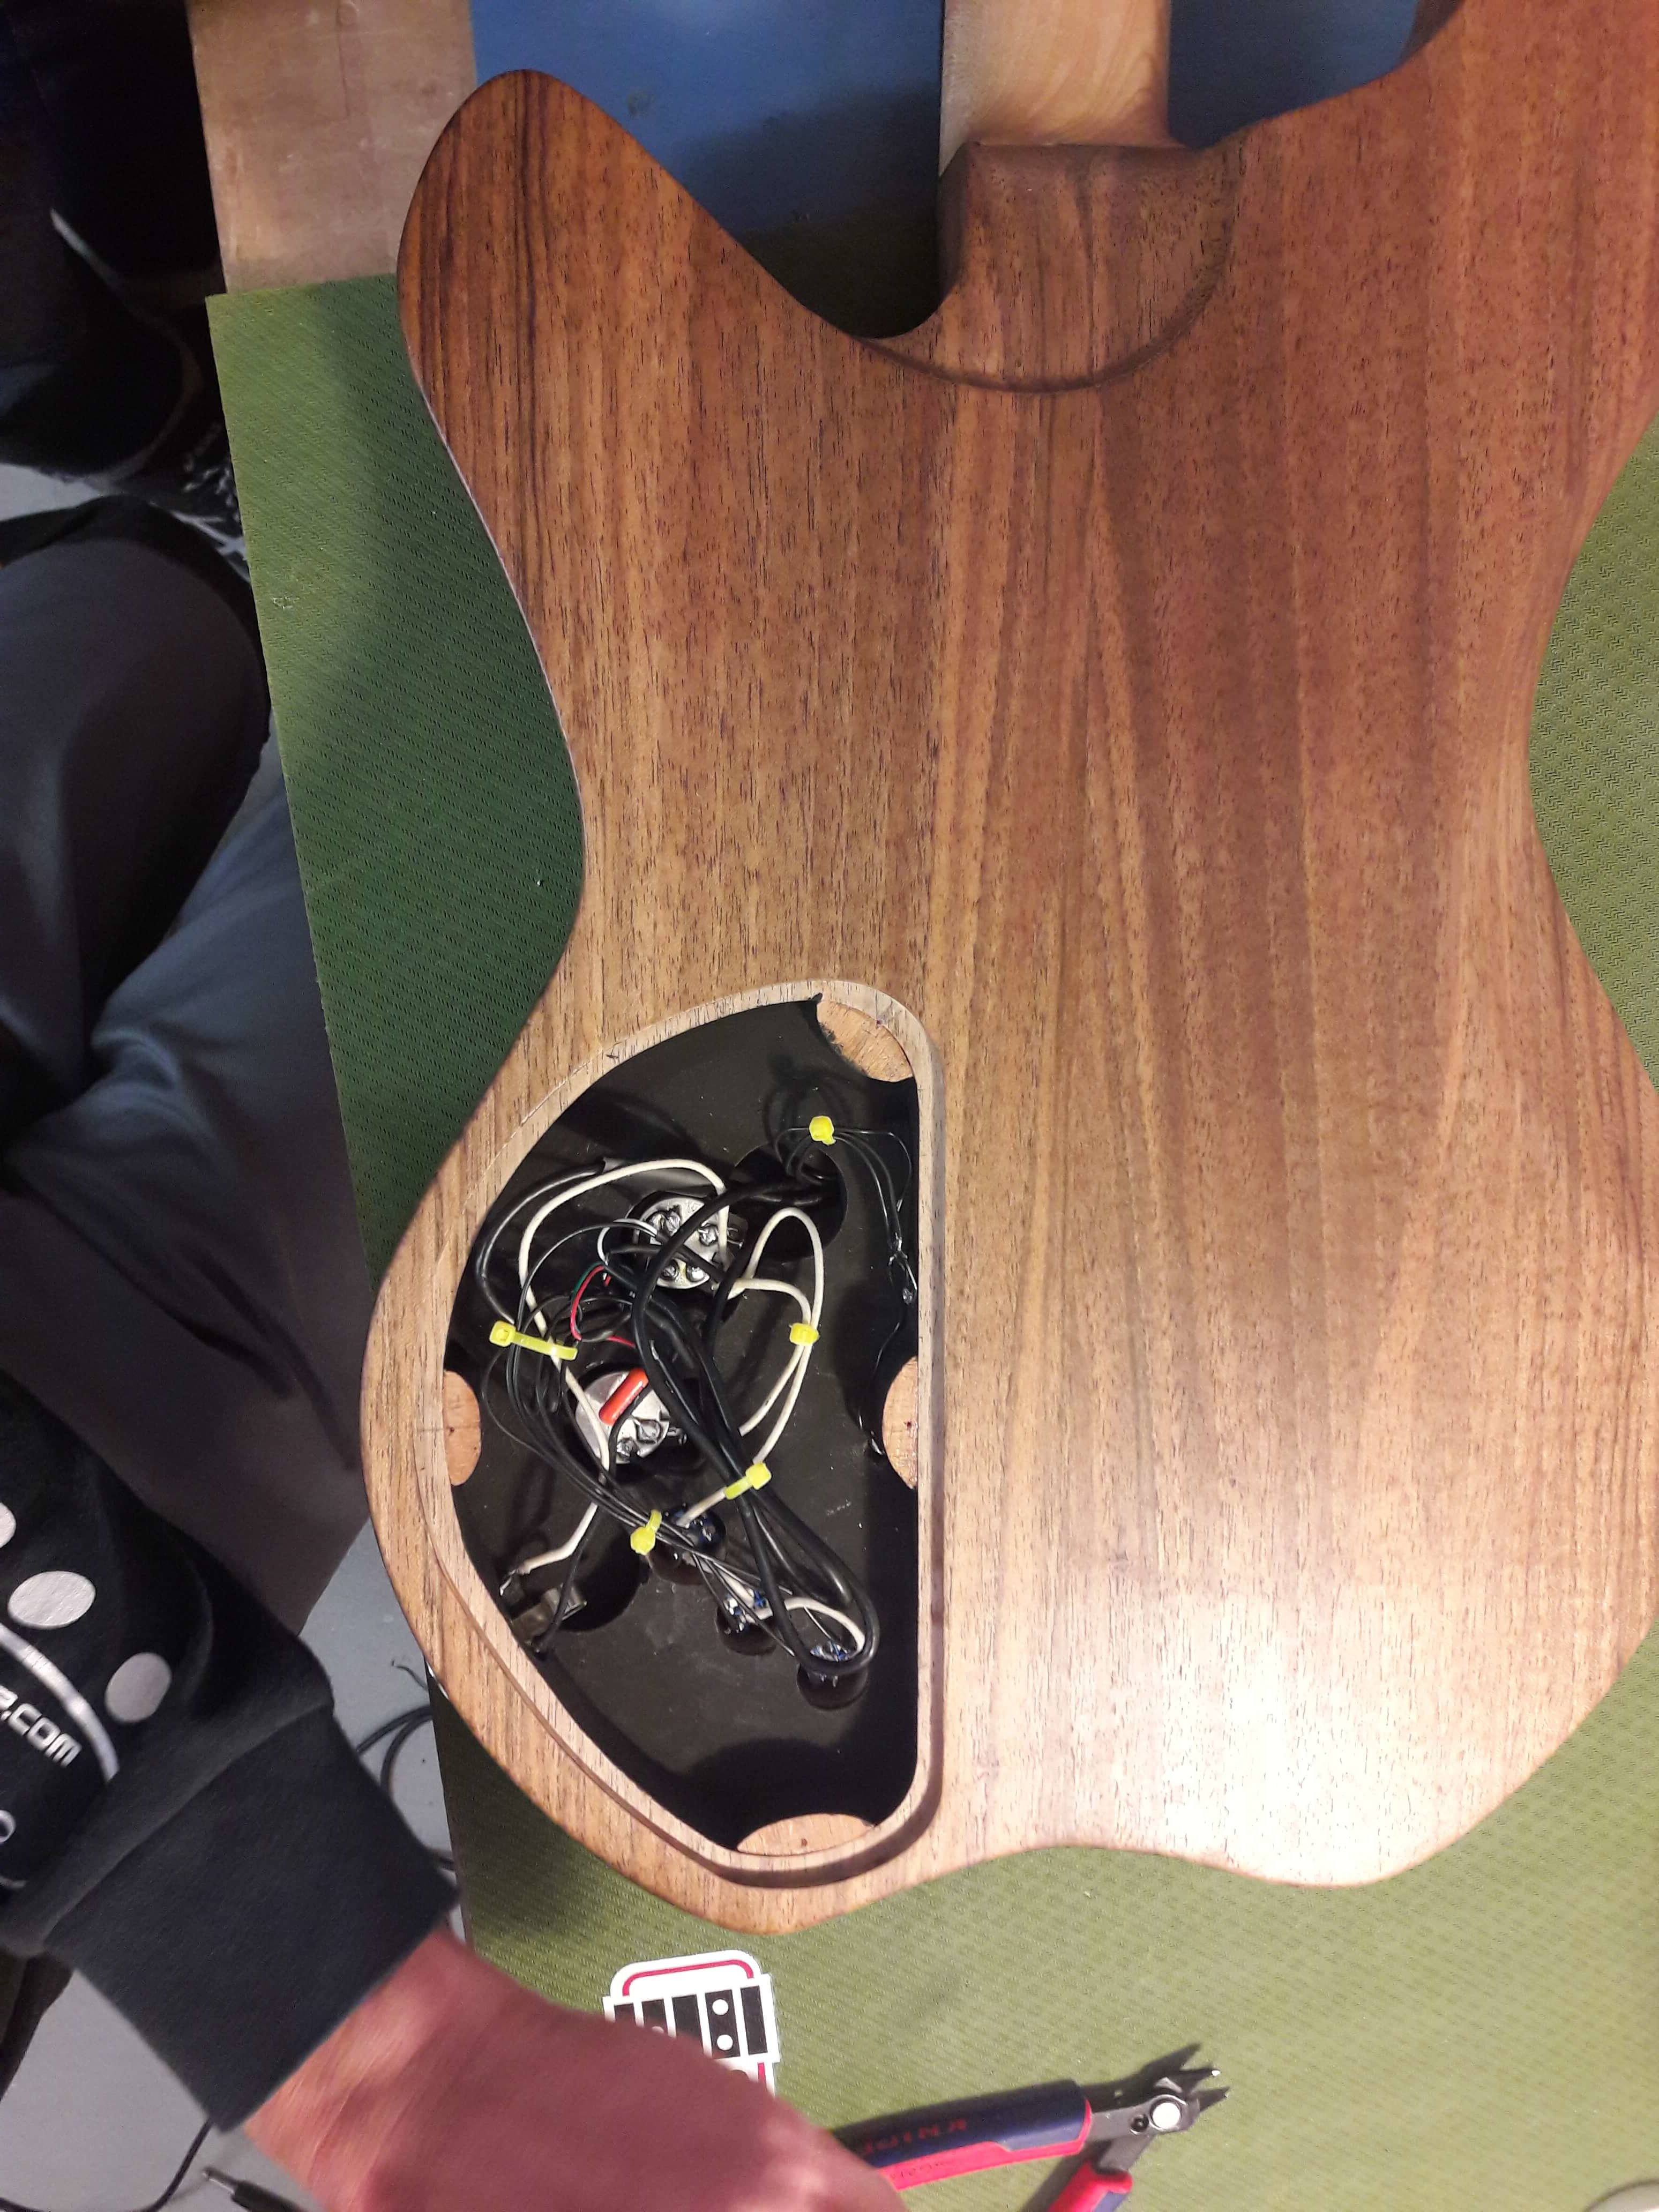
Unsurprisingly, not everything went according to plan: when it came to putting the bridge in place, I realized that, because of the length of the neck, the position of the bridge would overlap with the last pick up (as shown in picture 1).
To correct this error, I had to cut a deeper slot for the neck to sink it further into the body, allowing me to move the bridge further down as well.
Because the neck is wider at the bottom than it is at the nut, it now was narrower than its respective slot in the body. I had to glue in veneered wood to adjust the slot to the new neck width.
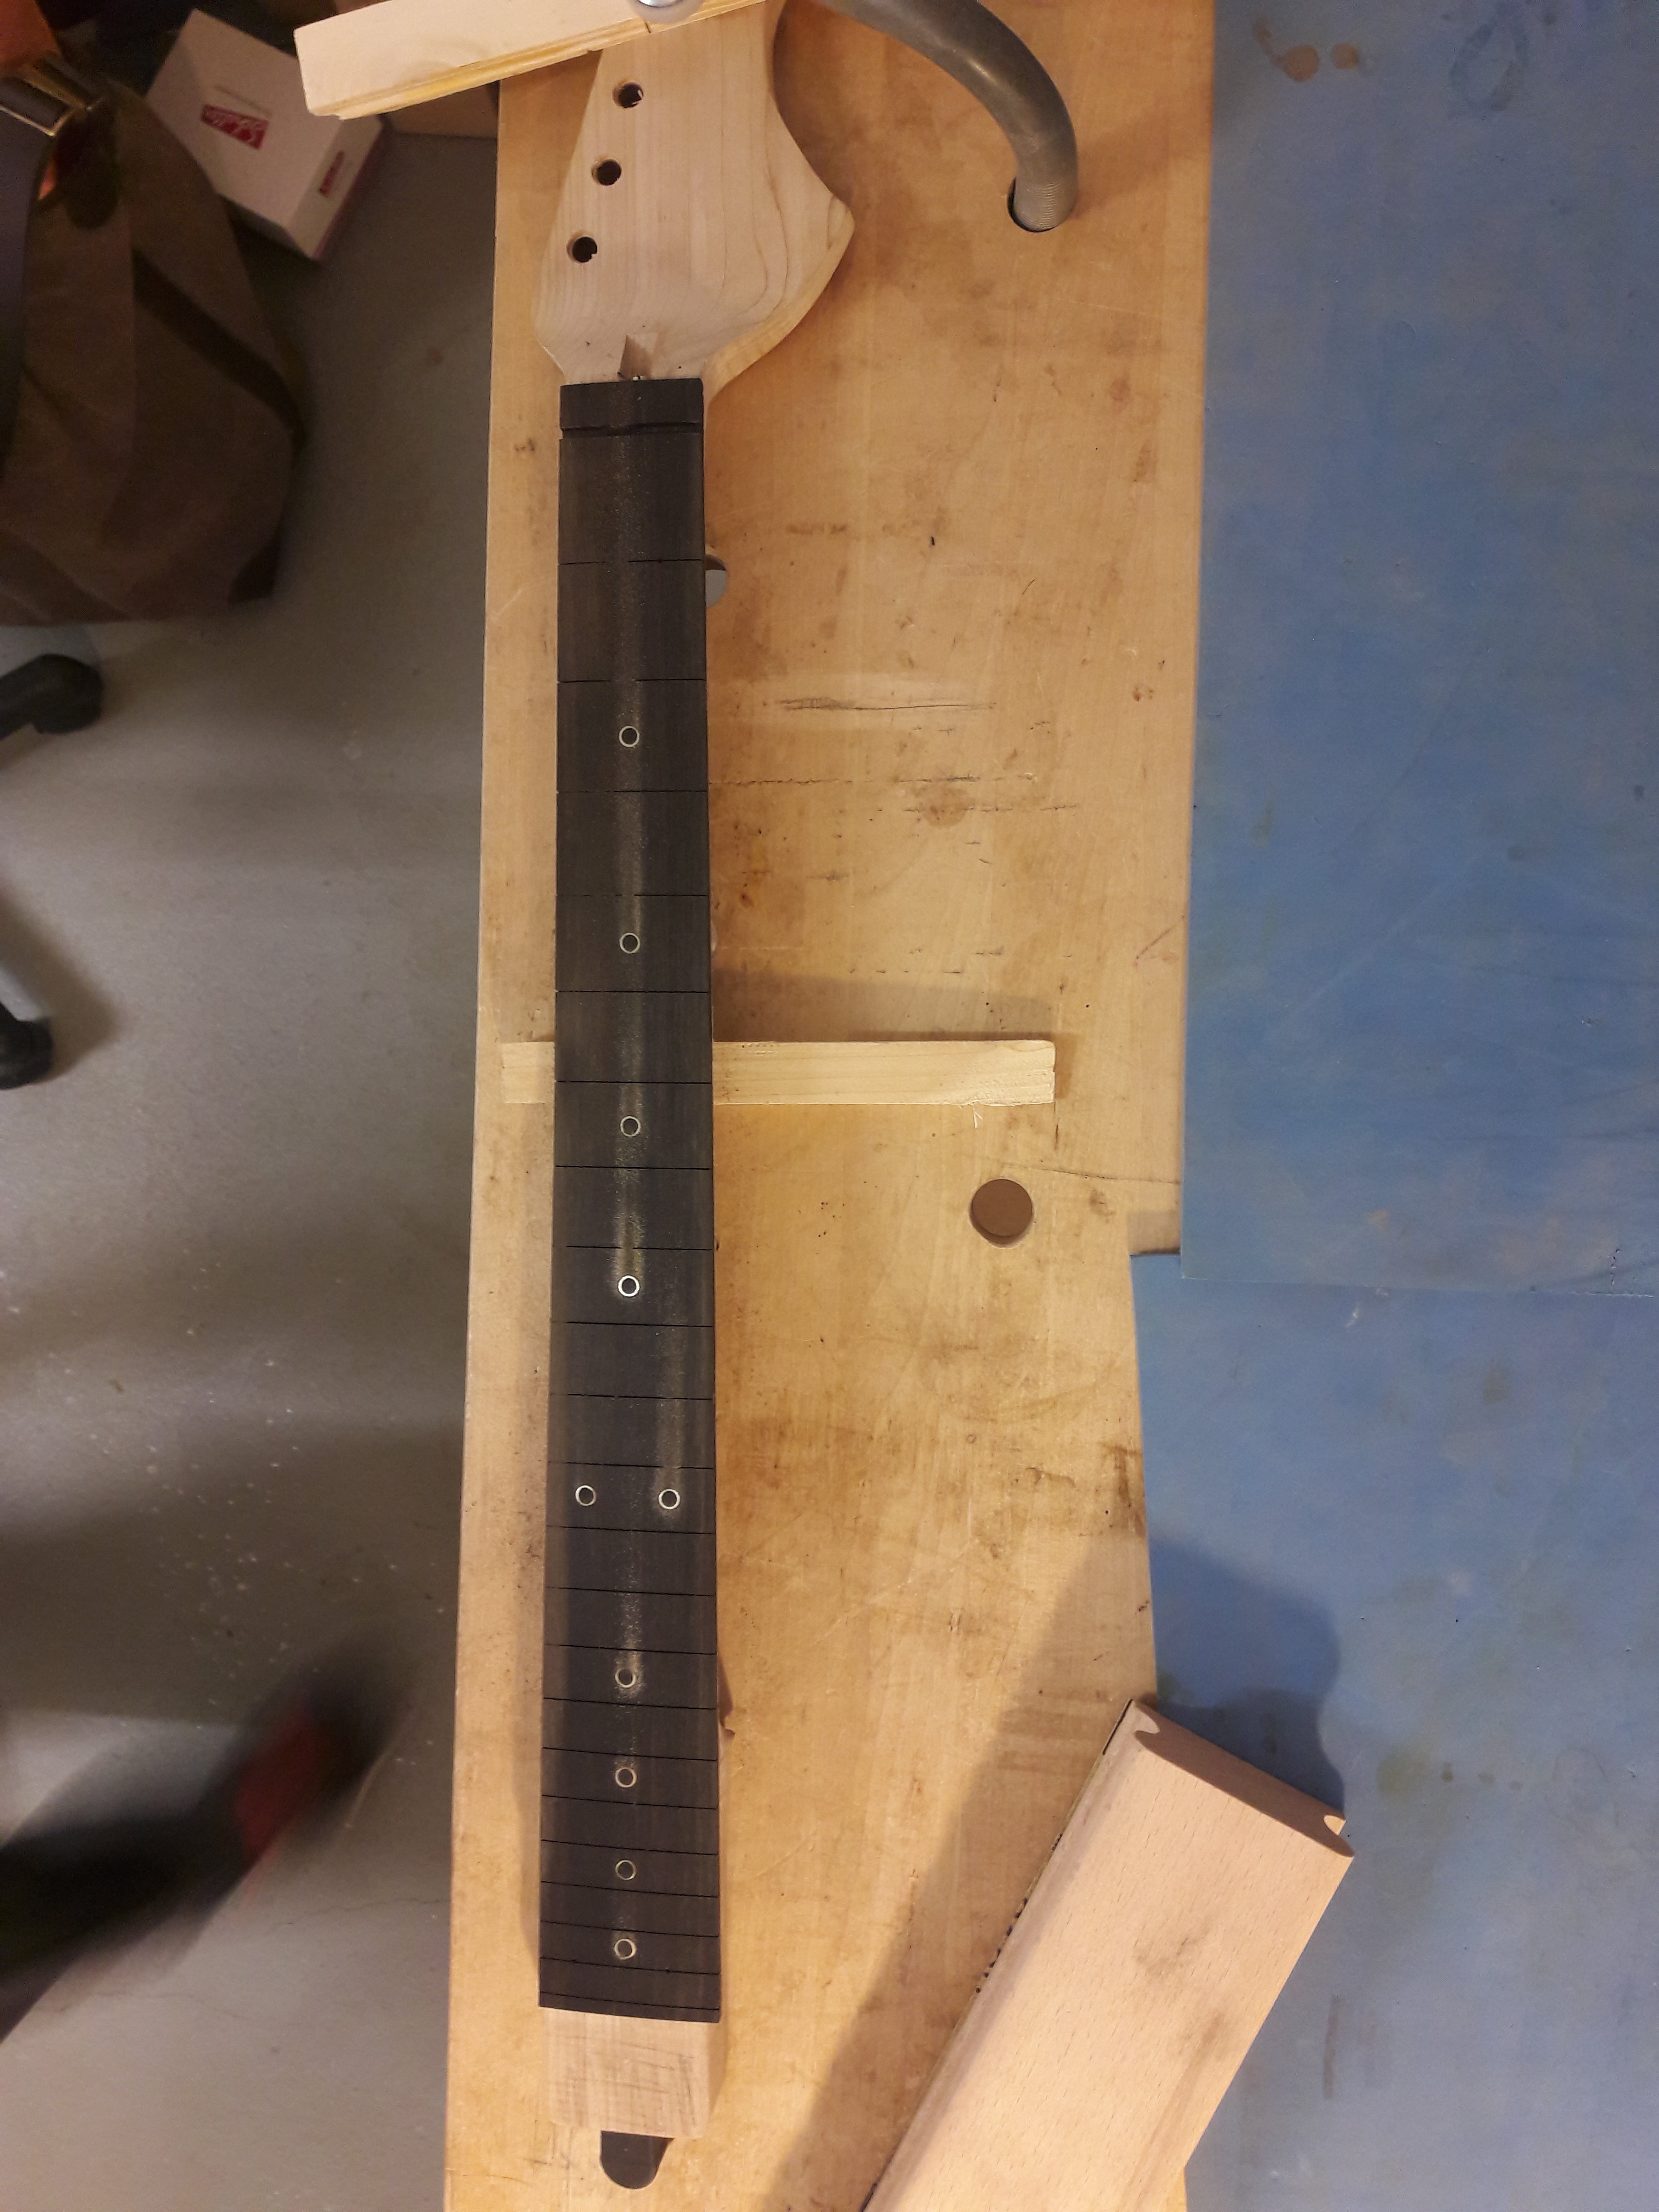
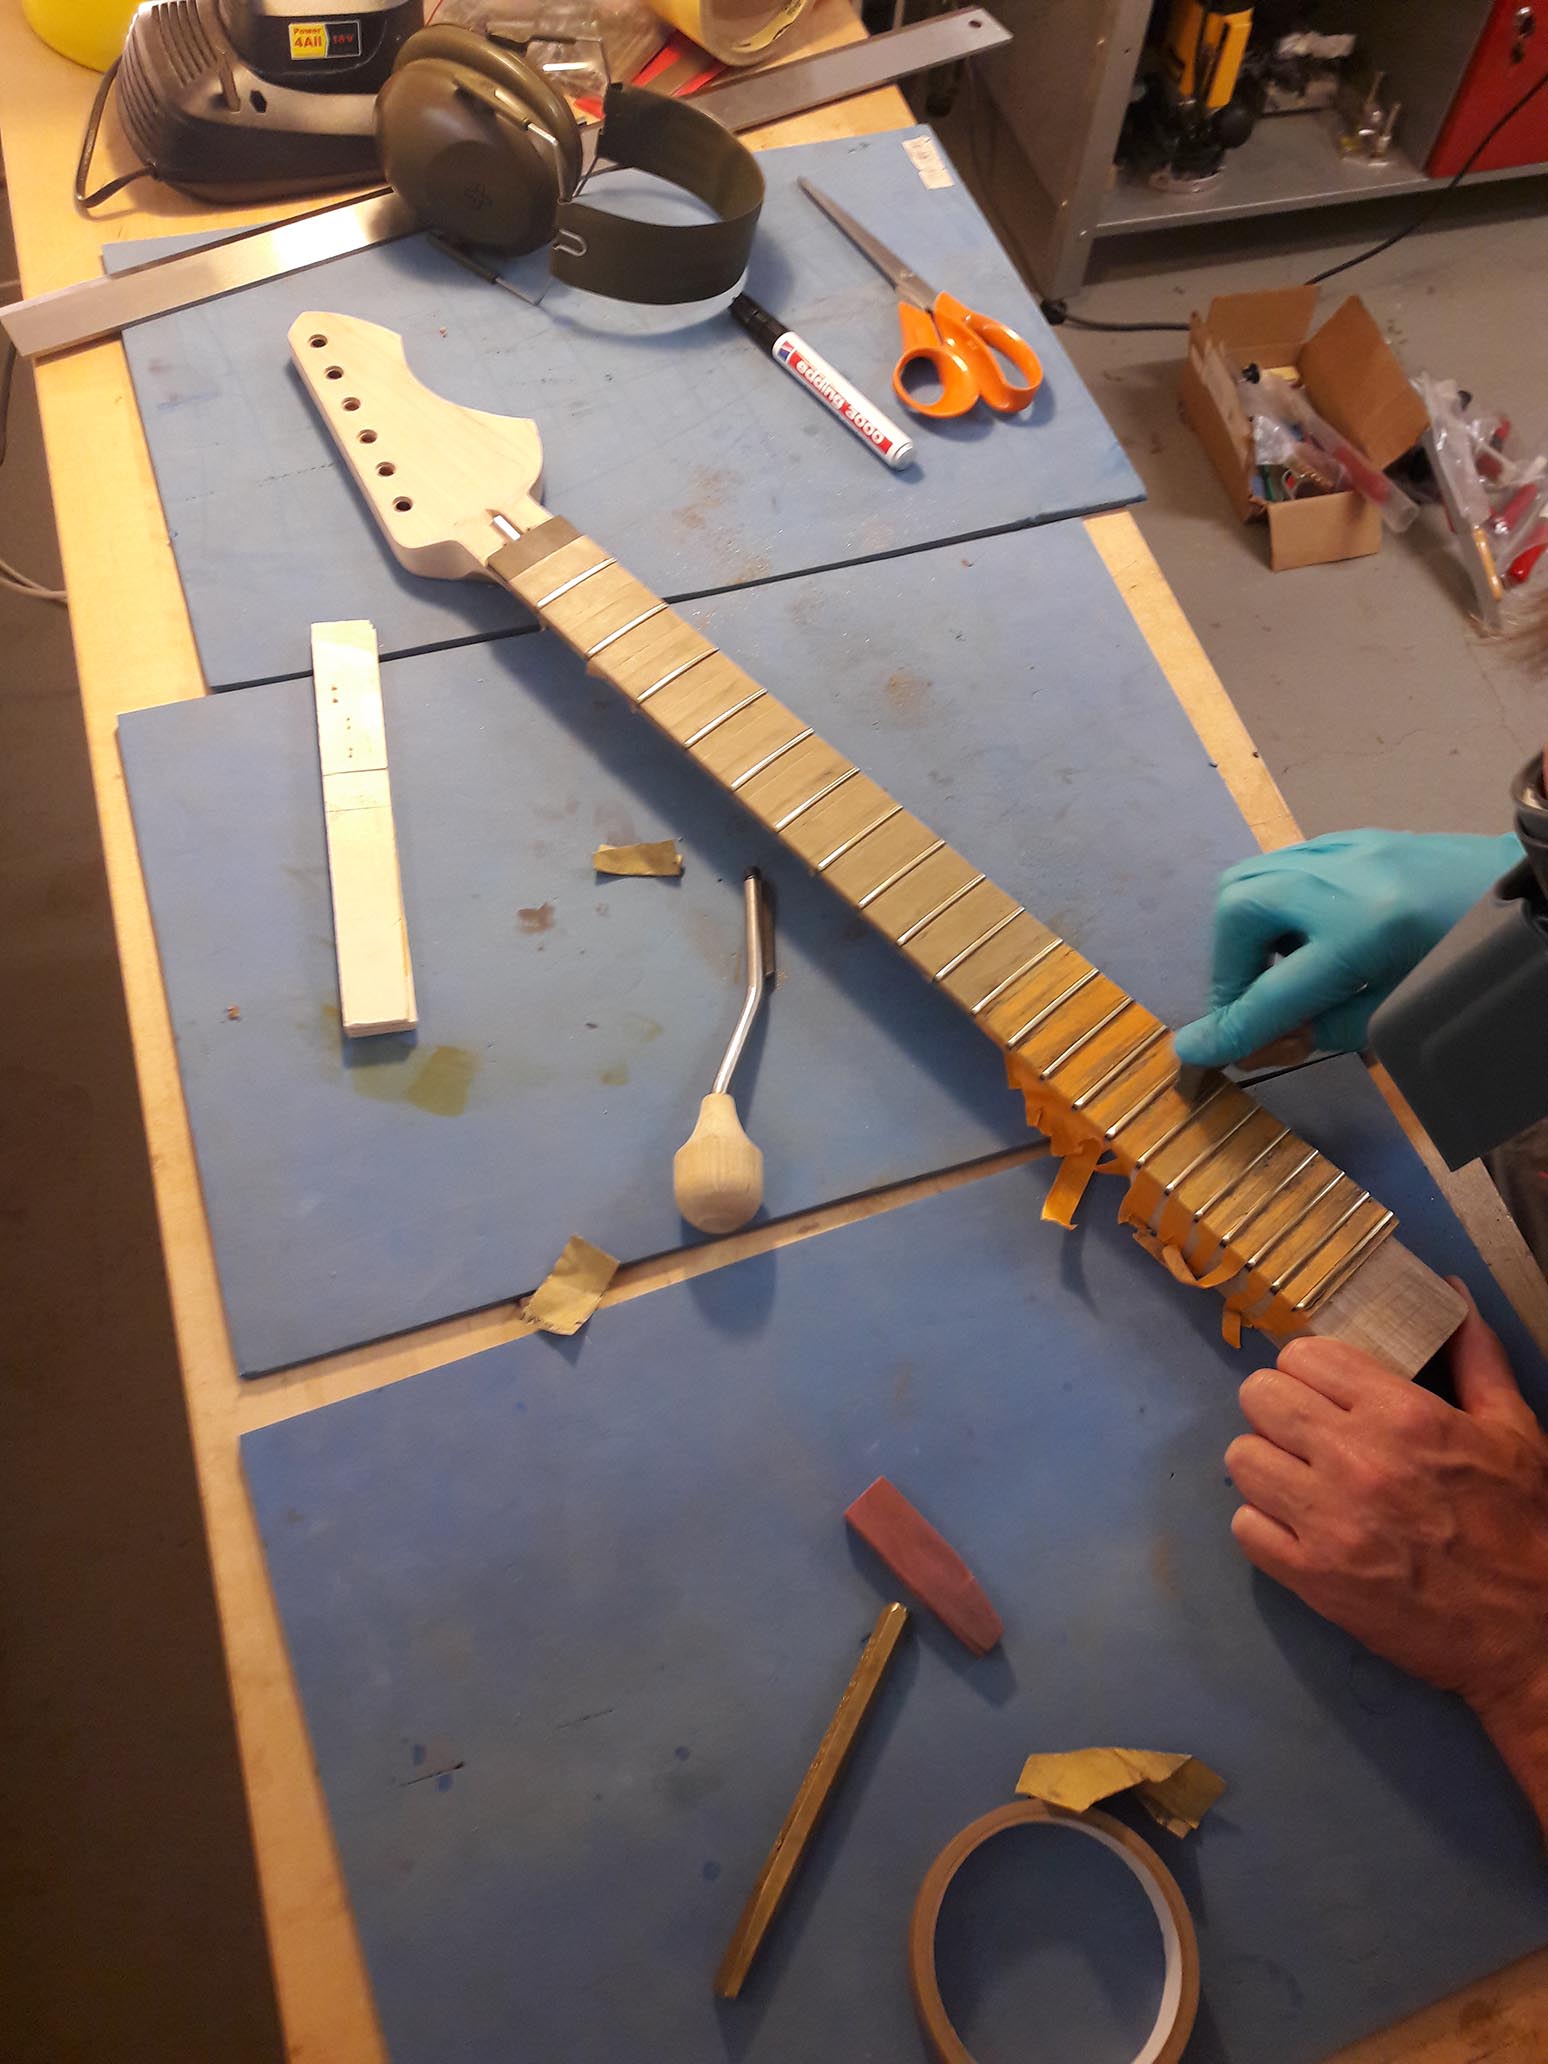
Frets And Dots
An ebony fingerboard was glued onto the maple neck. To make the dots, I glued pieces of brass tube filled with ebony into it.
Frets were then pressed into it and the finished product was sanded an polished.
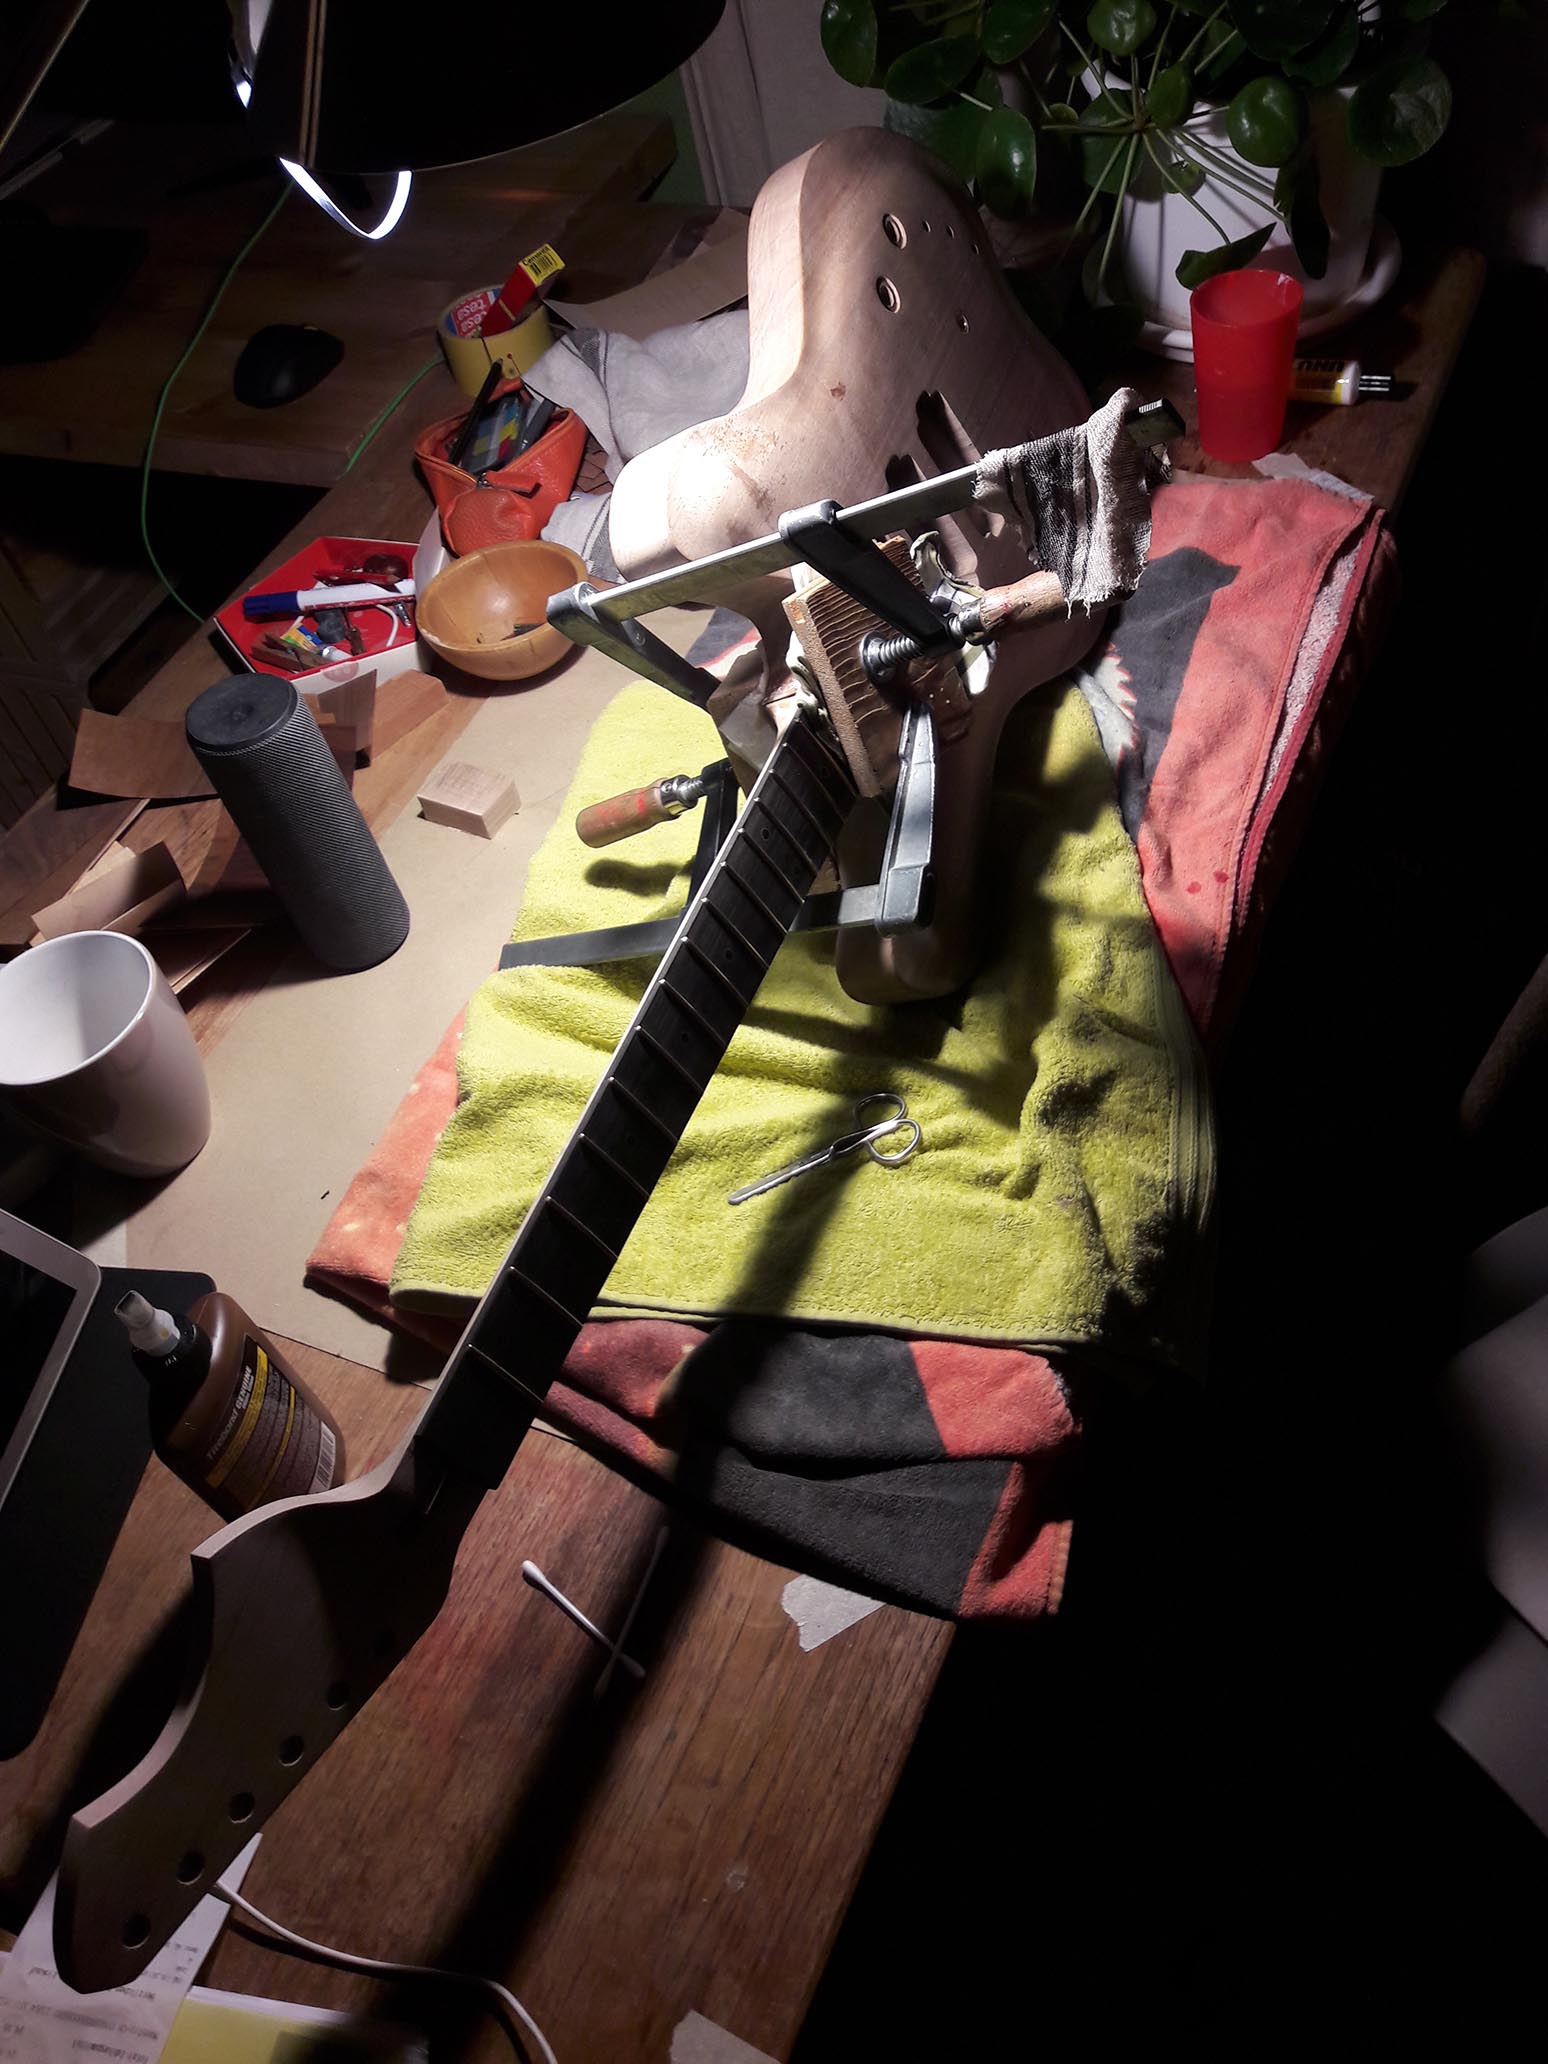
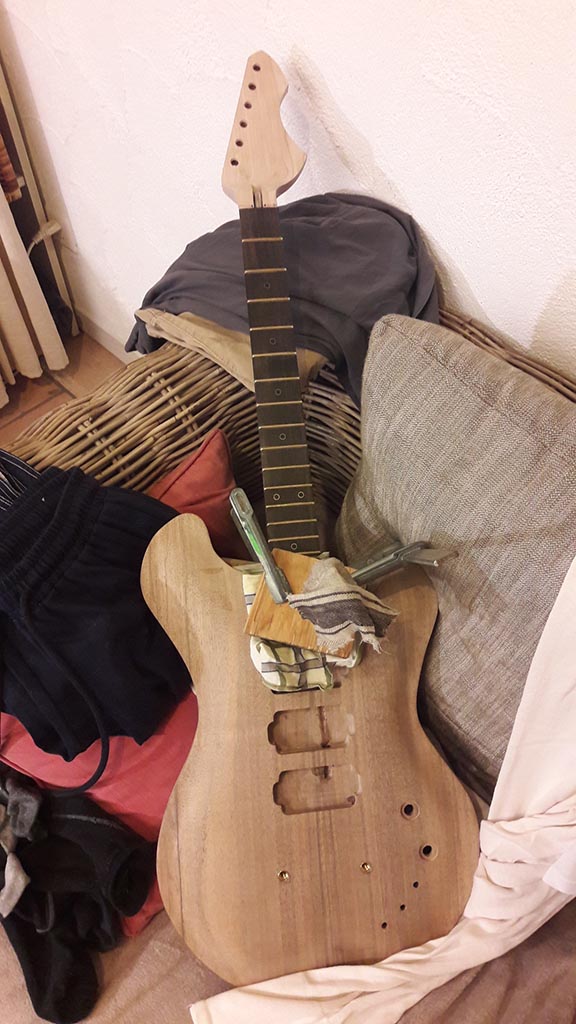
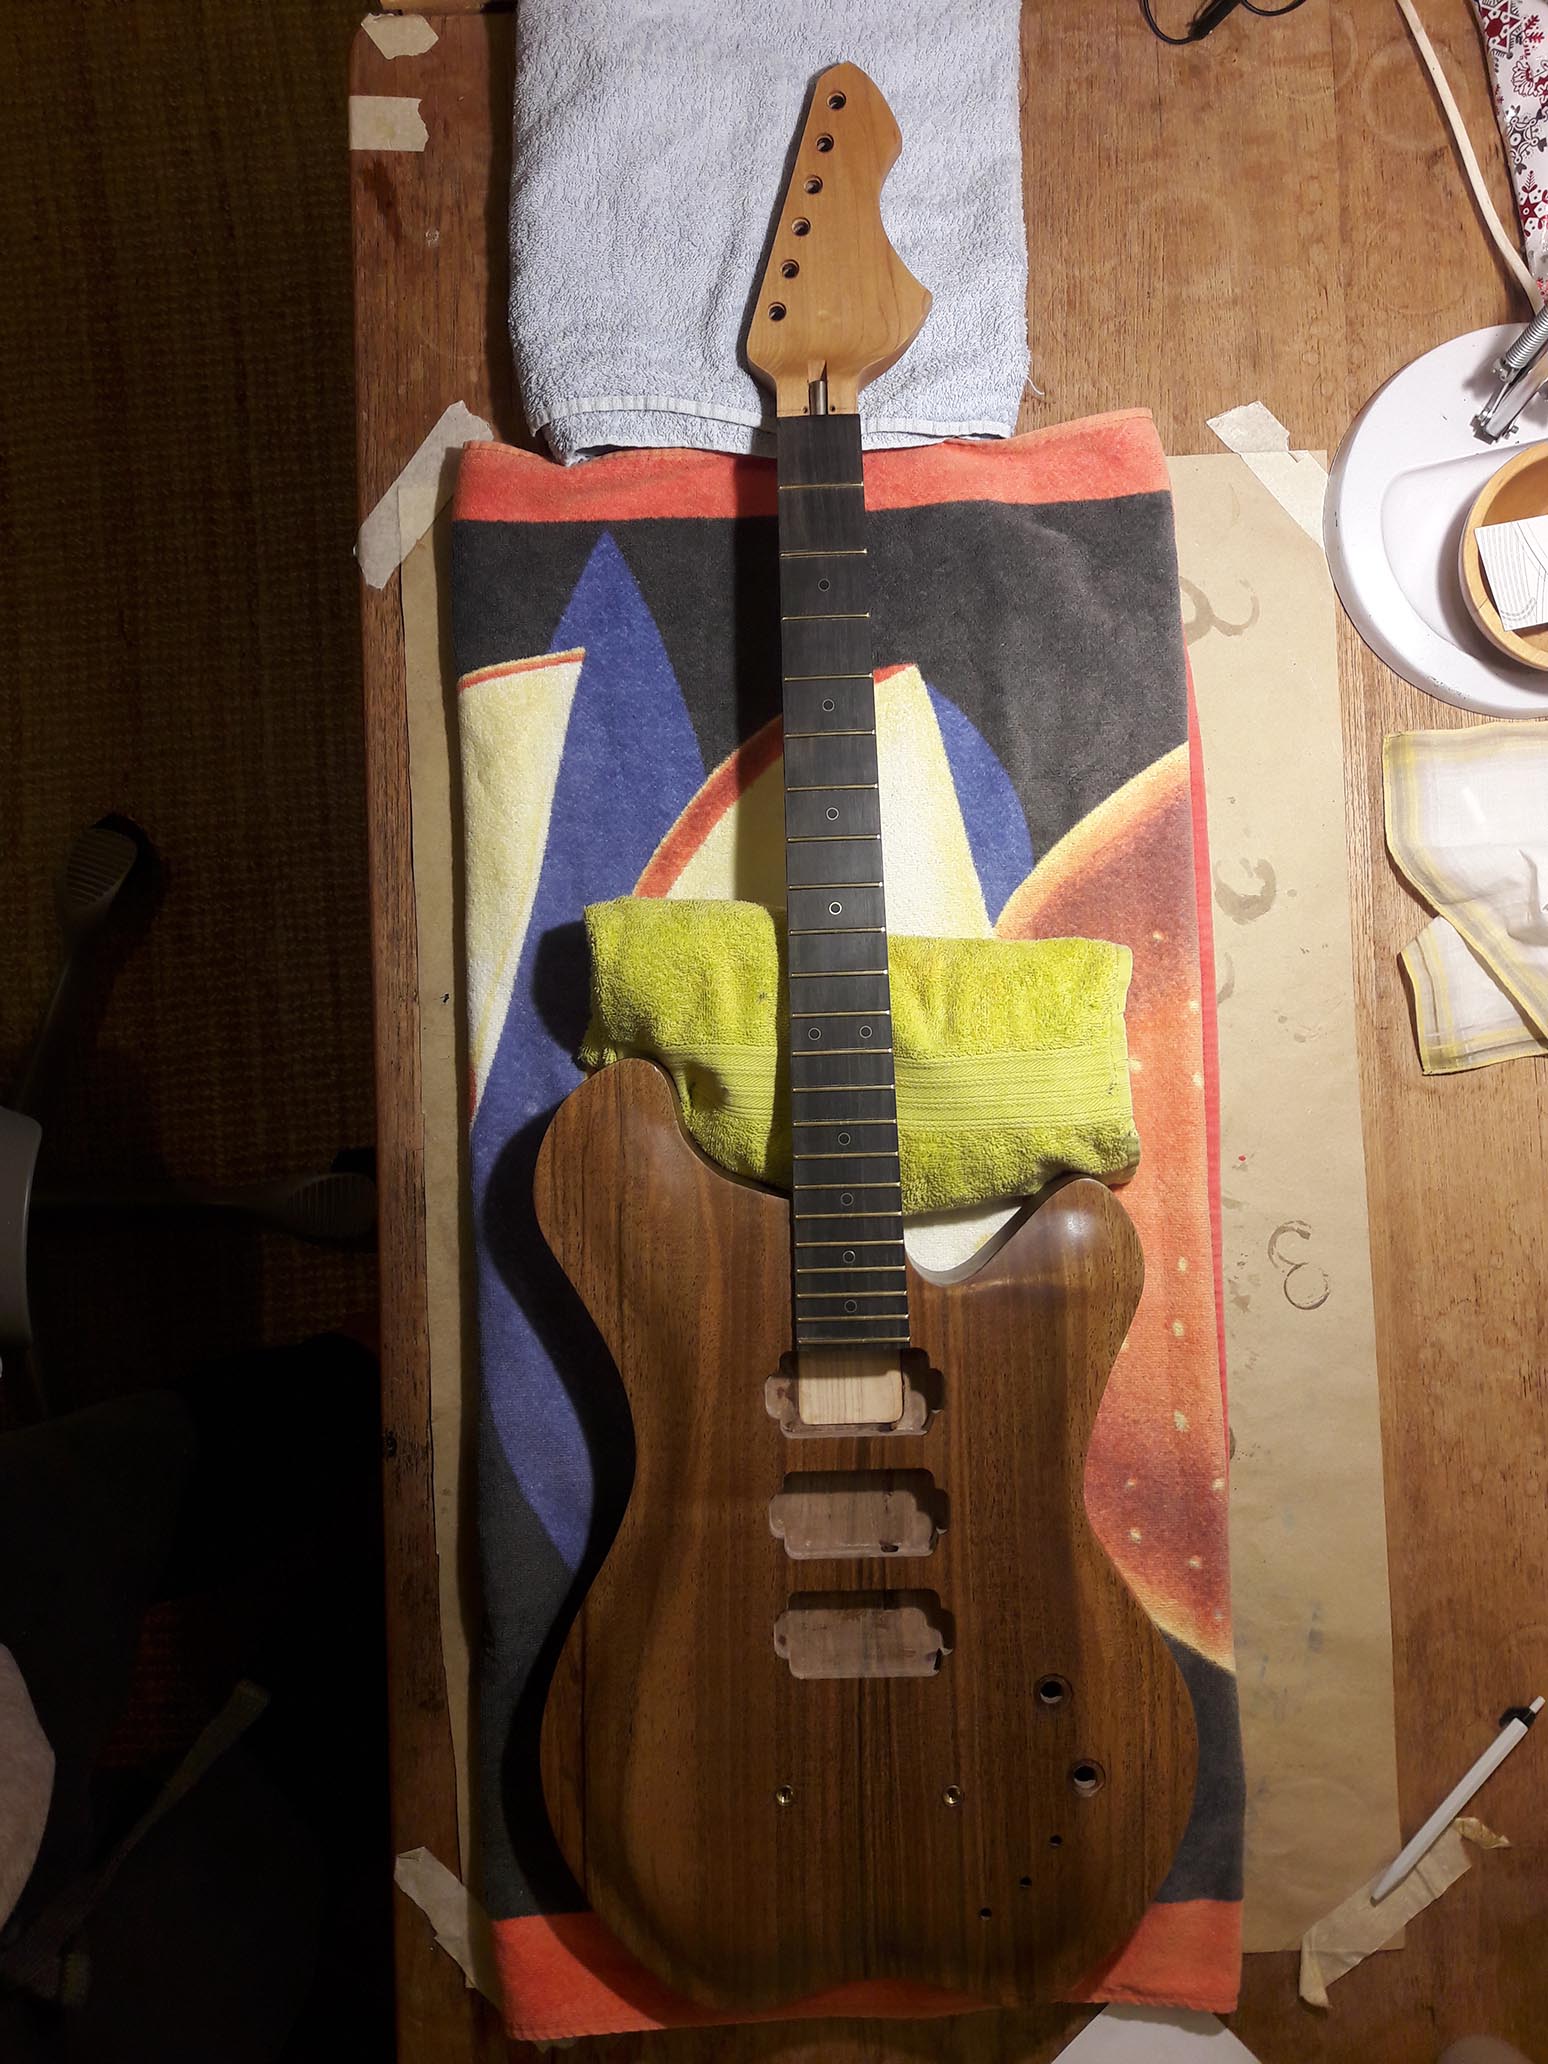
Neck To Body
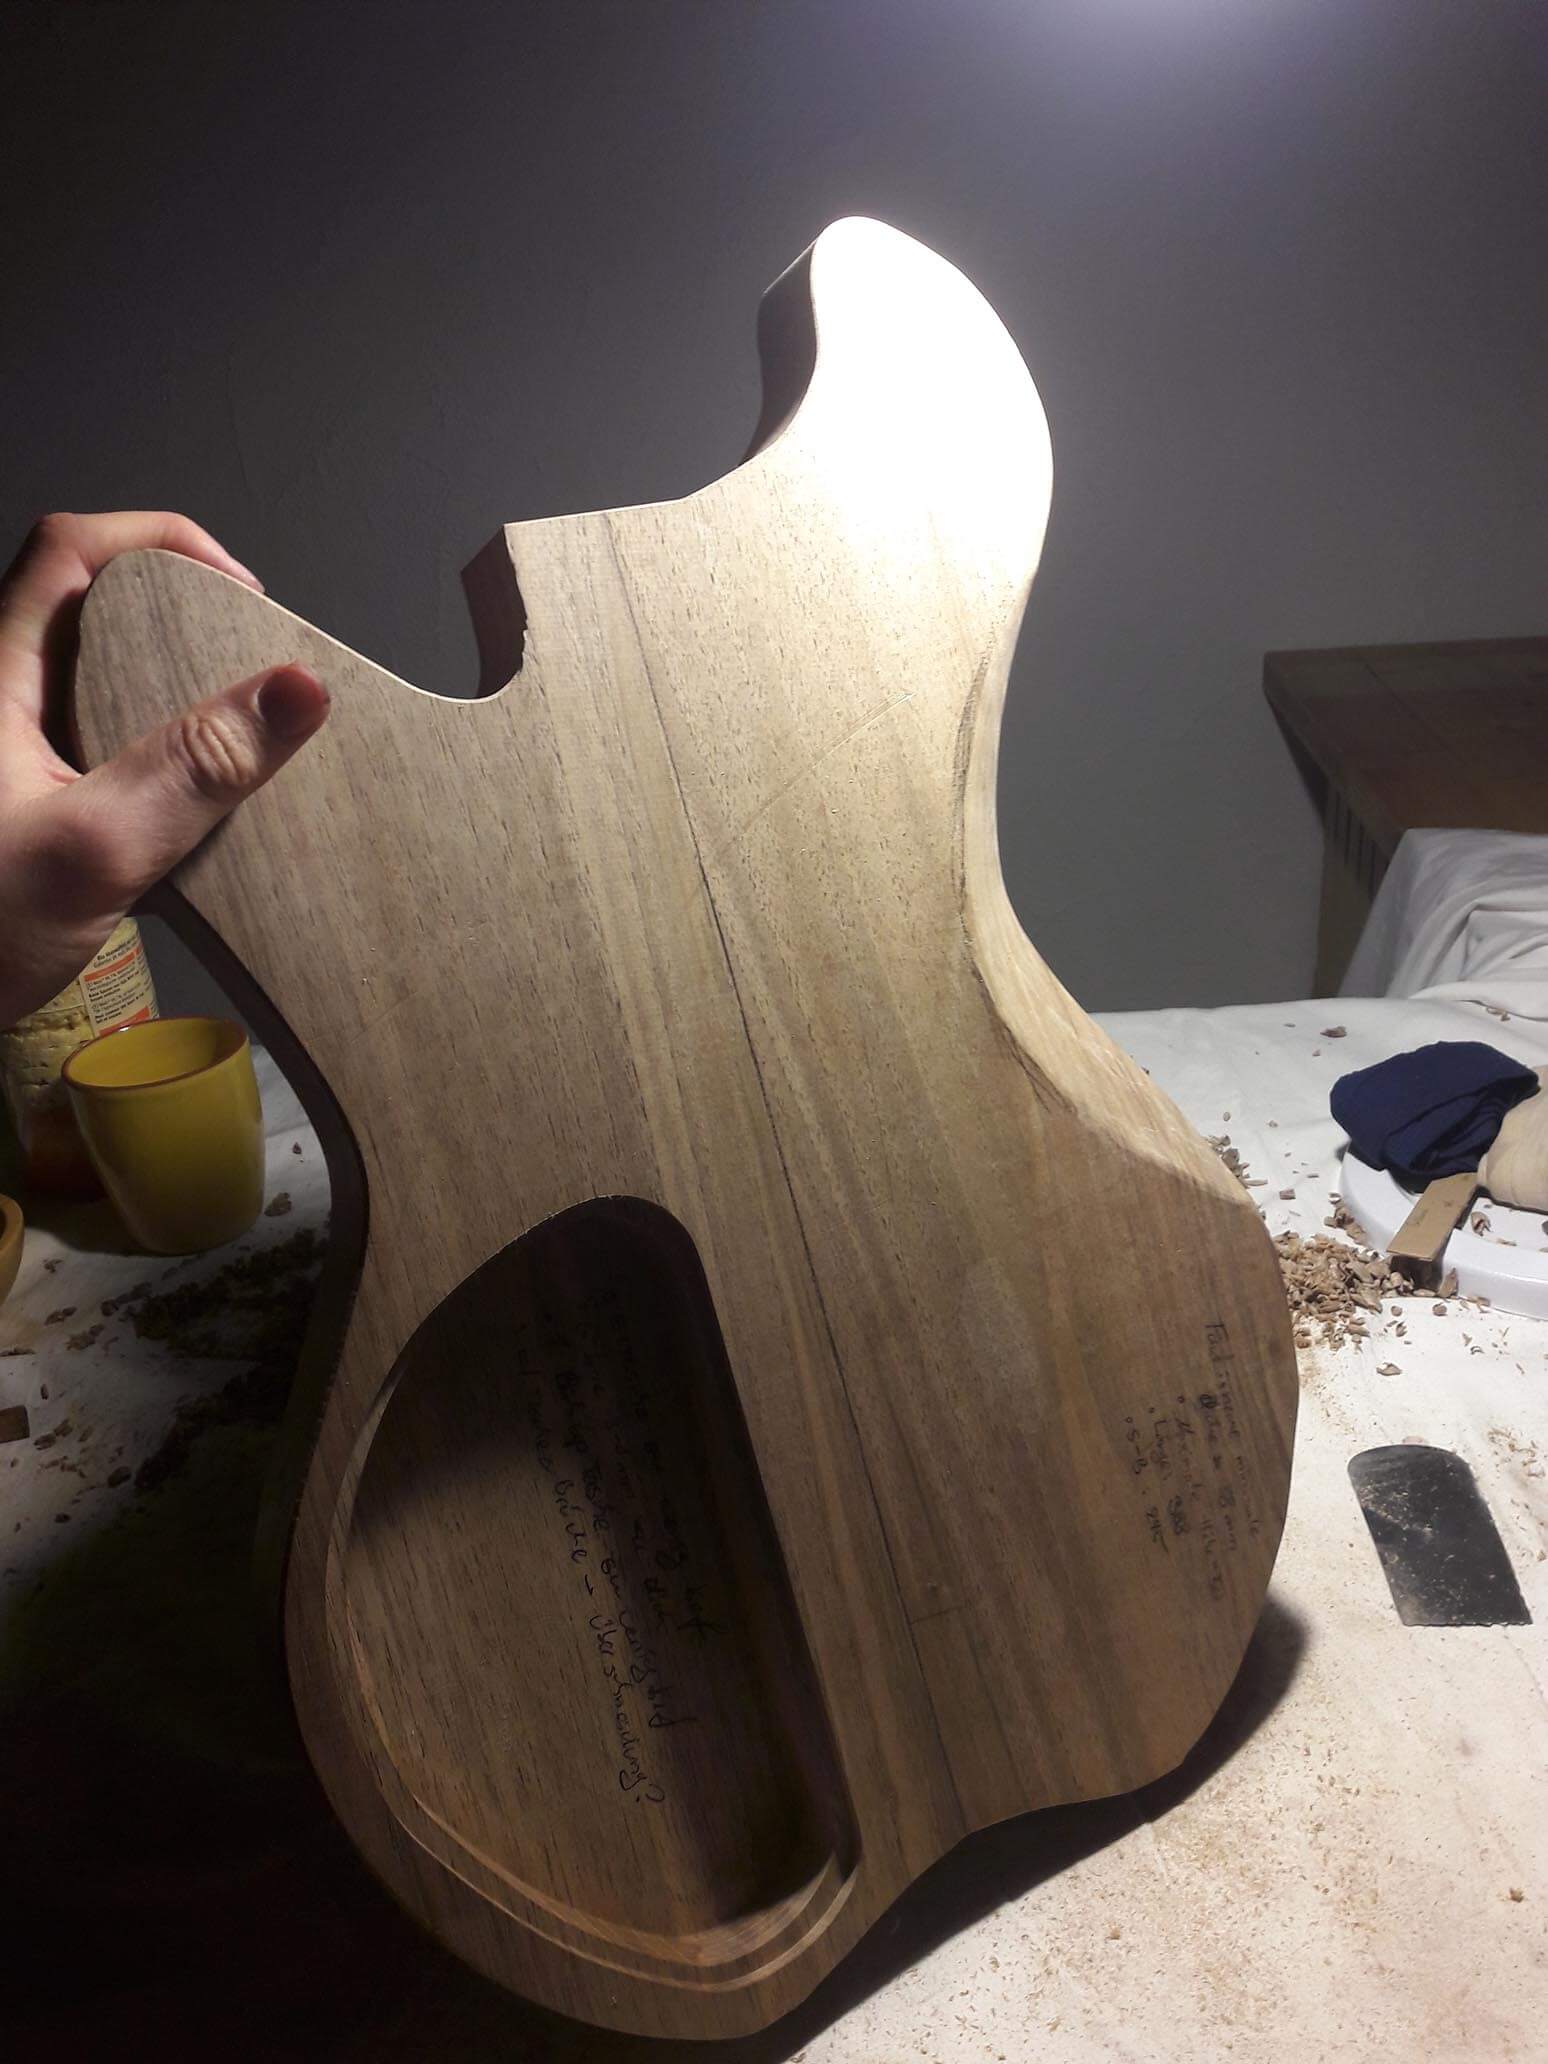
Before finally gluing the neck to the body, I carved the back of the guitar where the neck was to connect so that it would ensure maximum comfort when playing close to the body.
To connect the two parts, I used hide glue. Because the gluing process was much messier than expected, I was glad to have used water-based glue, allowing me to clean off unwanted spots.
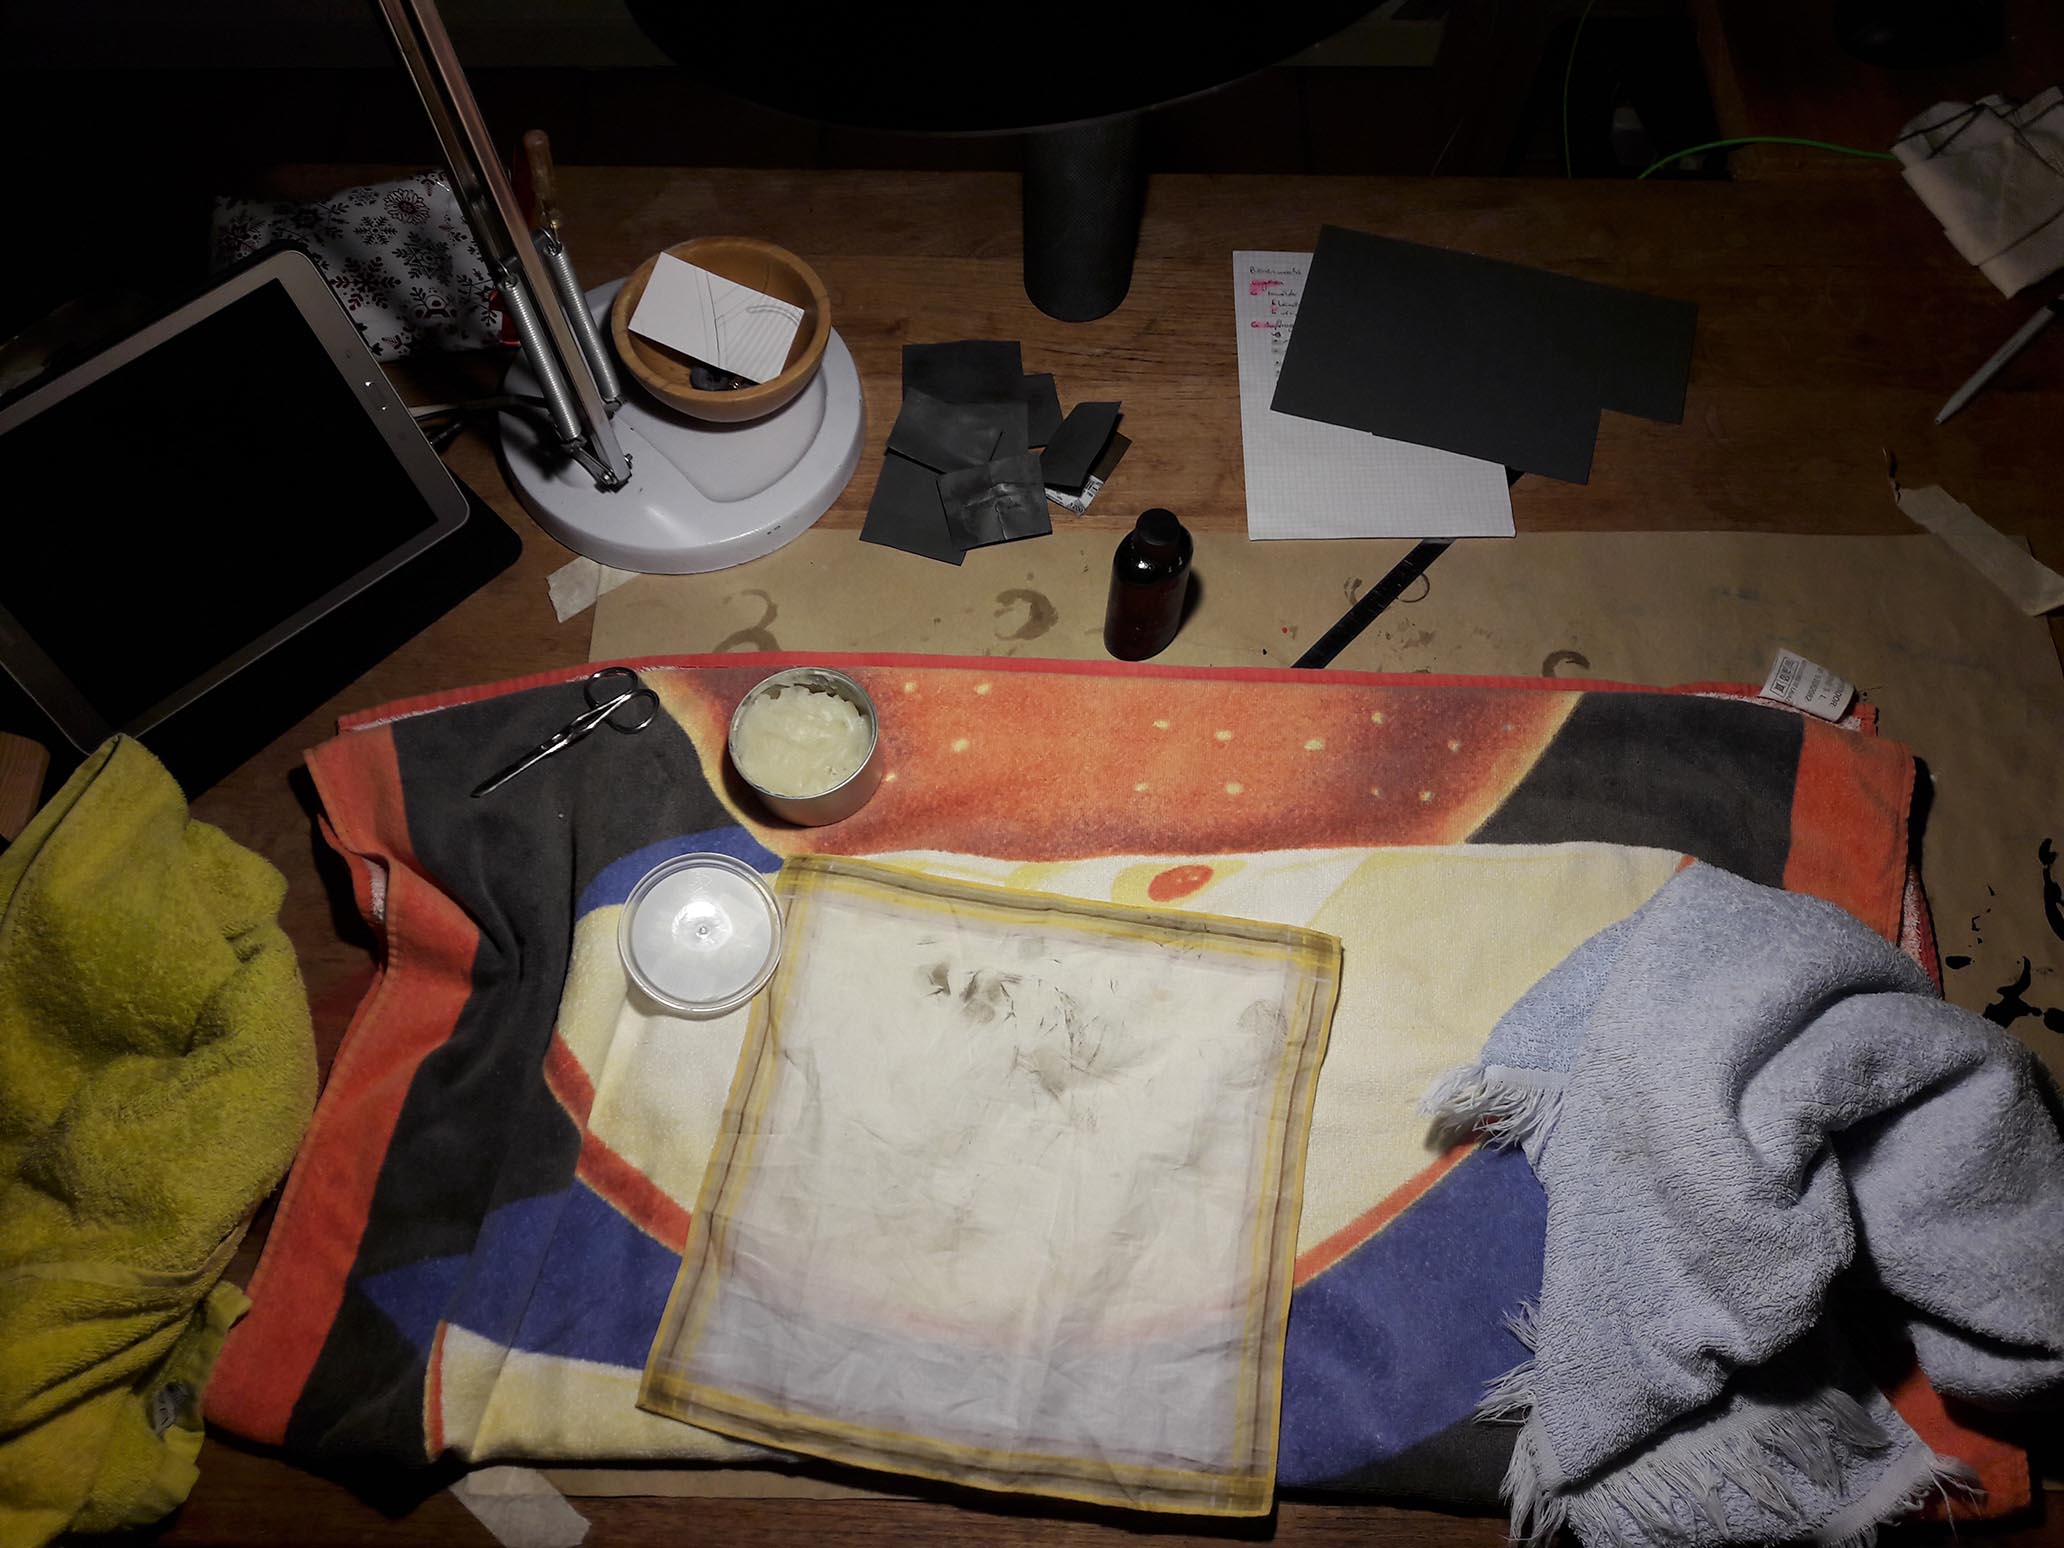
Surface Treatement
To bring out the beauty of the wood and ensure maximum protection, I applied multiple coatings of Napier Gun Stock Finish. After letting it dry, I went over the entire guitar with an extremely fine sandpaper and colorless beeswax to polish it and clean away any residue.
Last Steps
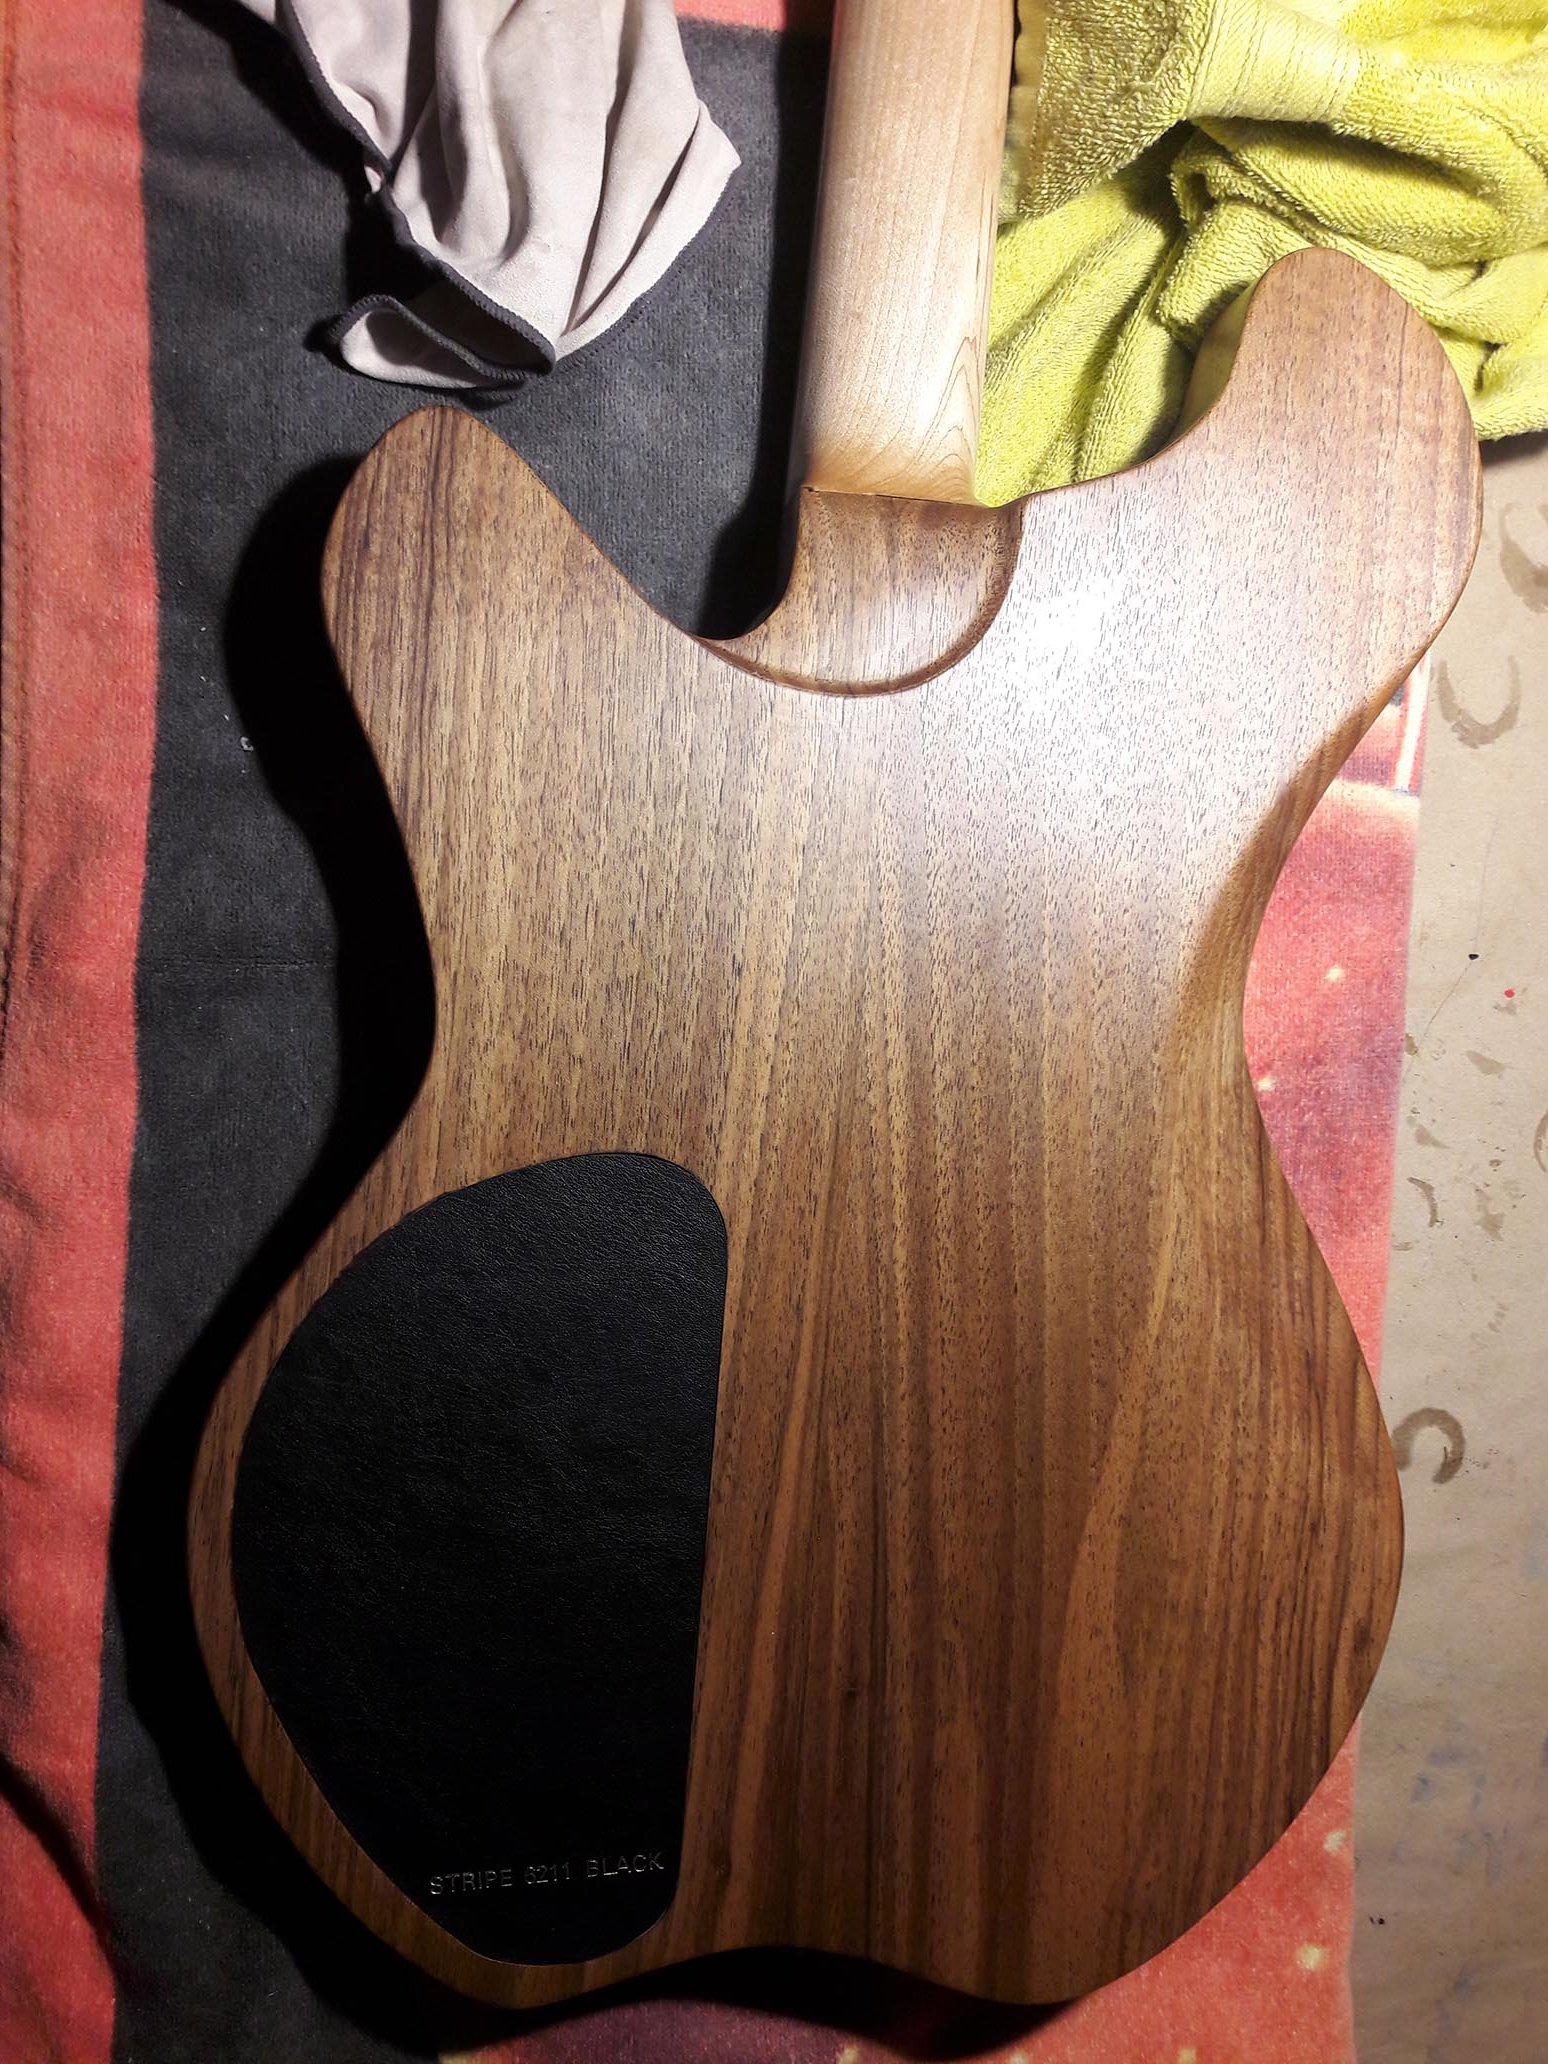
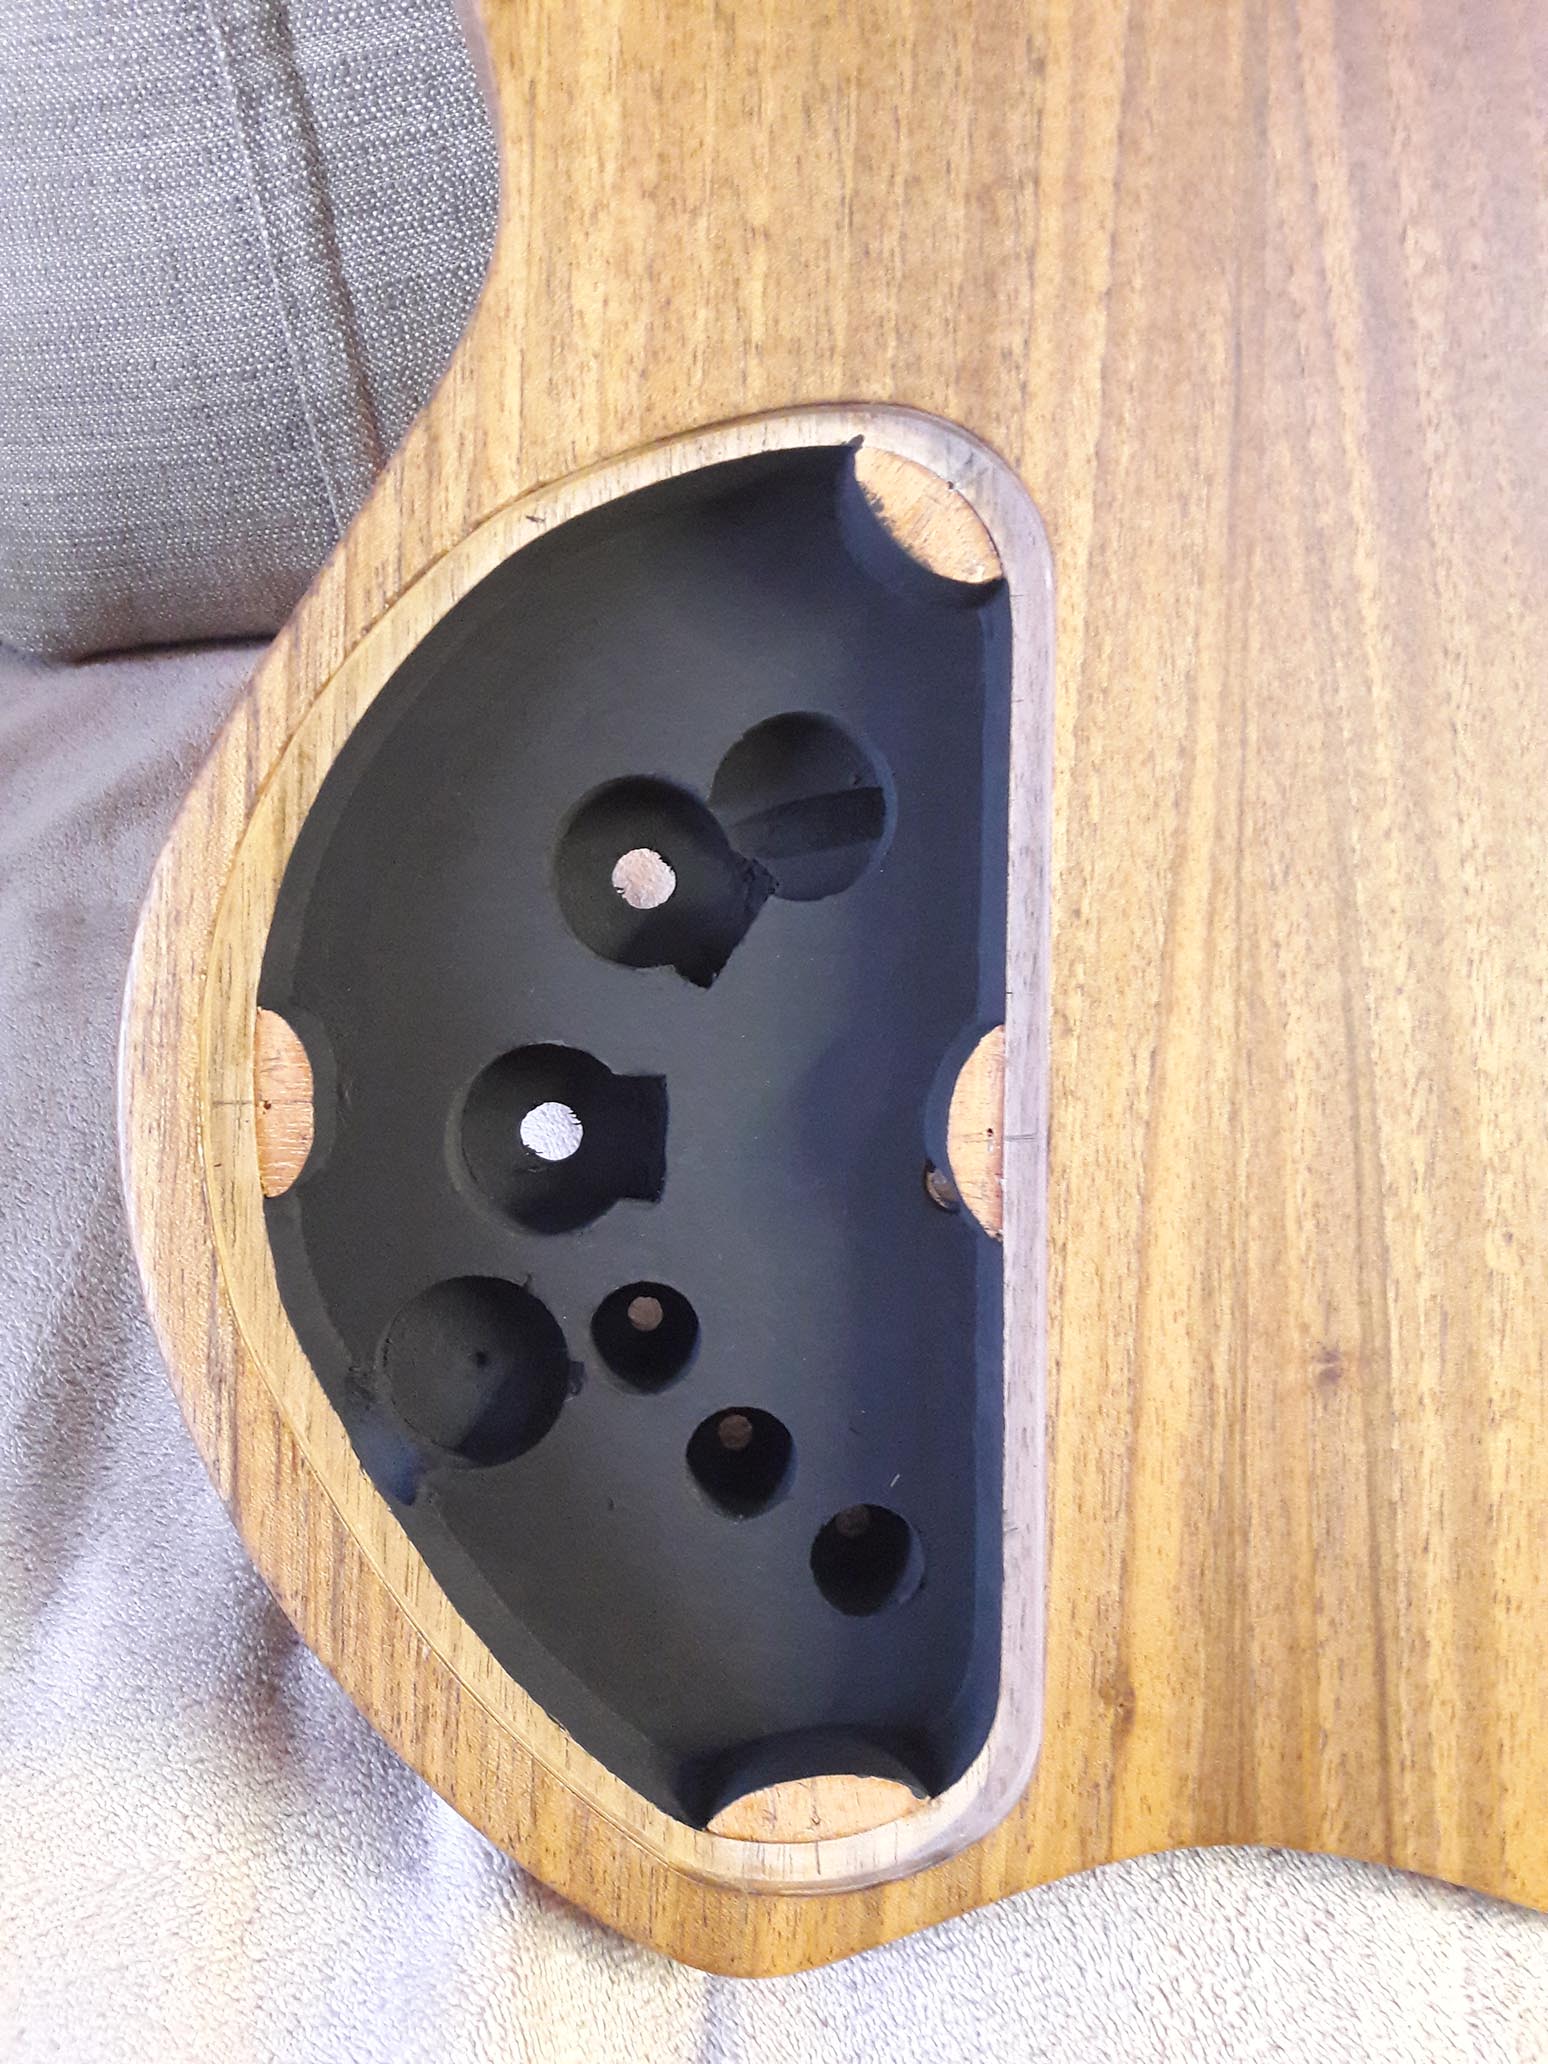
Last but not least, before wiring and putting in pick-ups, tuners etc., I coated the entire inner electronics compartment with an insulation varnish.
I made the cover for the electronics compartment on the back out of plexiglass and black hide.
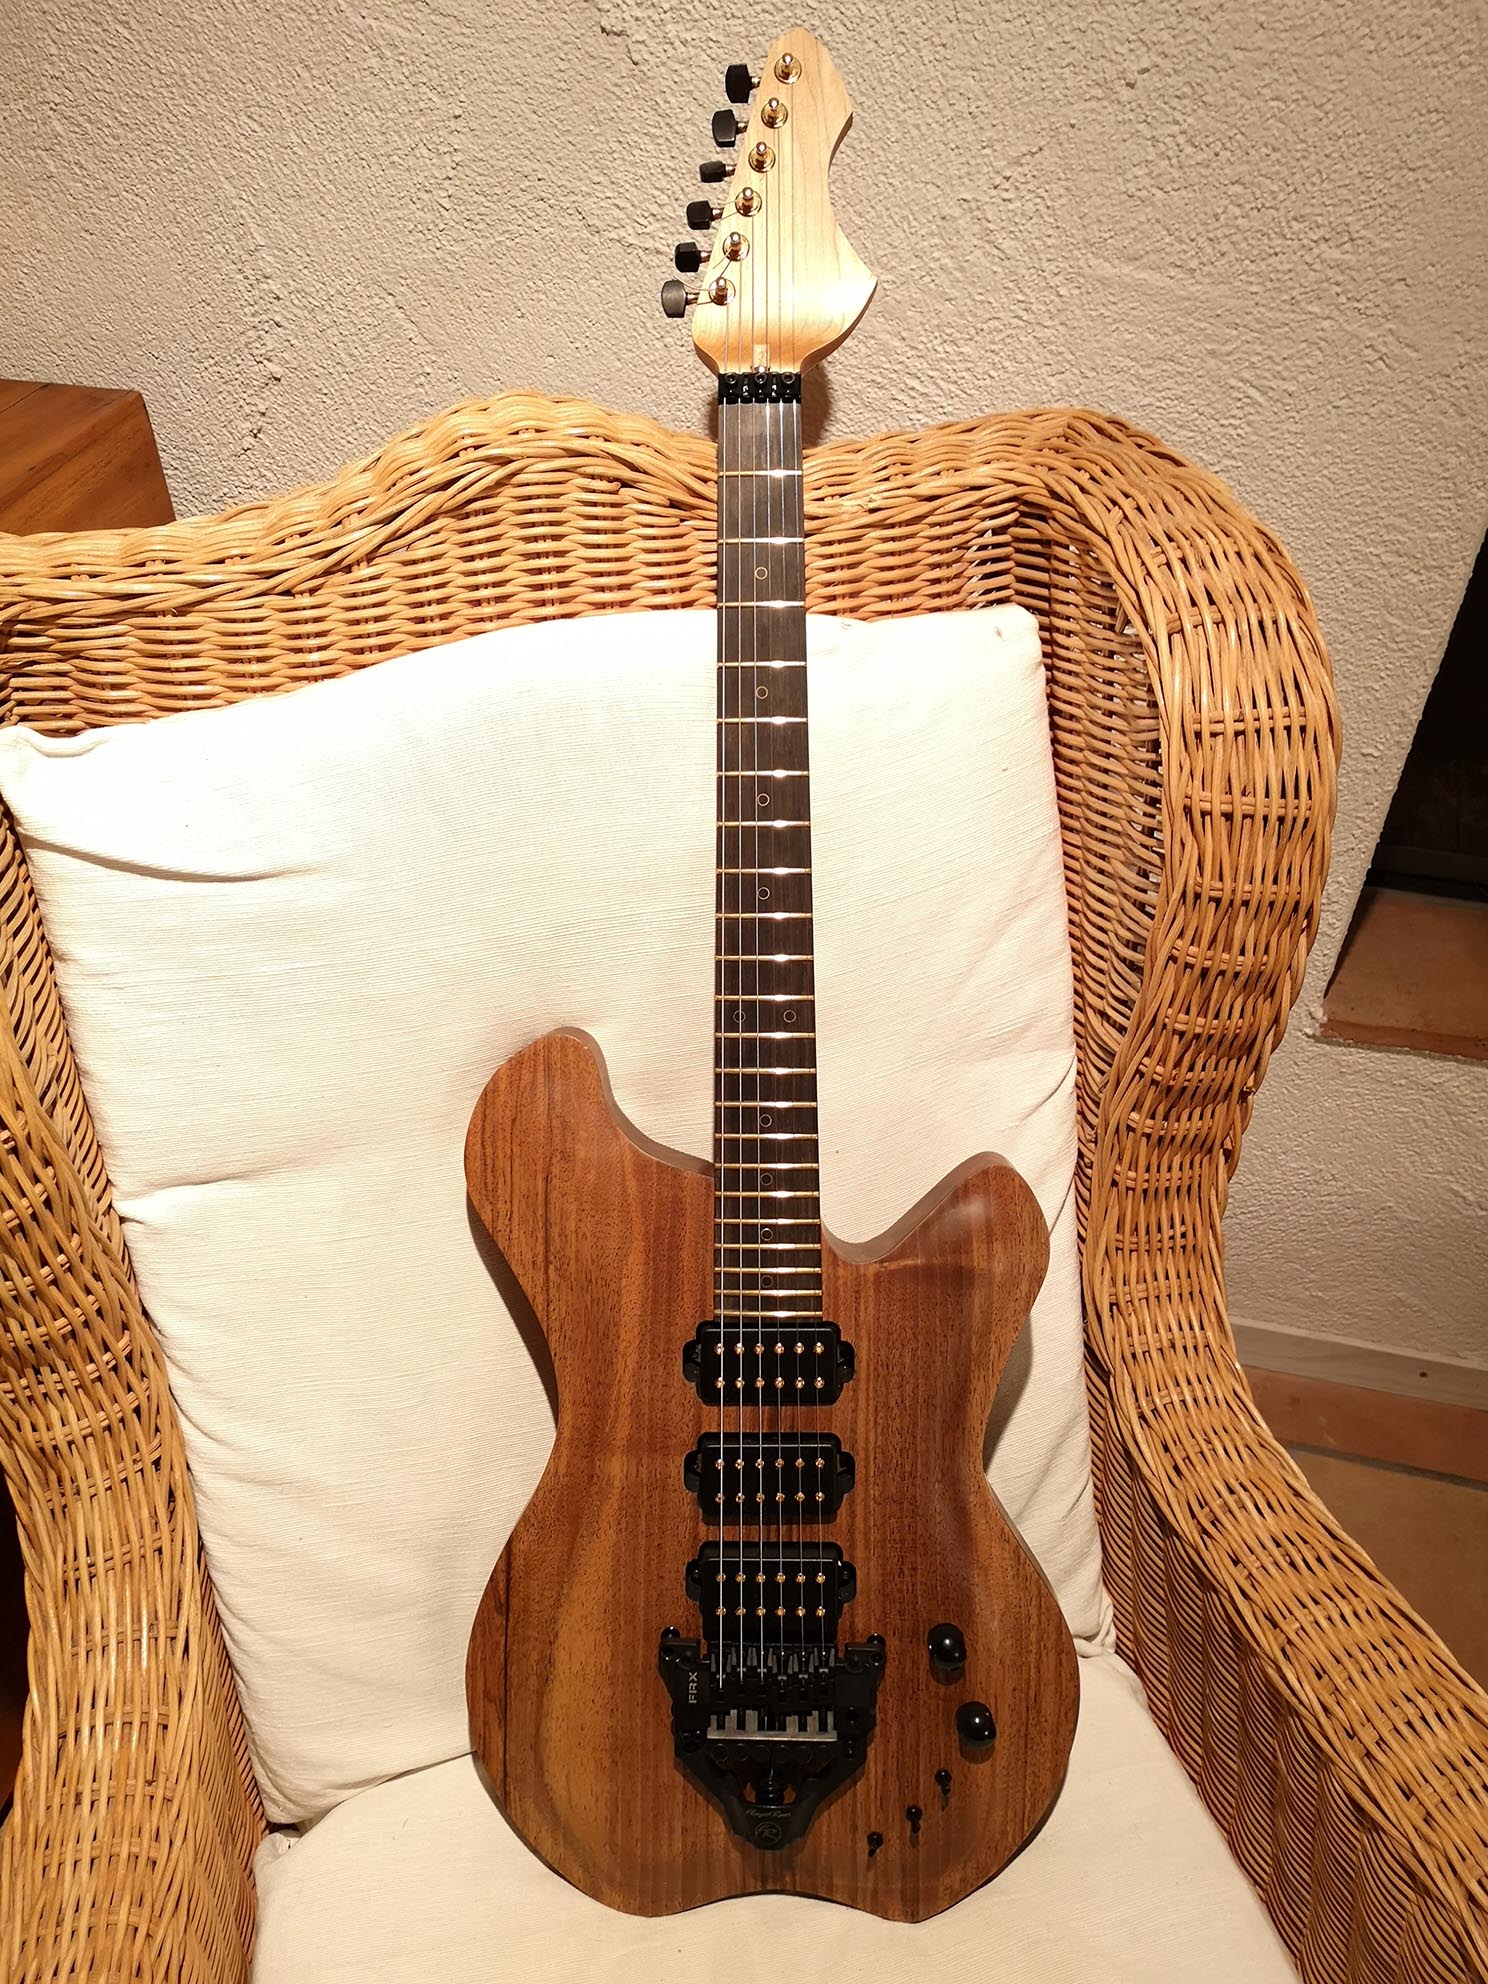
And thus, after installing the electronics and putting on strings, one and a half years of work paid off. My very own electric guitar feels amazing to play and sounds great.